4 foot high DIY 2x4 workbench layout
This 4 foot high DIY 2x4 workbench layout is different than most tables that are 3-feet tall. When you're building a house, you will find that a taller table works so much better for measuring and cutting. Even if you're a shorter person, the taller table makes sense for the needs of framing a house and pretty much all the work that comes after the framing part. Not only that, but this design is more economical because it utilizes materials better to reduce waste.
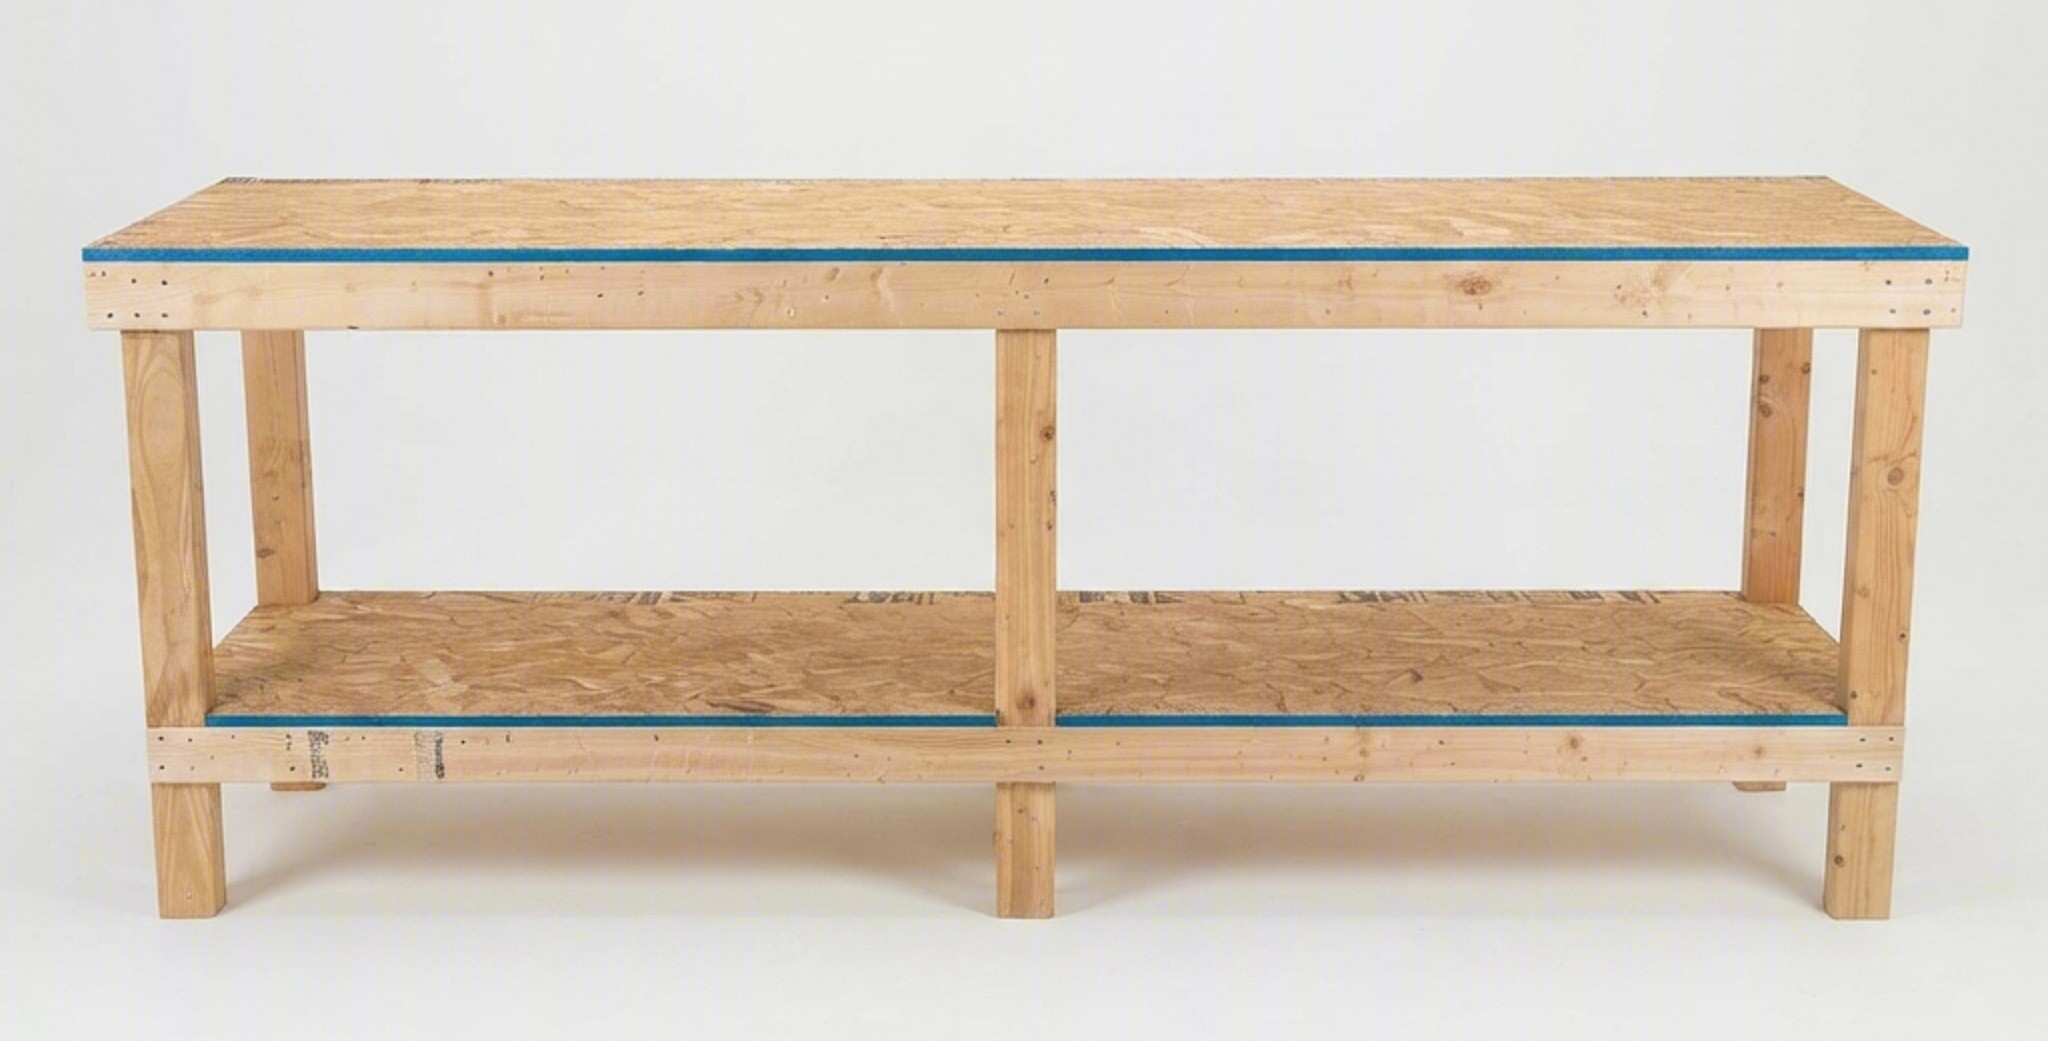
This plan designs your workbench dimensions to 4 feet high (48 inches), 8 feet long (96 inches), and 2 feet wide (24 inches). Narrowing the width to 2 feet makes it a perfect space-saving bench for tight shop walls while still allowing you to get exactly two perfect tabletops out of a single standard 4x8 sheet of plywood. Because this bench stands a tall 48 inches, this layout uses a 6-leg structural frame to prevent rocking or bowing.
📋 Materials & Shopping List
- Lumber (2x4 Construction Grade):(7) 2x4 boards @ 8 feet long (For long rails and internal cross rungs)(2) 2x4 boards @ 12 feet long (To be cut down cleanly into the six legs)
- Tabletop & Shelf Surface:(1) Sheet of 3/4" Plywood (4x8 size). Note: You will rip this sheet exactly in half lengthwise to create two 2'x8' sheets—one for the top deck and one for a matching lower storage shelf.
- Fasteners:1 lb of 3" Wood Screws (For 2x4 framing joints)1 lb of 1-5/8" or 2" Wood Screws (For securing the plywood sheets)
🪚 Master Lumber Cut List
Dimensional 2x4s actually measure 1.5 inches by 3.5 inches. To ensure your finished frame matches your 24" x 96" plywood footprint perfectly, the interior cross rungs must be shortened to account for the outer border boards.
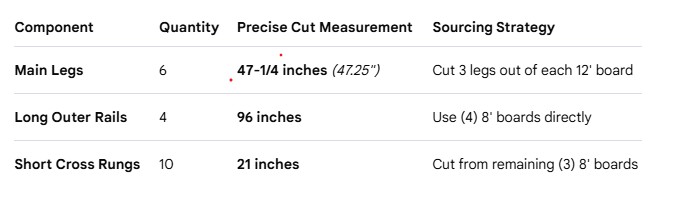
4 foot high DIY 2x4 workbench layout
🏗️ Step-by-Step Assembly Instructions
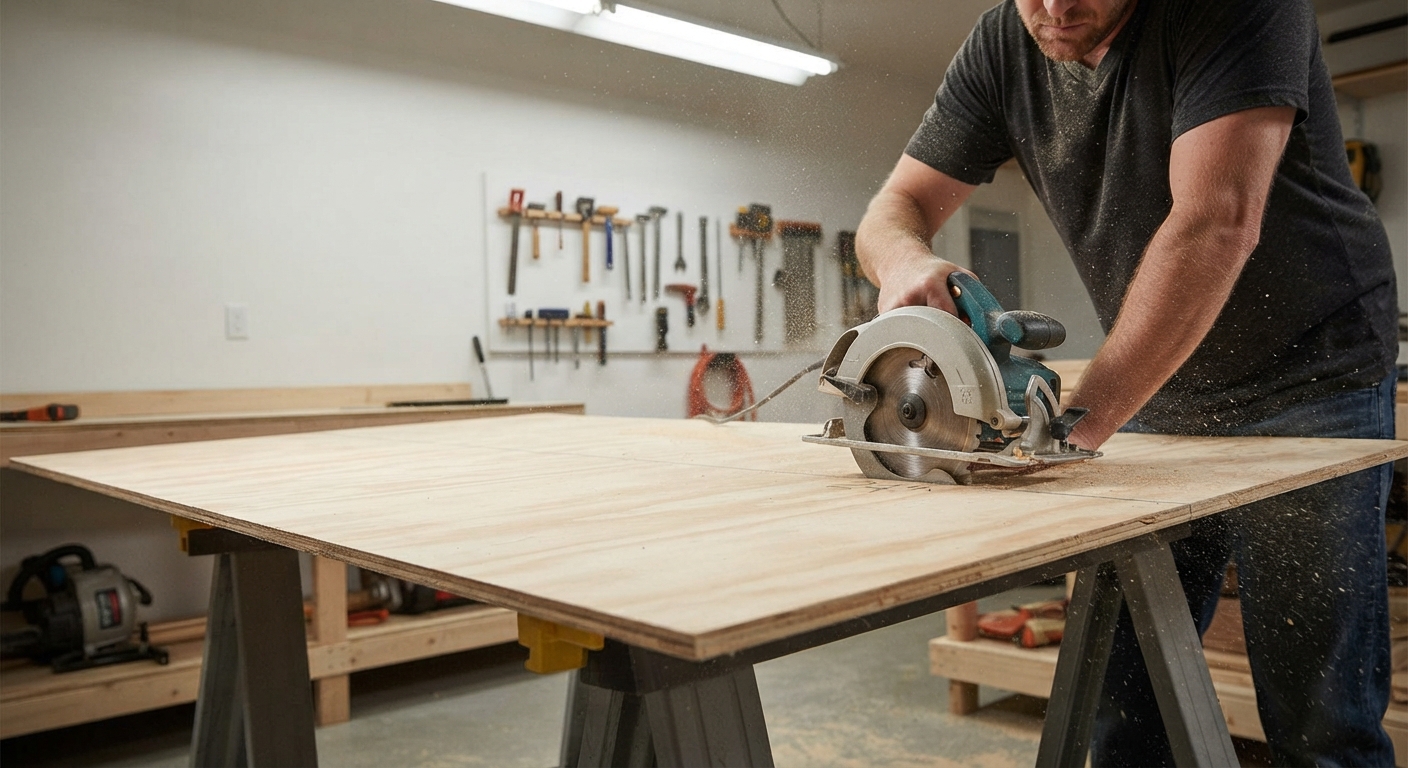
1. Rip the Plywood Sheet
Place your 4x8 plywood sheet on your sawhorses. Measure exactly 24 inches (2 feet) across the width at both ends, snap your chalk line, and make one continuous cut down the center. You now have two identical 2' x 8' panels.
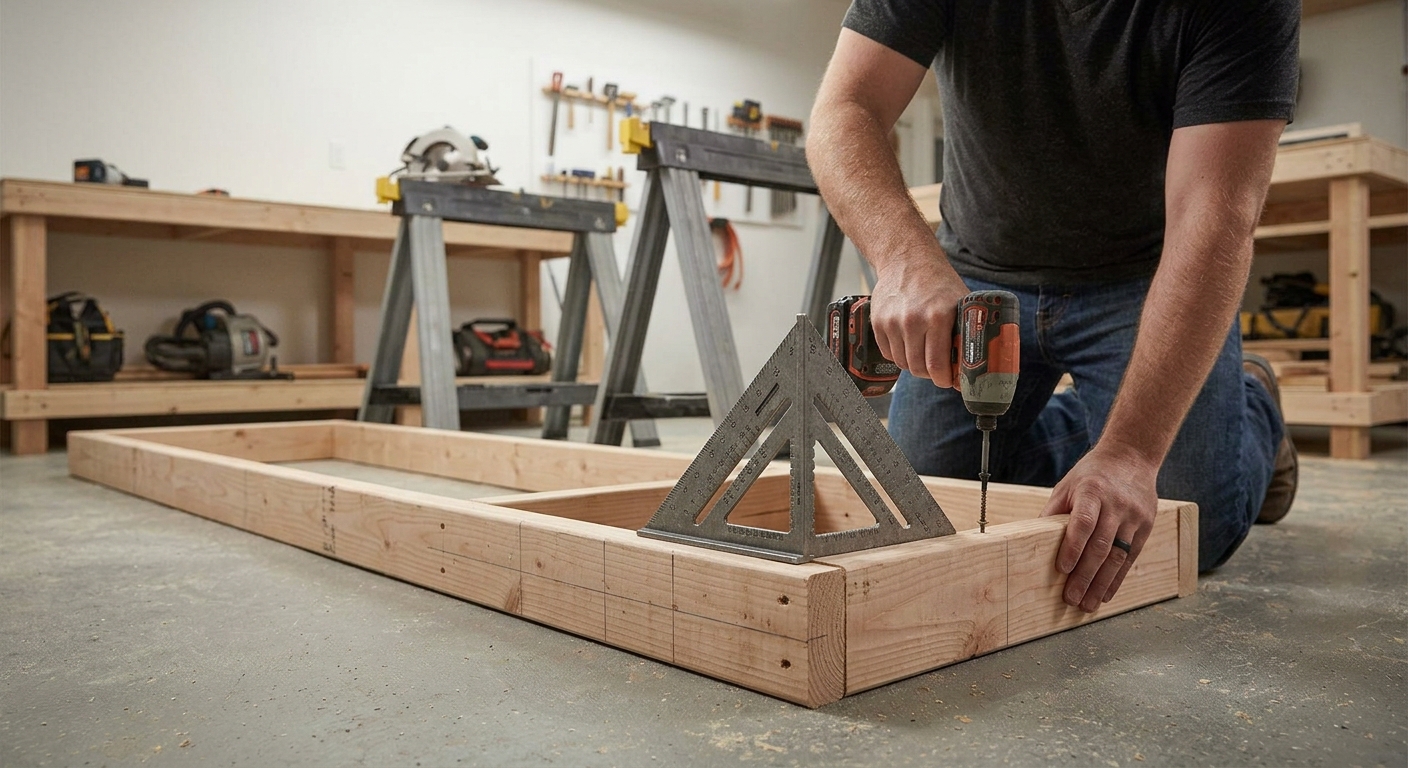
2. Assemble the Frame Ladders
Lay two 96-inch 2x4 boards parallel on their narrow edges. Place five 21-inch cross rungs between them using the spacing shown in the diagram (one on each end, one dead center at 48", and two split evenly at 24" intervals). Square the corners, and drive two 3" screws through the long rails straight into the ends of each cross rung. Repeat this exact step for the second box.
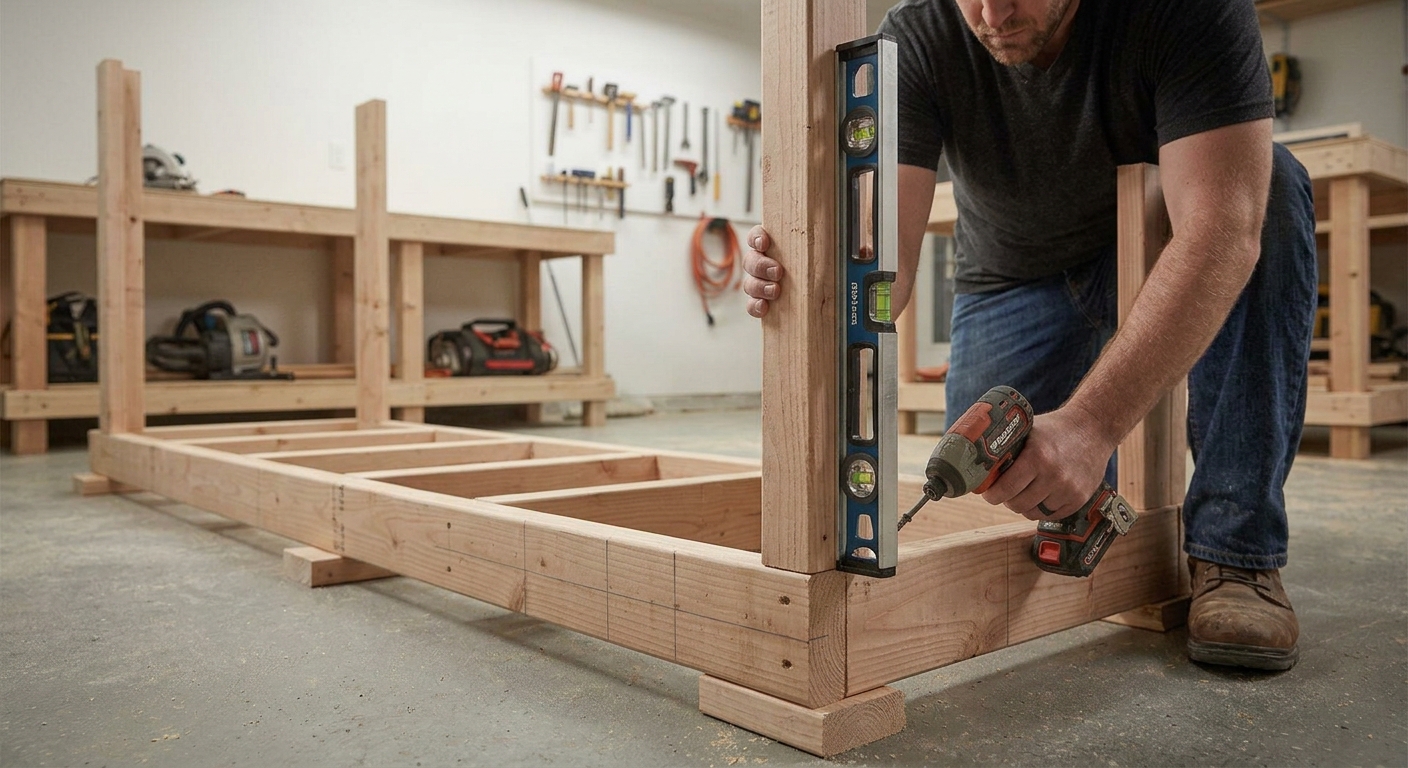
3. Anchor the Six Legs
Stand three of your 47-1/4" legs upright against the inside corners and center rung of your top frame box. Ensure the top edges of the legs are flush with the top edge of the 2x4 frame. Check that they are completely plumb, then secure each leg using four 3" screws driven through the perimeter rails. Flip the table over and install the remaining three legs on the opposite side.
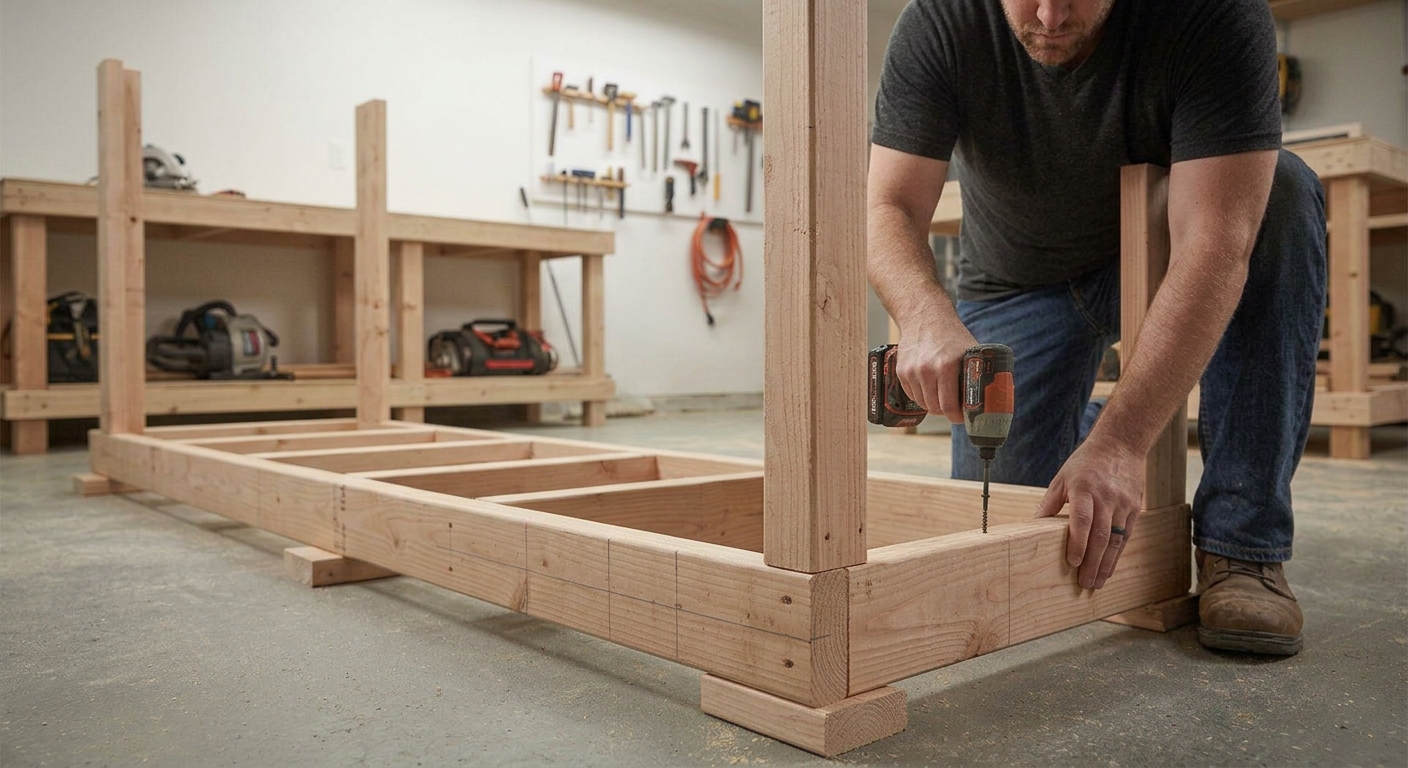
4. Add the Lower Shelf Frame
Slide your second pre-assembled frame box up between the legs from the bottom. Position it 6 inches off the floor to provide comfortable toe-kick clearance when standing at the bench. Level the shelf frame, clamp it to the legs, and screw it tightly into place using your 3" screws.
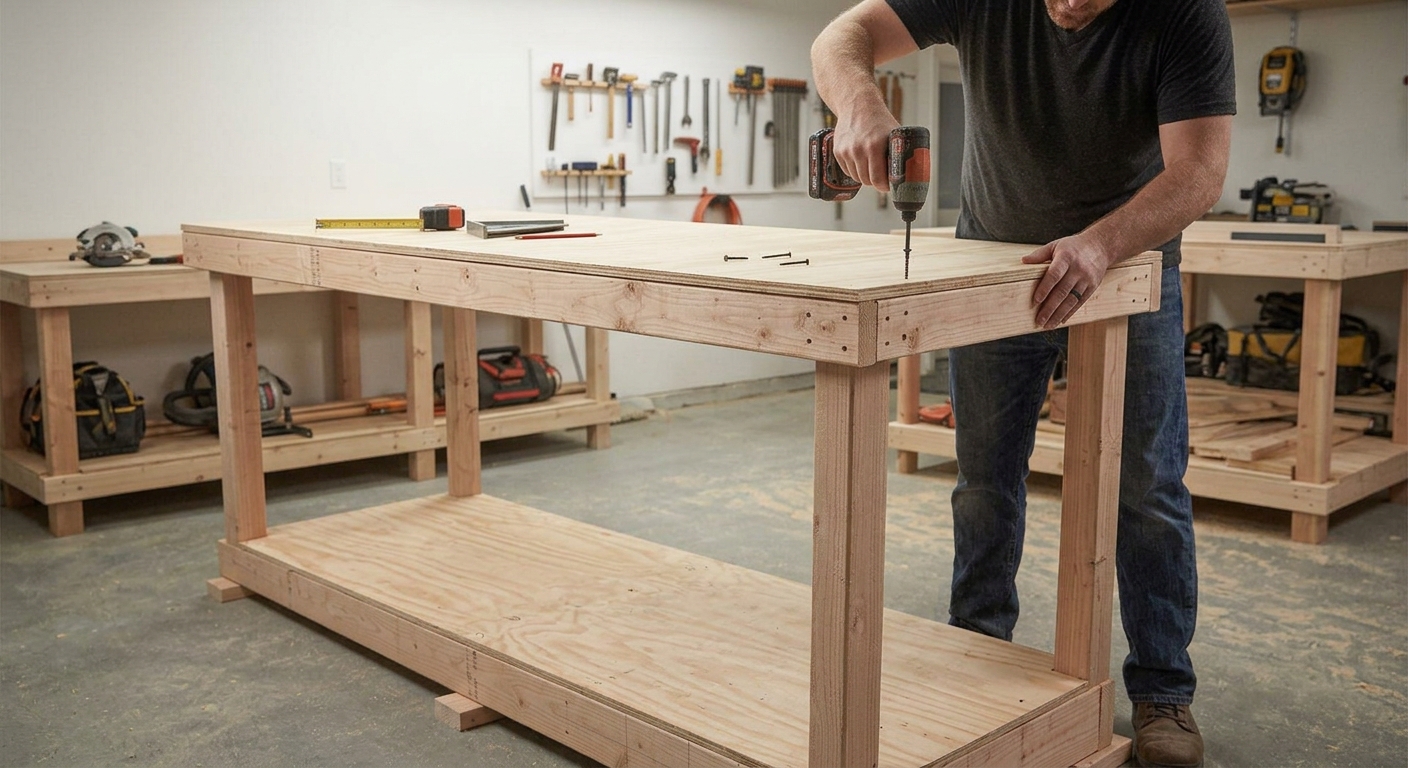
5. Install the Decks
Stand the finished wood skeleton onto its feet. Place your first 2' x 8' plywood piece on the top frame and your second piece on the bottom frame shelf. Fasten them down securely using your 1-5/8" or 2" screws spaced every 12 inches. Make sure to sink the screw heads slightly below the surface of the wood so they don't catch on your tools or raw project lumber.
There you are! This work bench is going to get the most brutal treatment from now on. That's why you built it so well. It needs to be super strong.