Ownerbuilder-guide for getting started
This ownerbuilder-guide will give you the outline for how it's done. It basically consists of three parts. Stage 1: Saving and planning. Stage 2: Start construction to get the project to dry-in where the rain or snow can't get in. Stage 3: Work on interior to sufficiently get enough collateral (home value) to get a construction loan.
A construction loan is a short term loan so you can buy the expensive stuff like kitchen cabinets, HVAC, fixtures, carpets and trim. Once those are done, you will switch from a construction loan to a low interest home mortgage loan.
Ownerbuilder-guide Stage 1
The first stage is where the big decisions are made before any money gets spent. In fact, it's the part where money gets saved in order to follow through with the other stages. This will depend on the land or lot you want to have.
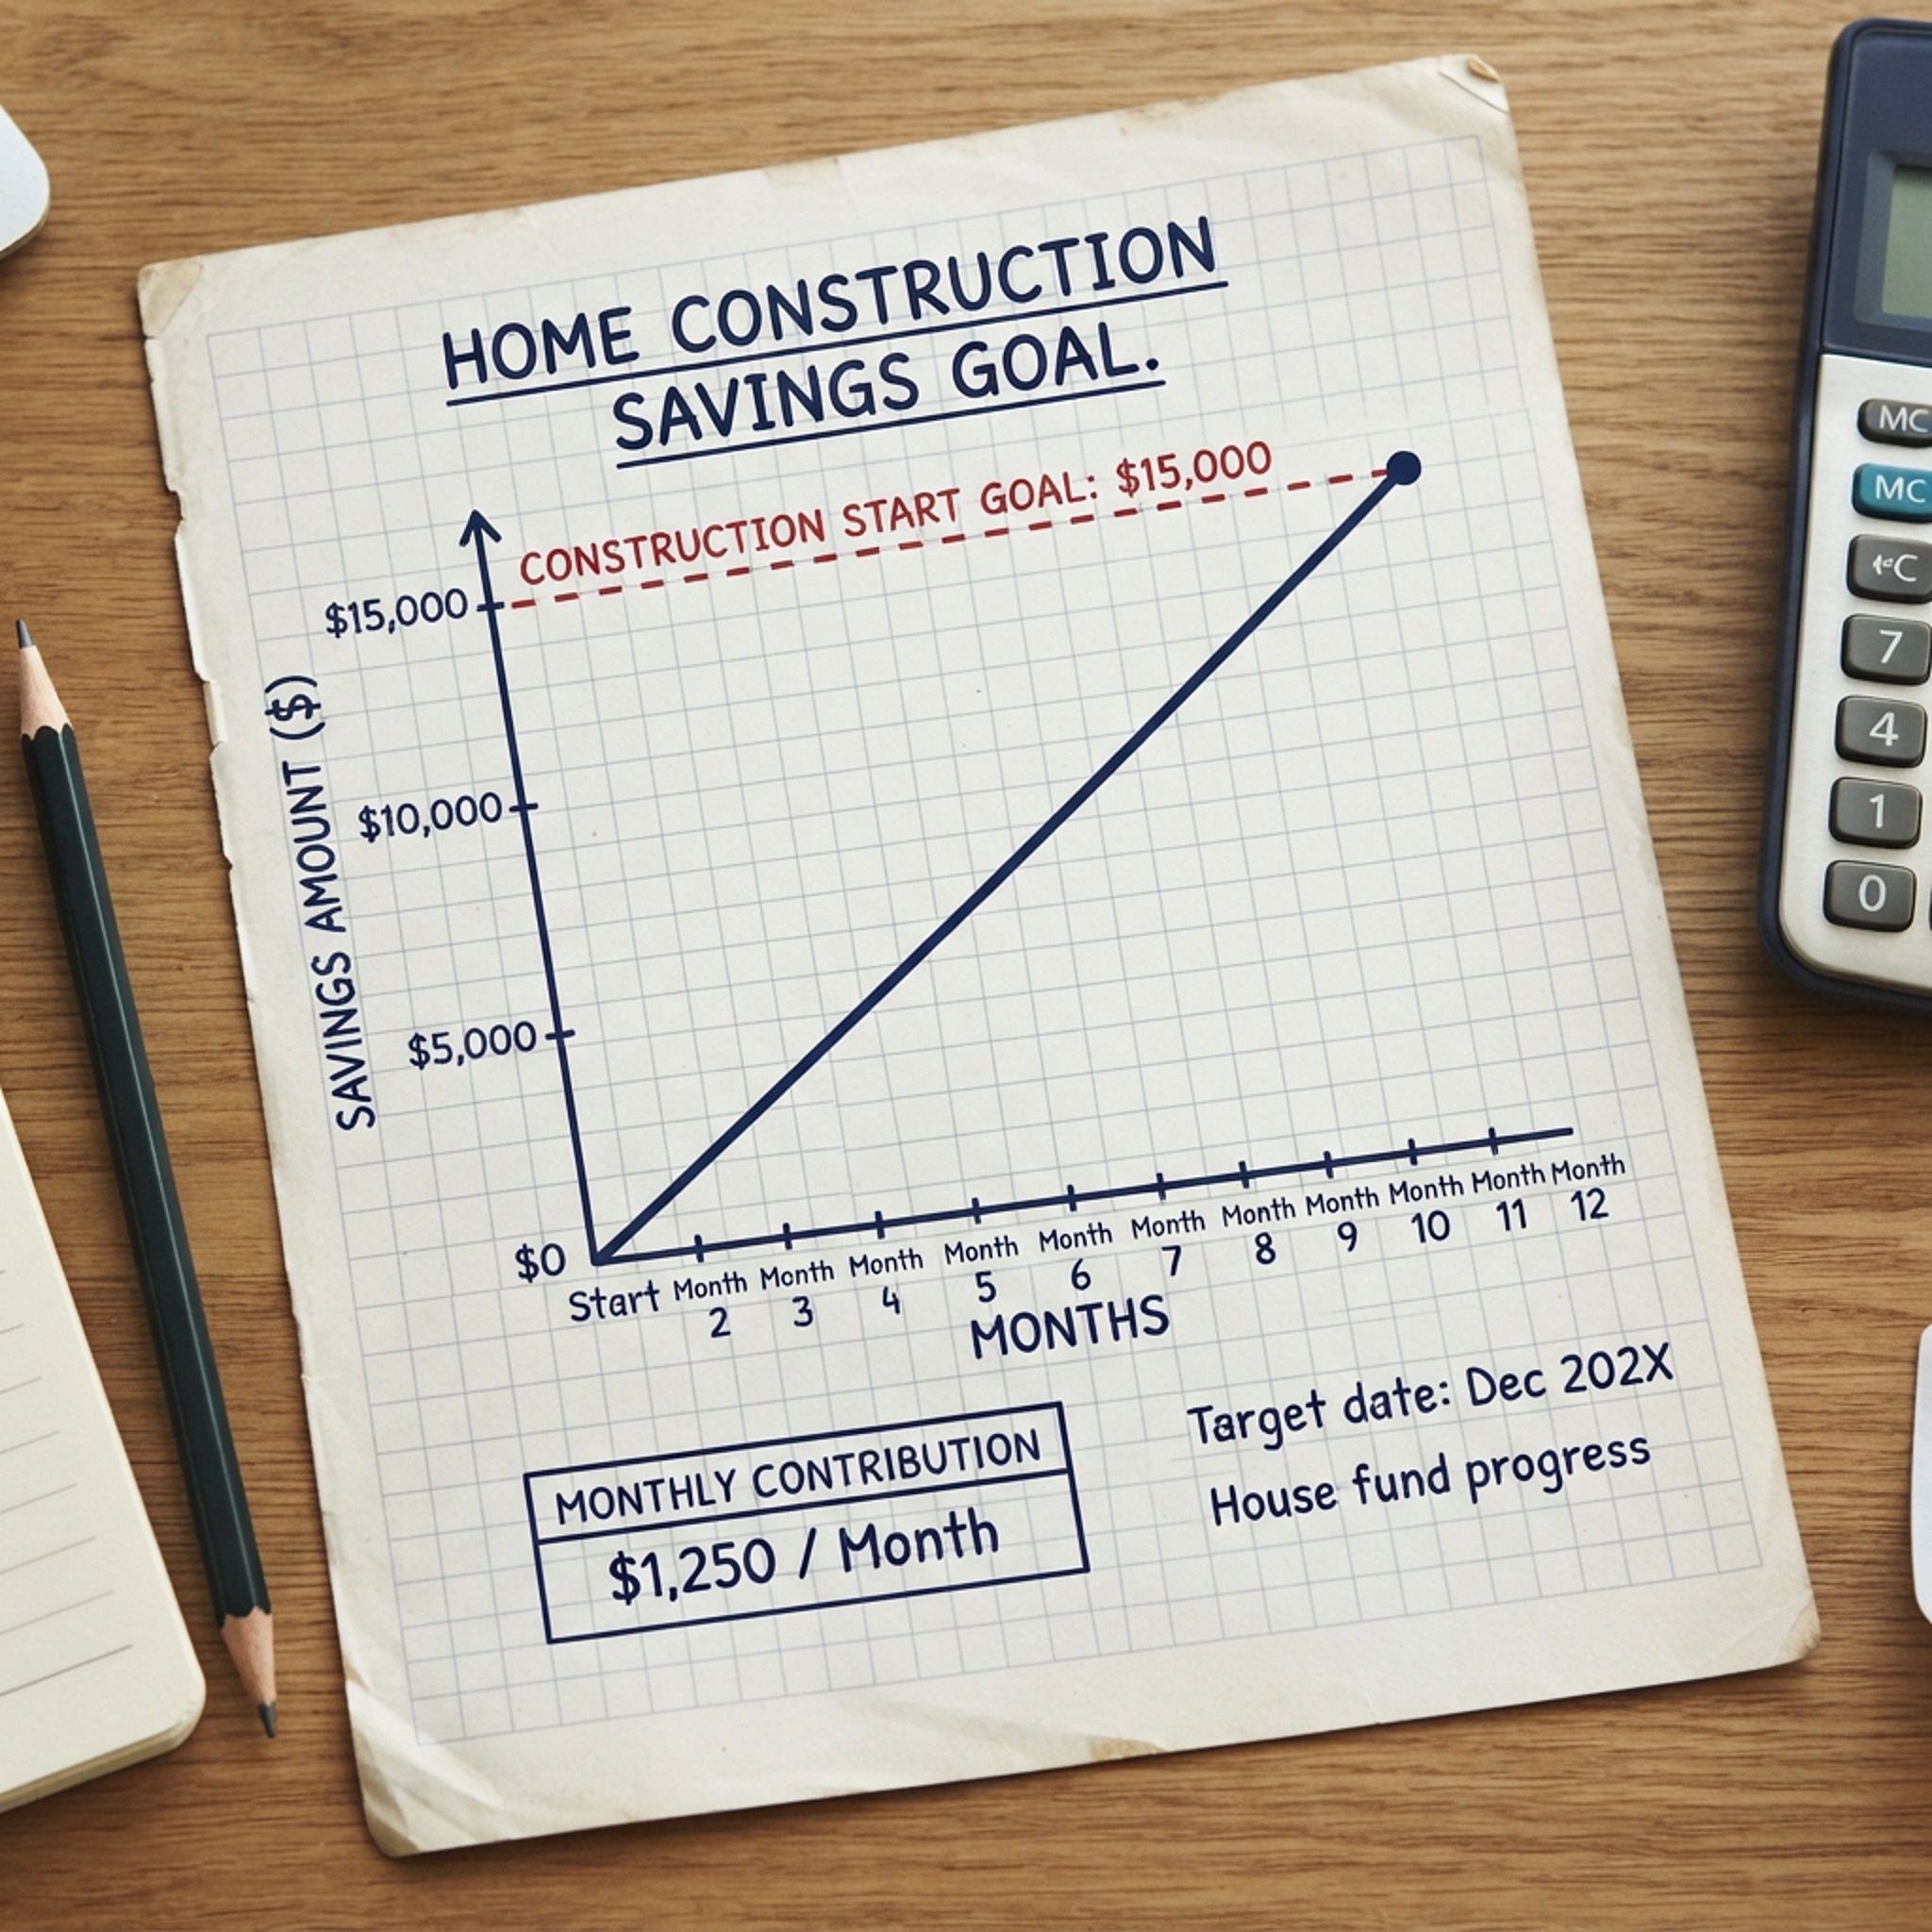
The first part of stage 1 is to realistically decide how much you can pull from each paycheck all through stages 1 and 2, to start a home construction project. Let's say $600 from each check if you're paid biweekly. That's $15,600 in one year. That's a good starting point for construction.
This is a good goal to shoot for. It will buy a lot of lumber and nails once you have acquired the permits necessary to start the project. This amount should be after you have paid the fees from permits.
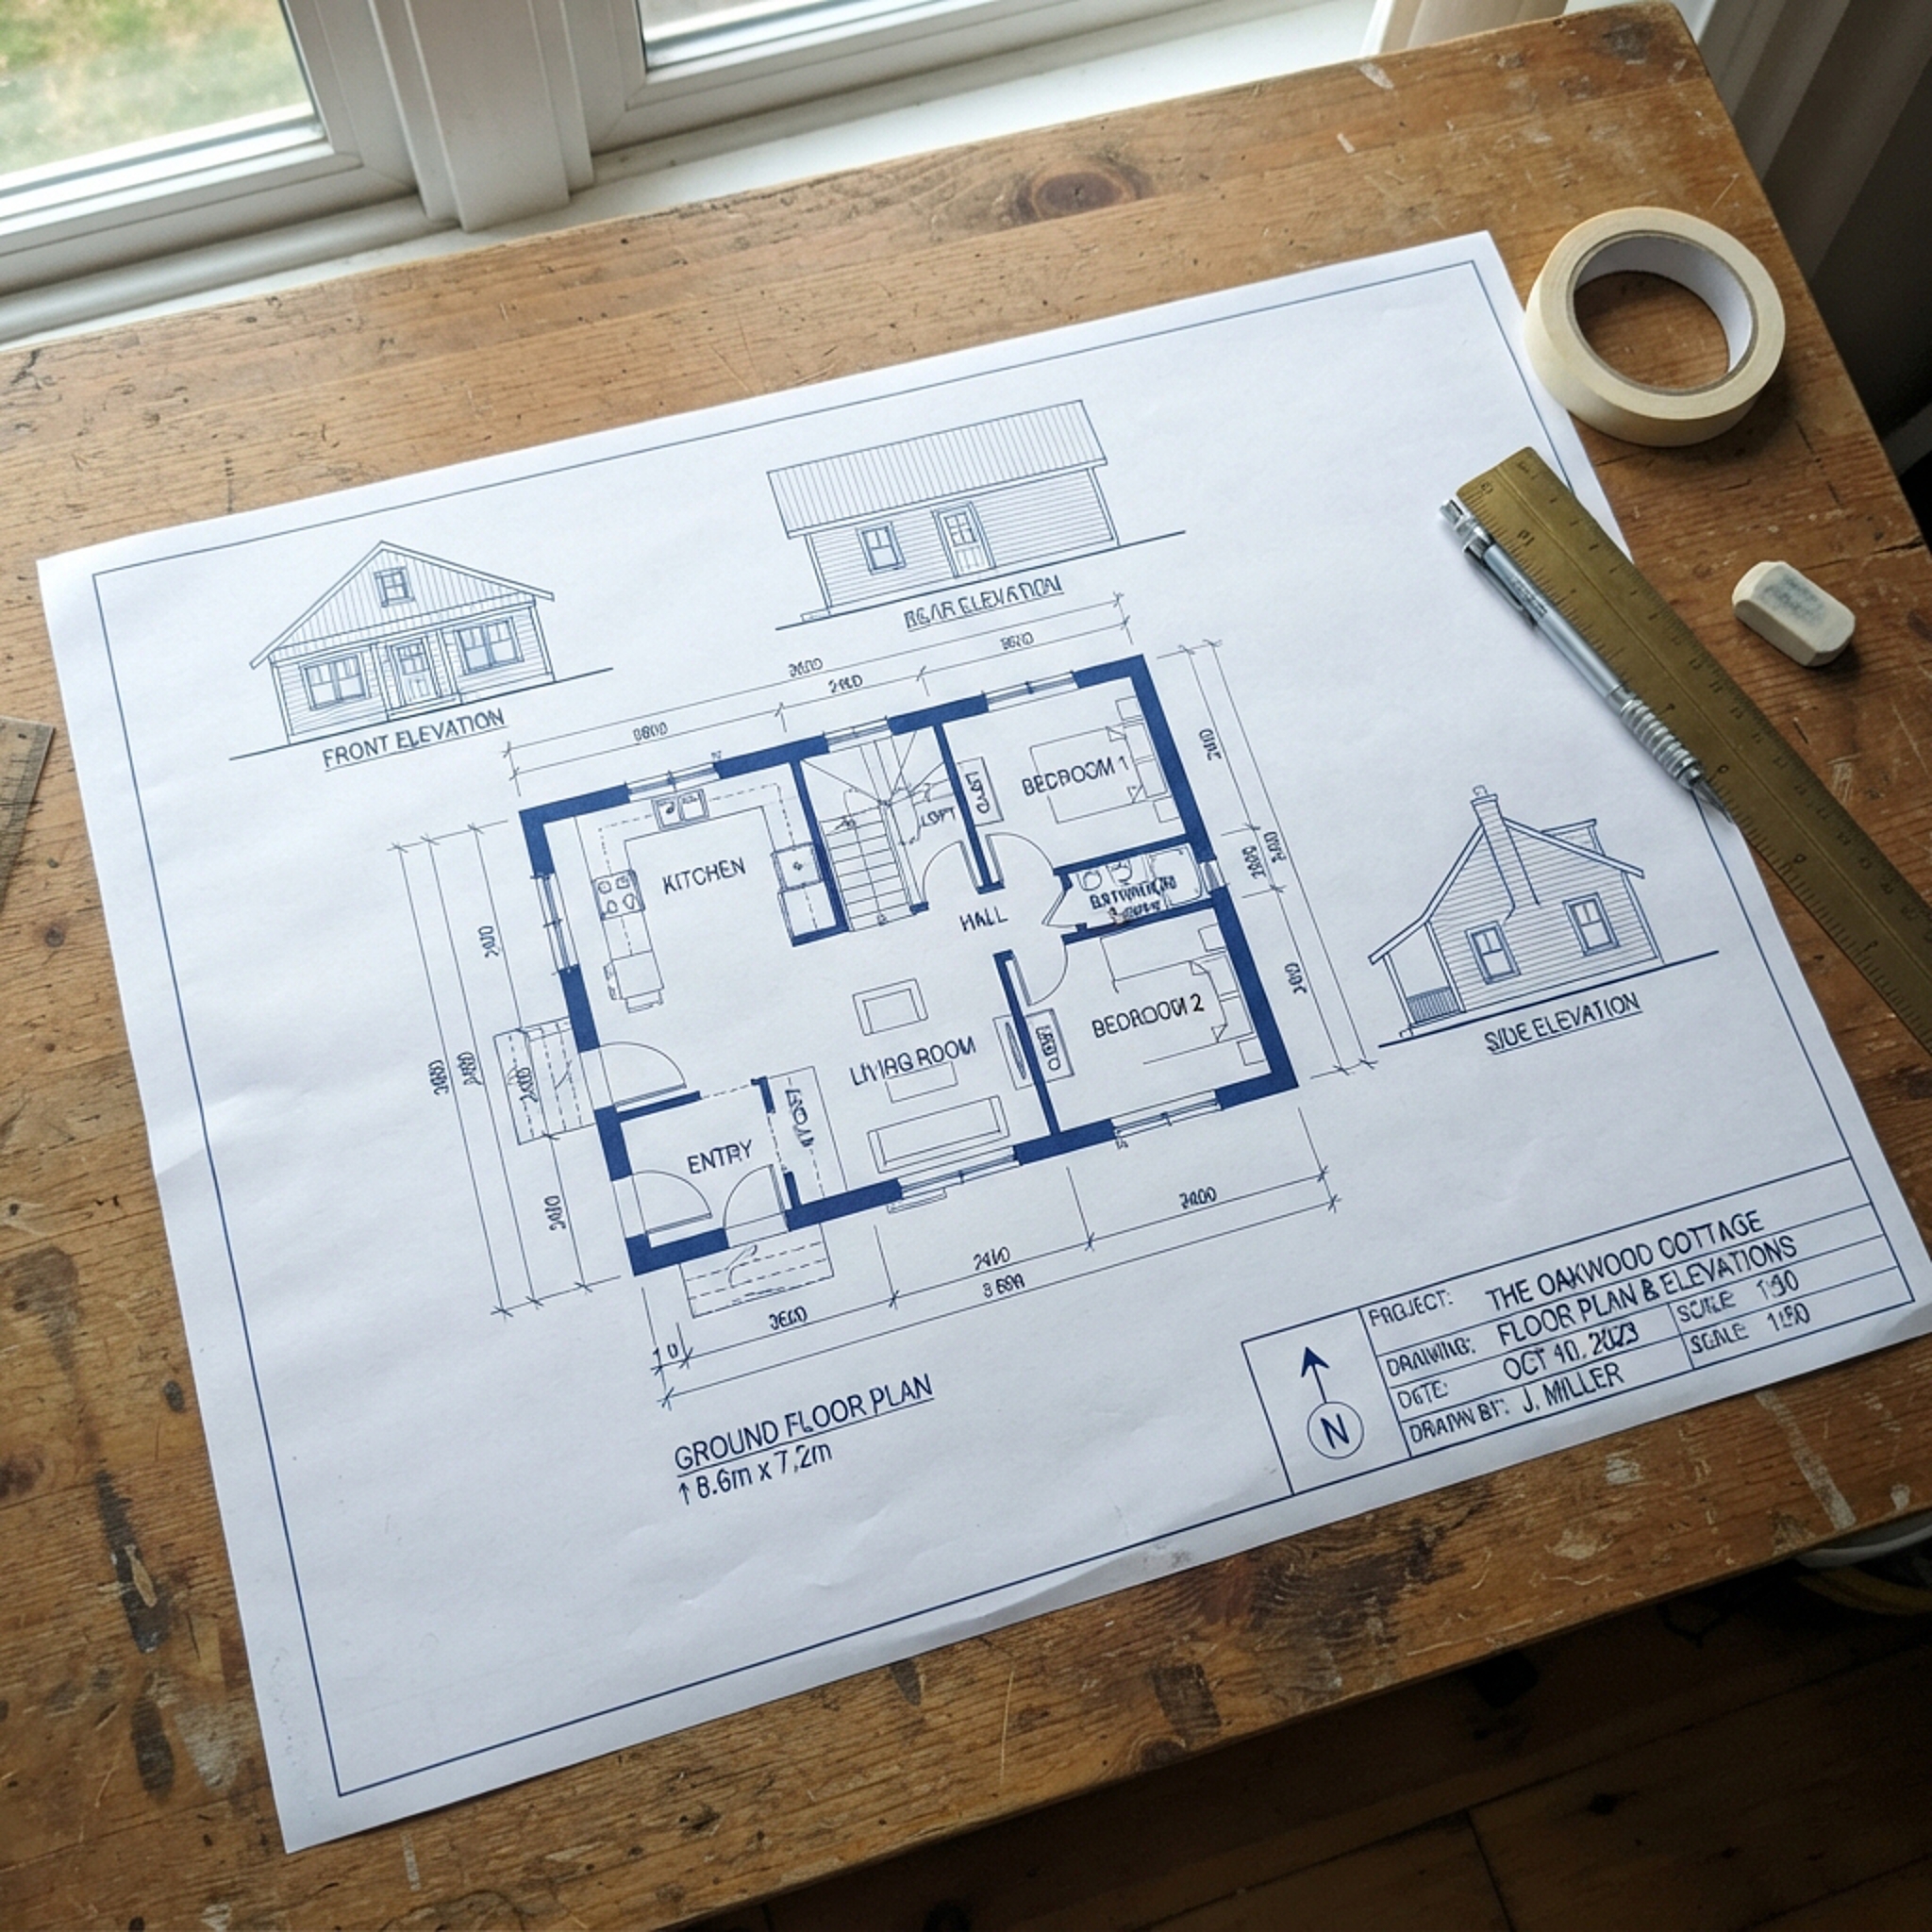
The entire time you are saving for construction you will be busy getting permits and plans. Blueprints can be produced much more inexpensively than in the past and that's a big deal. Owner-builders now have a lot of options.
If the home plan isn't super important to you, pre-approved blueprints of various designs are the best deal I know of. If you're like me however, you will want to design your own plans. I get that. That is part of the fun.
Stage 1 is a time for planning. Once you've reached your goals and completed stage 1, you will start stage 2.
Ownerbuilder-guide Stage 2
Woohoo! The building starts and it's kind of a race against the weather. You will dig the foundation, make the foundation, build floors, walls, roofing, stairs, and sheathing to cover it all. Then install windows and doors so all the bad weather stays outside. You may also want to install roofing shingles or metal if you live in a rainy area.
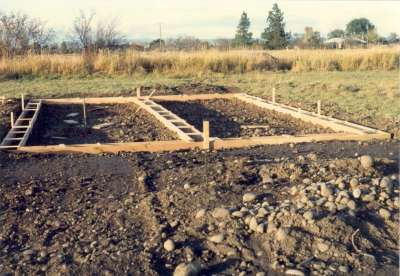
This is the part of the process where you will finally see tangible results for your planning and saving. The work is also really physical from this point to the end of dry-in. Your design might seem too small at this point, but please be patient and wait until the walls are up.
It's also necessary to continue deducting the set amount from each paycheck. It is likely that you will use up most of the money on stage 1.
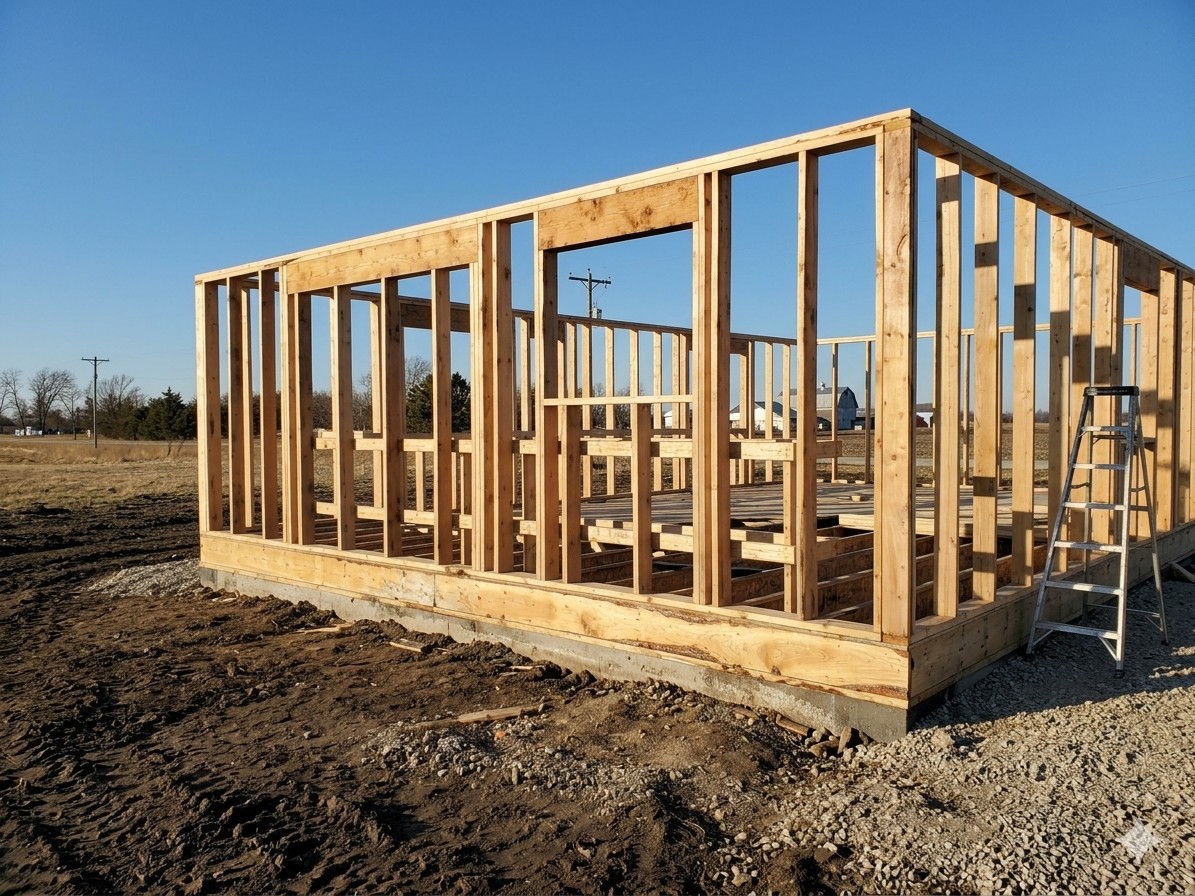
This is a fun part where you no longer have to imagine how your home is laid out. It's hard work, but it moves along quite fast.
This is also where you will see that your design is actually bigger than you thought when you measured the land. Creating walls gives the plan a realistic feel from that point on.
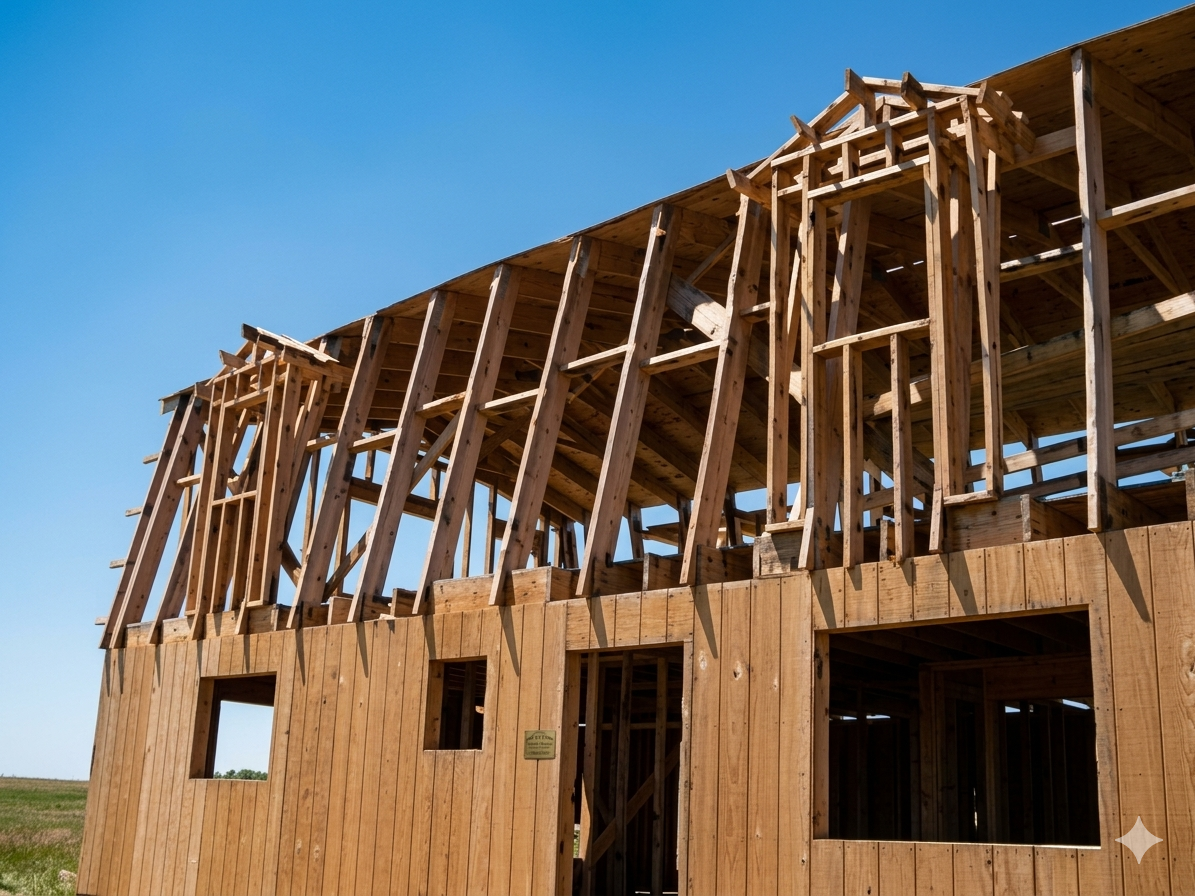
Foundation to dry-in is a bit of a race against the rain, but it's not a set rule. Sometimes delays happen and things get wet. Don't sweat this if you can't enclose the project before the rain and snow comes. Floors can be fixed. I say this because some people get really nervous about a race against time. It's your house. You may need to replace some flooring, but it will be fine so don't let this time frame discourage you from reaching your dreams.
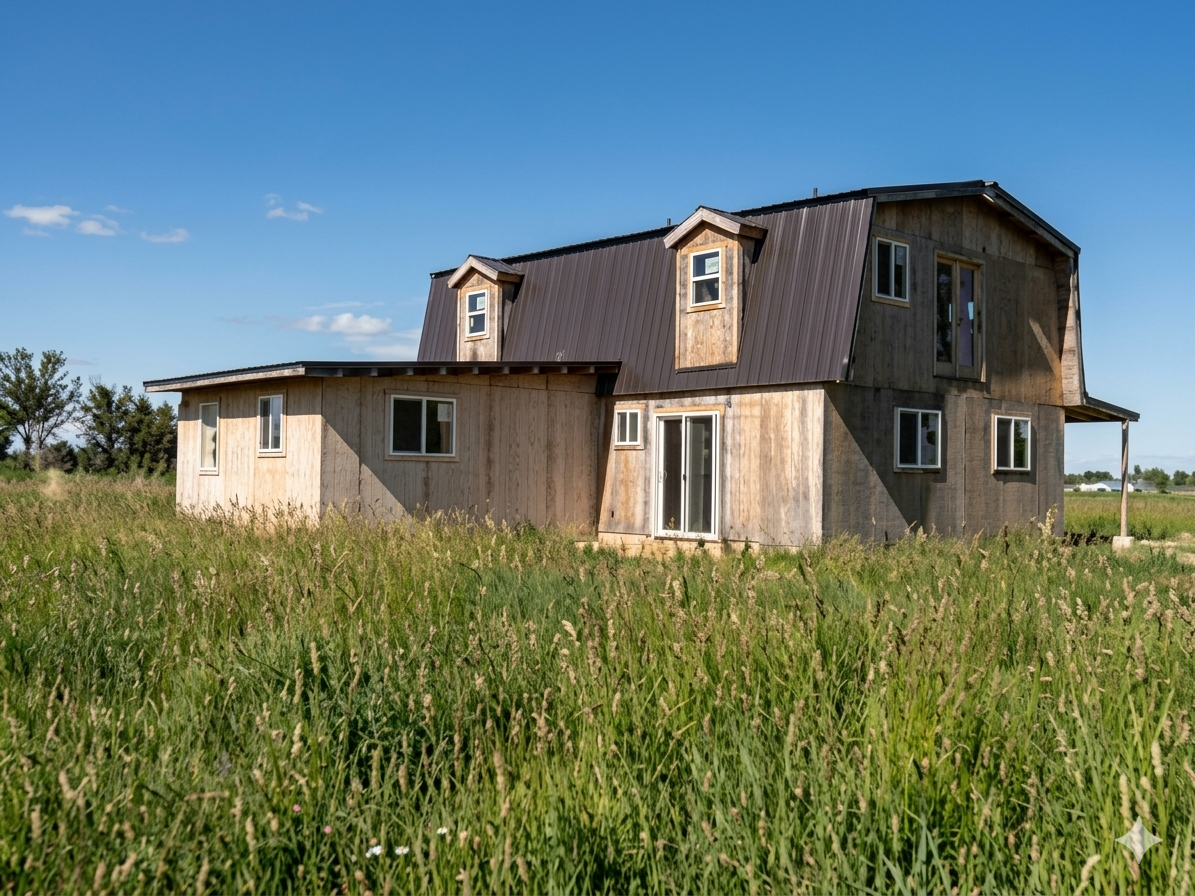
Stage 2 can last a long time and unforeseen delays do happen. Sometimes the outer shell of the project gets faded and people may wonder if you've given up on the project.
That's why dry-in is important. It protects the interior and it eventually will look beautiful with sidings.
Ownerbuilder-guide Stage 3
Stage 3 is where the work is mostly inside such as interior walls, insulation, electrical, plumbing, heating and sheetrock. These materials are not expensive, but they are time-consuming to put together. Your sweat equity has real value here when you consider how much you will save by doing work that often costs around $125 per hour per person if done by professionals.
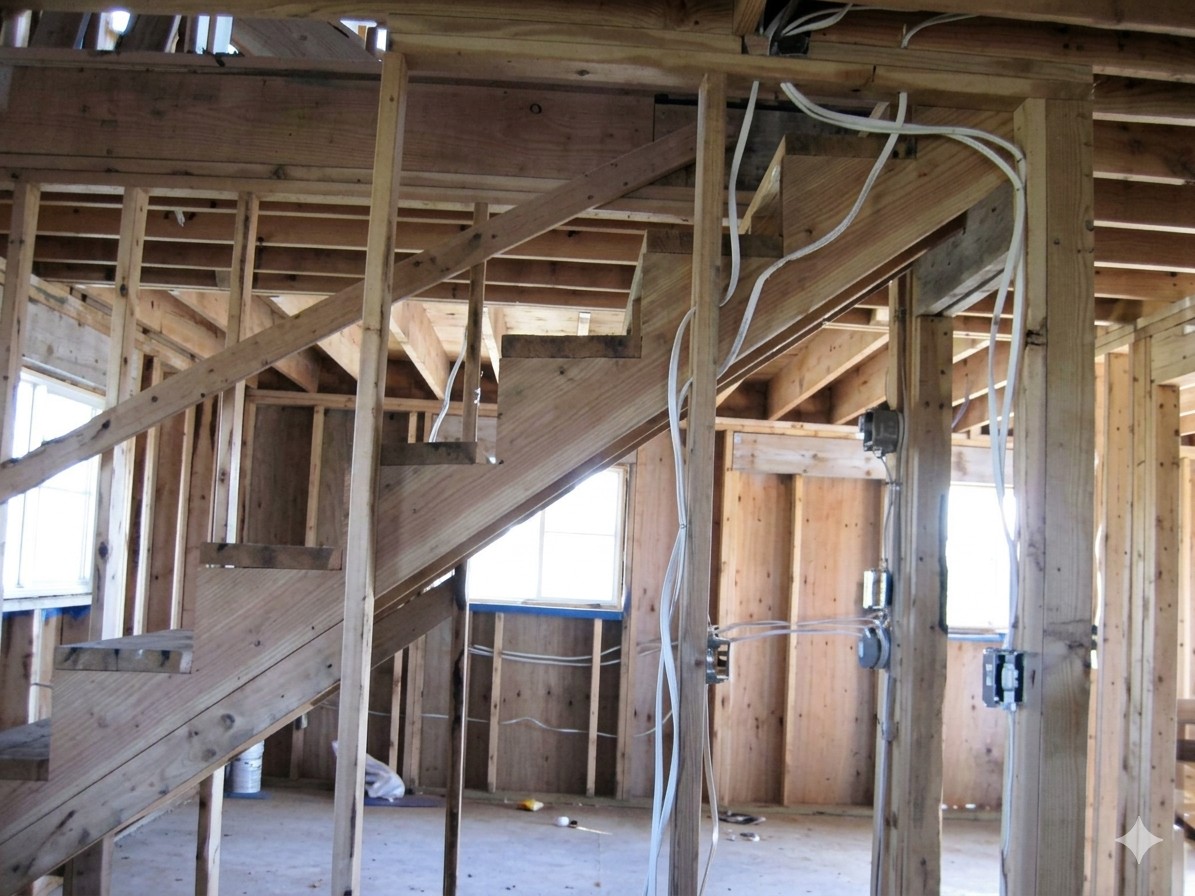
You will do most of the electrical wiring and once that is done an inspector will check your work before you are allowed to cover it all with insulation and sheetrock. He will make sure that you have followed all the codes both local and national.
You may have to repeat a few things and ask the inspector to return, but you will sleep easy at night once your home is finished because you will know you did it just as correct as the professionals.
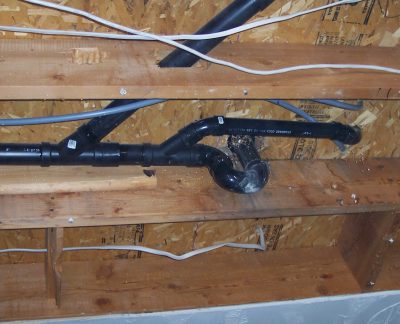
Plumbing will include fresh water lines and waste water and venting pipes. You can use metal or plastic. Plastic is much cheaper and easier to work with.
You will need to conduct a low pressure air test in the waste lines and an inspector will confirm that the lines hold air before letting you cover the walls with sheetrock.
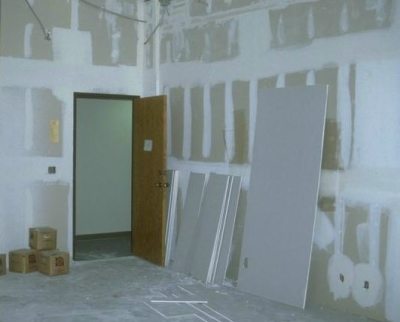
After you get confirmation from the building, electrical and plumbing inspectors on the initial inspections, you will get to cover the walls with sheetrock.
You will then use drywall tape and compound to seal up the joints and nail holes. This is an art more than a science, but the learning curve happens quickly and sheetrock is dirt cheap so mistakes won't break the bank.
After completing these things your home will have a value that will be at least twice as much as the cost needed to finish it. This is great collateral that even those with bad credit can get a construction loan. For example, a home at this stage could be worth around $100,000. It may need $40,000 to finish so the construction loan will probably be for more than that. With that, you can install kitchen cabinets, HVAC systems(Heating, Venting, Air Conditioning), bathroom fixtures, house siding, paint, trim, appliances, carpets and stuff like that. You may even need to drill a well and install a septic system.
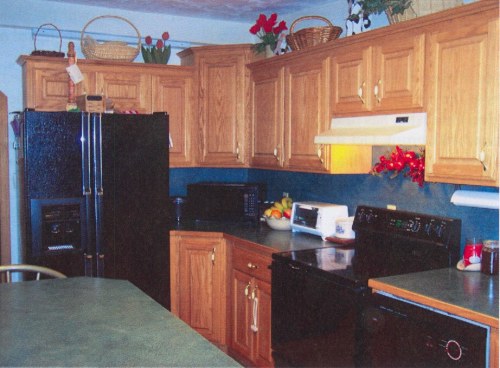
After a construction loan, (assuming you go that route) you will be able to buy cabinets or have them made and installed for you.
I encourage you to hire this part out. You would need special tools to do this yourself. Also, mistakes with hardwood could be expensive. Experience matters here. Sometimes it's OK to get help from professionals.
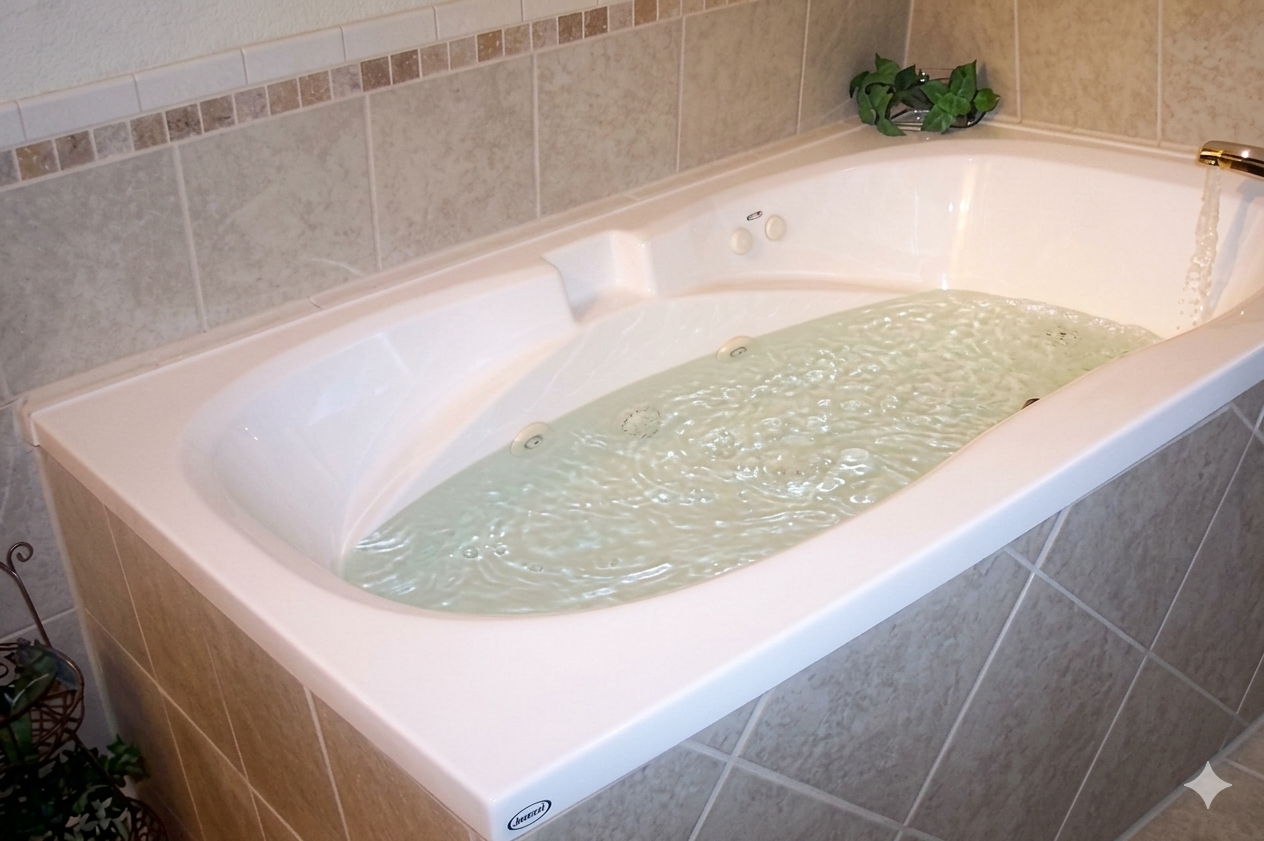
Some of the fixtures can be quite expensive. They are usually easy to install even if they look complex.
This jetted bath was on our wish list since we started our project. We put tile all around. I think it's important to have a small wish list to help you get through the hard work. It's a great reward that you will have earned.
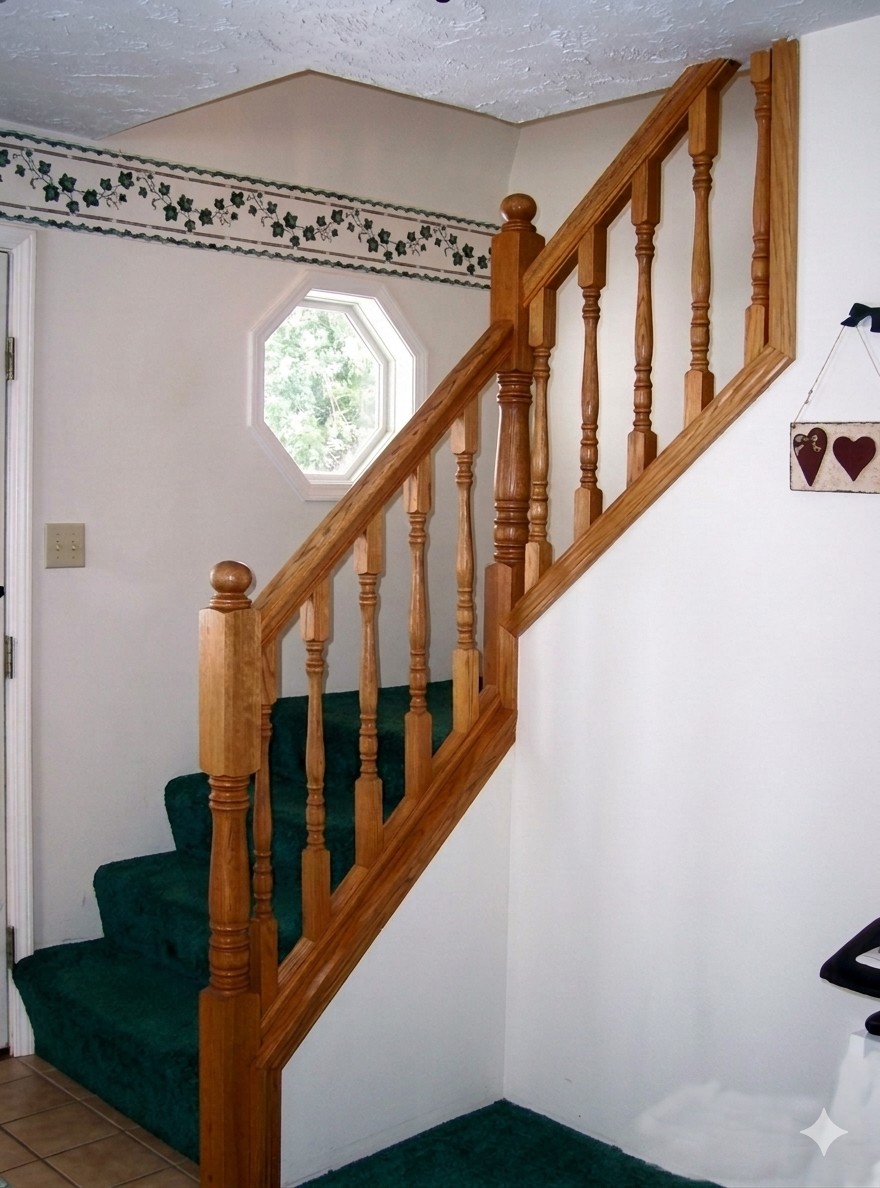
The finish work will be time-consuming, but really worth it. When you start your house project, you will be doing the framing rough work at first.
That rough work will all get covered up with finish work so by the time your project has matured, your skill will have improved as well.
Finish work can be done by you or hired out. If you opt for hardwood, then the work should be more precise. If you want to paint all the window and door frames as well as bannisters, then you can fill in the mistakes with putty and paint over it.
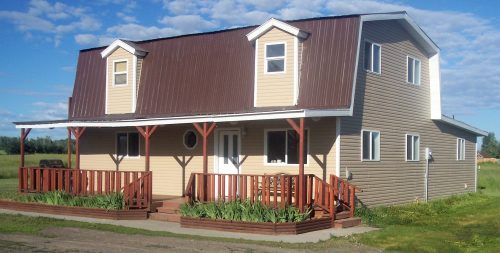
You will be surprised at how much a difference siding and decking will make to the appearance of your new home.
As a sidenote, I first want to address a few thoughts or questions that almost every person that entertains being an owner-builder has.
Frequently asked questions...
Will my home have low value due to my inexperience?
Do inspectors dislike owner-builders and how do I deal with inspection anxiety?