DIY House Wall Framing Guide: The Ultimate Step-by-Step Blueprint
DIY House Wall Framing Guide: The Ultimate Step-by-Step Blueprint.
Ready to see your floor plan leap off the paper and become a real home? Welcome to the ultimate DIY house wall framing guide, your step-by-step structural blueprint designed specifically for owner-builders taking charge of their own construction. While pouring concrete can feel like an endless grind, learning how to frame a house wall is where the real fun begins—it is the exact stage where your house gets its true shape, layout, and personality.
You don’t need years of job site experience to master these wood wall framing basics. Whether you are weighing lumber options, learning how to safely layout studs, or tackling structural window and door headers, these straightforward owner builder framing instructions will give you the skills, confidence, and building code layouts needed to stand up straight, strong, and perfectly plumb walls.
Master the fundamentals of wood wall framing. From selecting lumber thickness to laying out studs and rough openings, this DIY guide walks owner-builders through every step.
The Blueprint of a Framed Wall: High-Level Concepts
Before you start cutting and banging nails, you need to understand how a wall assembly functions as a complete system. Below is the breakdown of the essential components and decisions you will make during this phase.
Sectional Wall Building (Pre-Assembly vs. Stick-Framing)
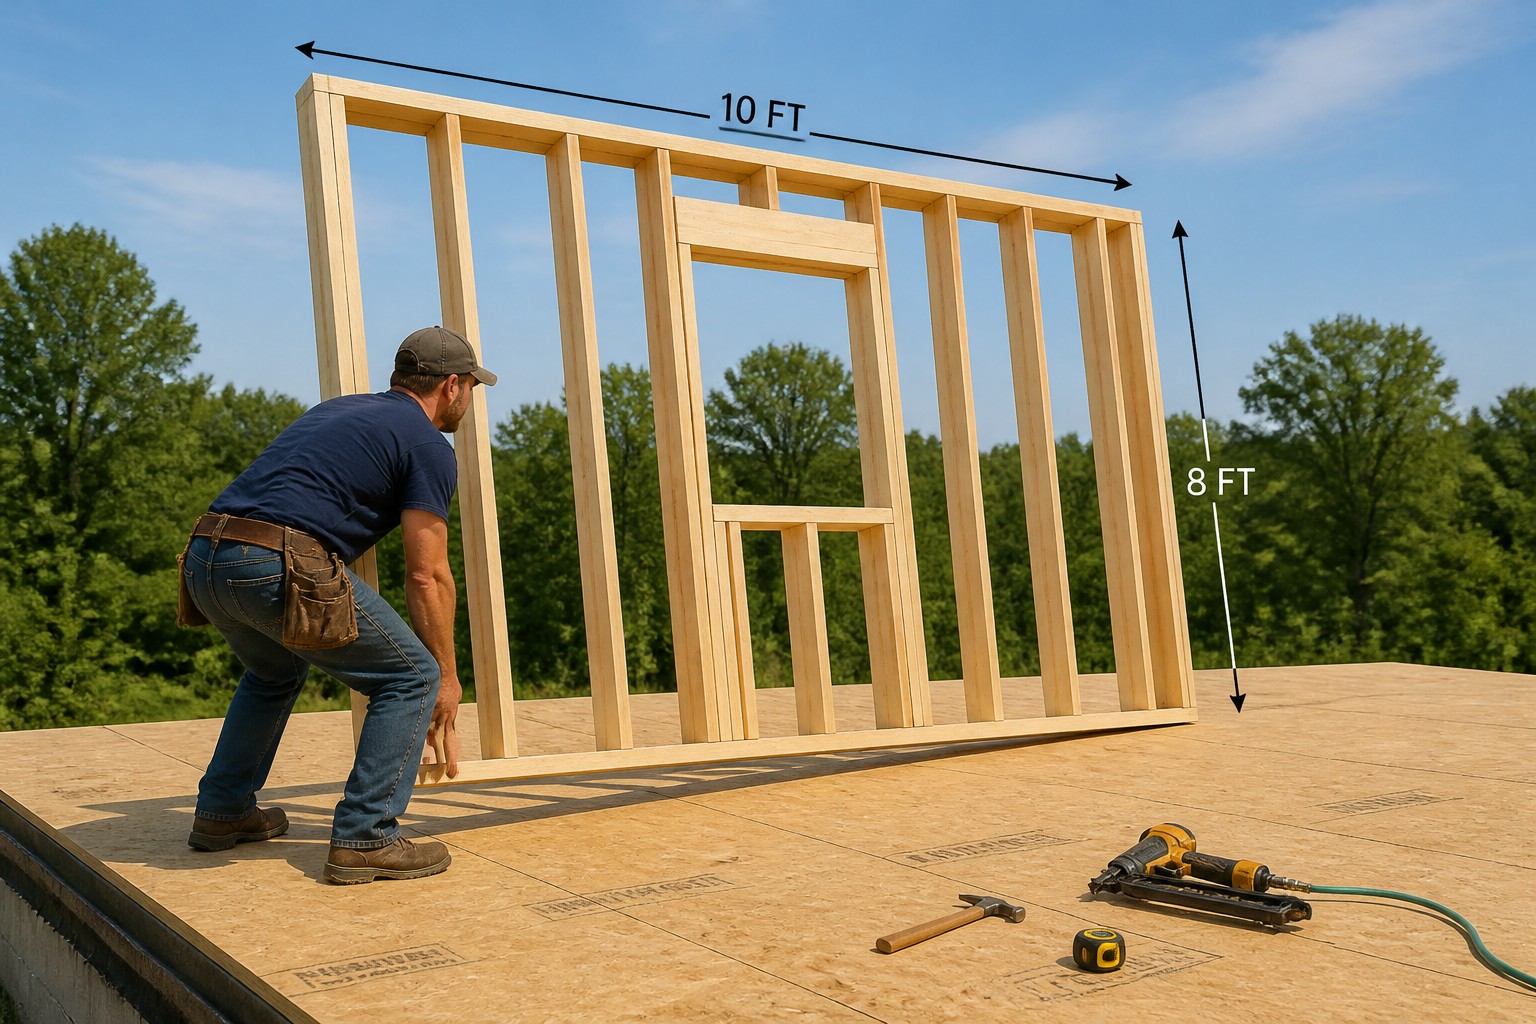
- Sectional wall building: Building your walls flat on the subfloor in manageable sections and tilting them up is the safest, most precise method for an owner-builder. It eliminates the frustration of trying to hold heavy studs straight while toe-nailing them into place overhead.
- Stick Framing: Laying the bottom plate first and building on top by toenailing studs as you work up. This is still a method, but the more common approach it to build in sections and stand them up.
- Explore the full guide: Learn how to break your floor plan down into manageable wall panels, lift them safely, and secure them perfectly straight. on our deep-dive page: [Link to T4: Step-by-Step Guide to Pre-Assembling and Raising Framing Walls].
Choosing Your Wall Lumber Thickness (2x4 vs. 2x6)
Selecting your wall thickness is one of the most critical structural and financial decisions you will make. While 2x4 framing is common for standard interior partitions, using 2x6 lumber for exterior walls provides a much deeper cavity for high-efficiency insulation and adds significant structural strength. It's usually about where you live and the local climate that suggests wall thickness.
- Explore the full guide: Weigh the cost, insulation R-values, and structural benefits of both options in our comprehensive comparison: [Link to T4: 2x4 vs. 2x6 Exterior Walls: Which is Best for an Owner-Builder?].
Anatomy of Rough Openings (Windows and Doors)
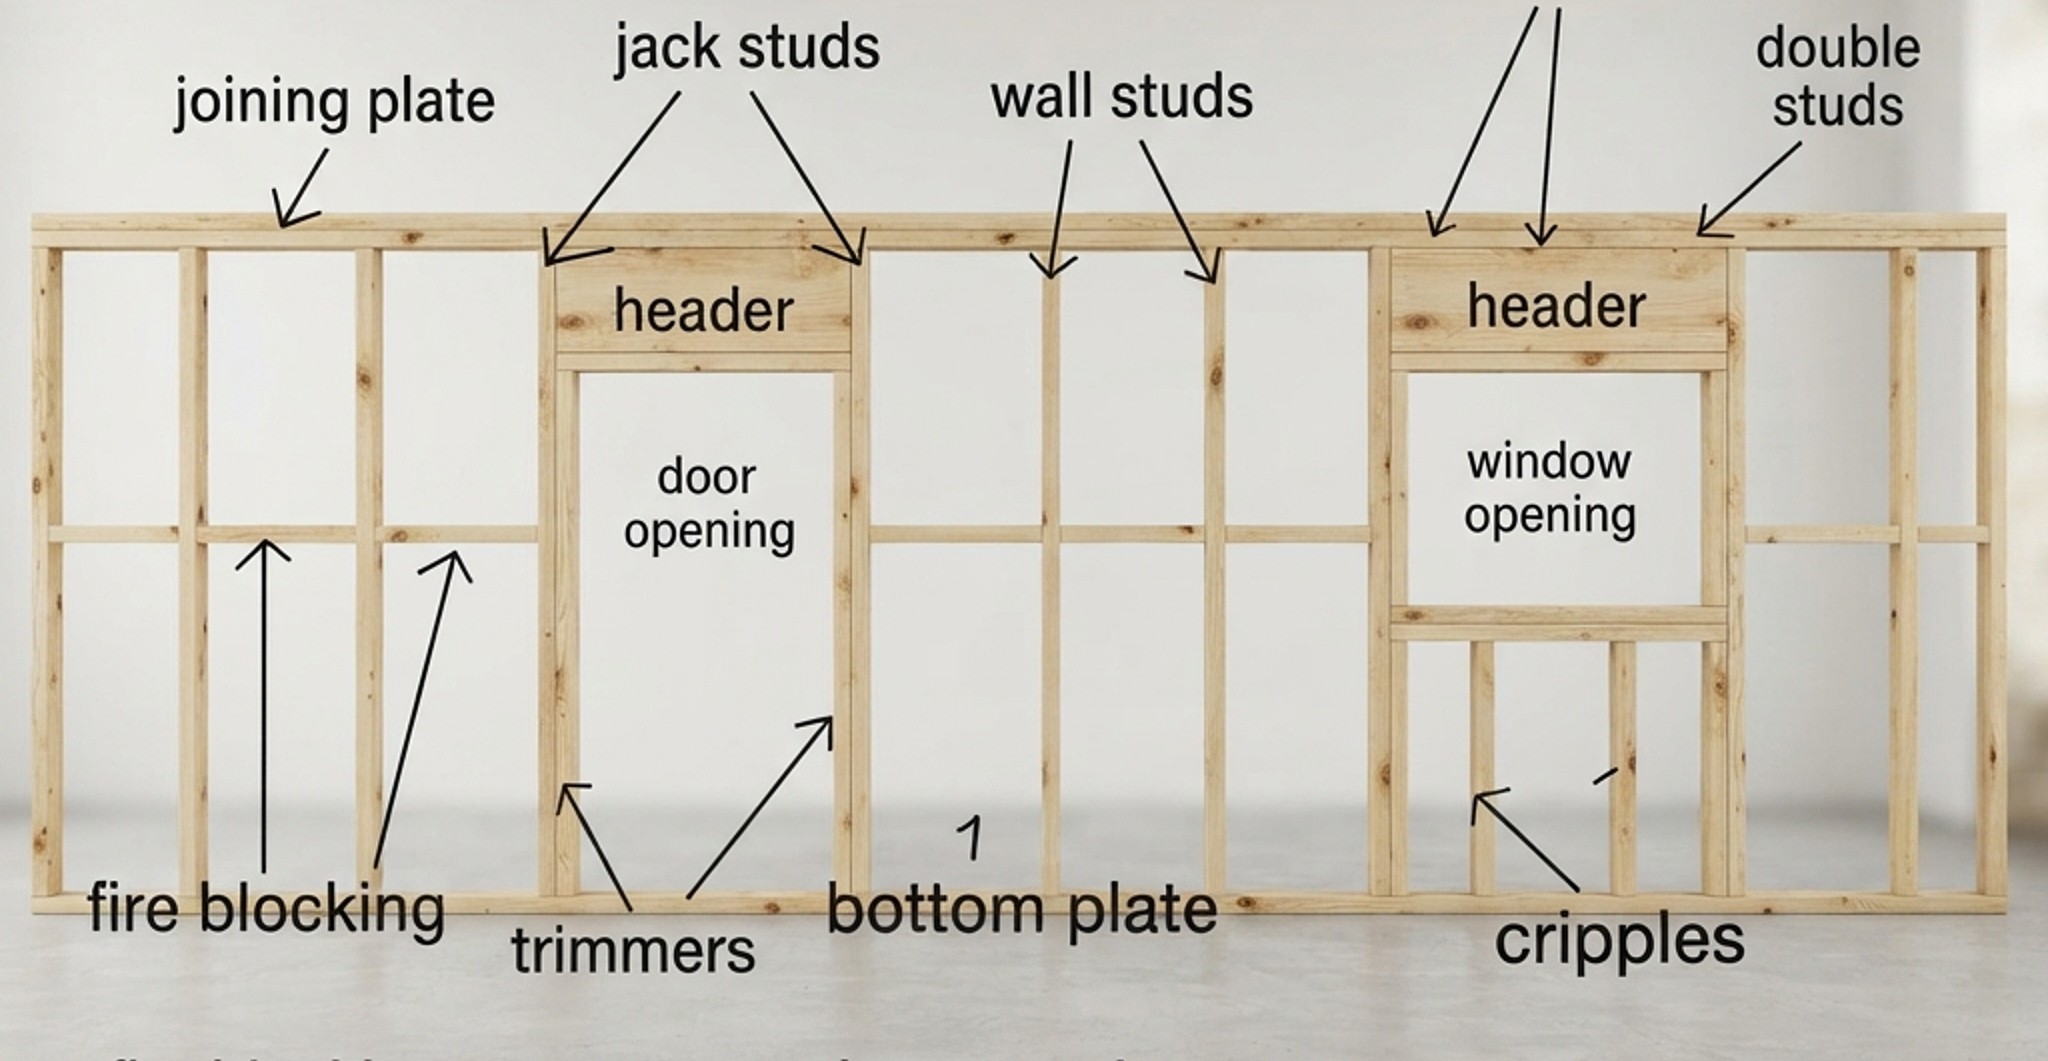
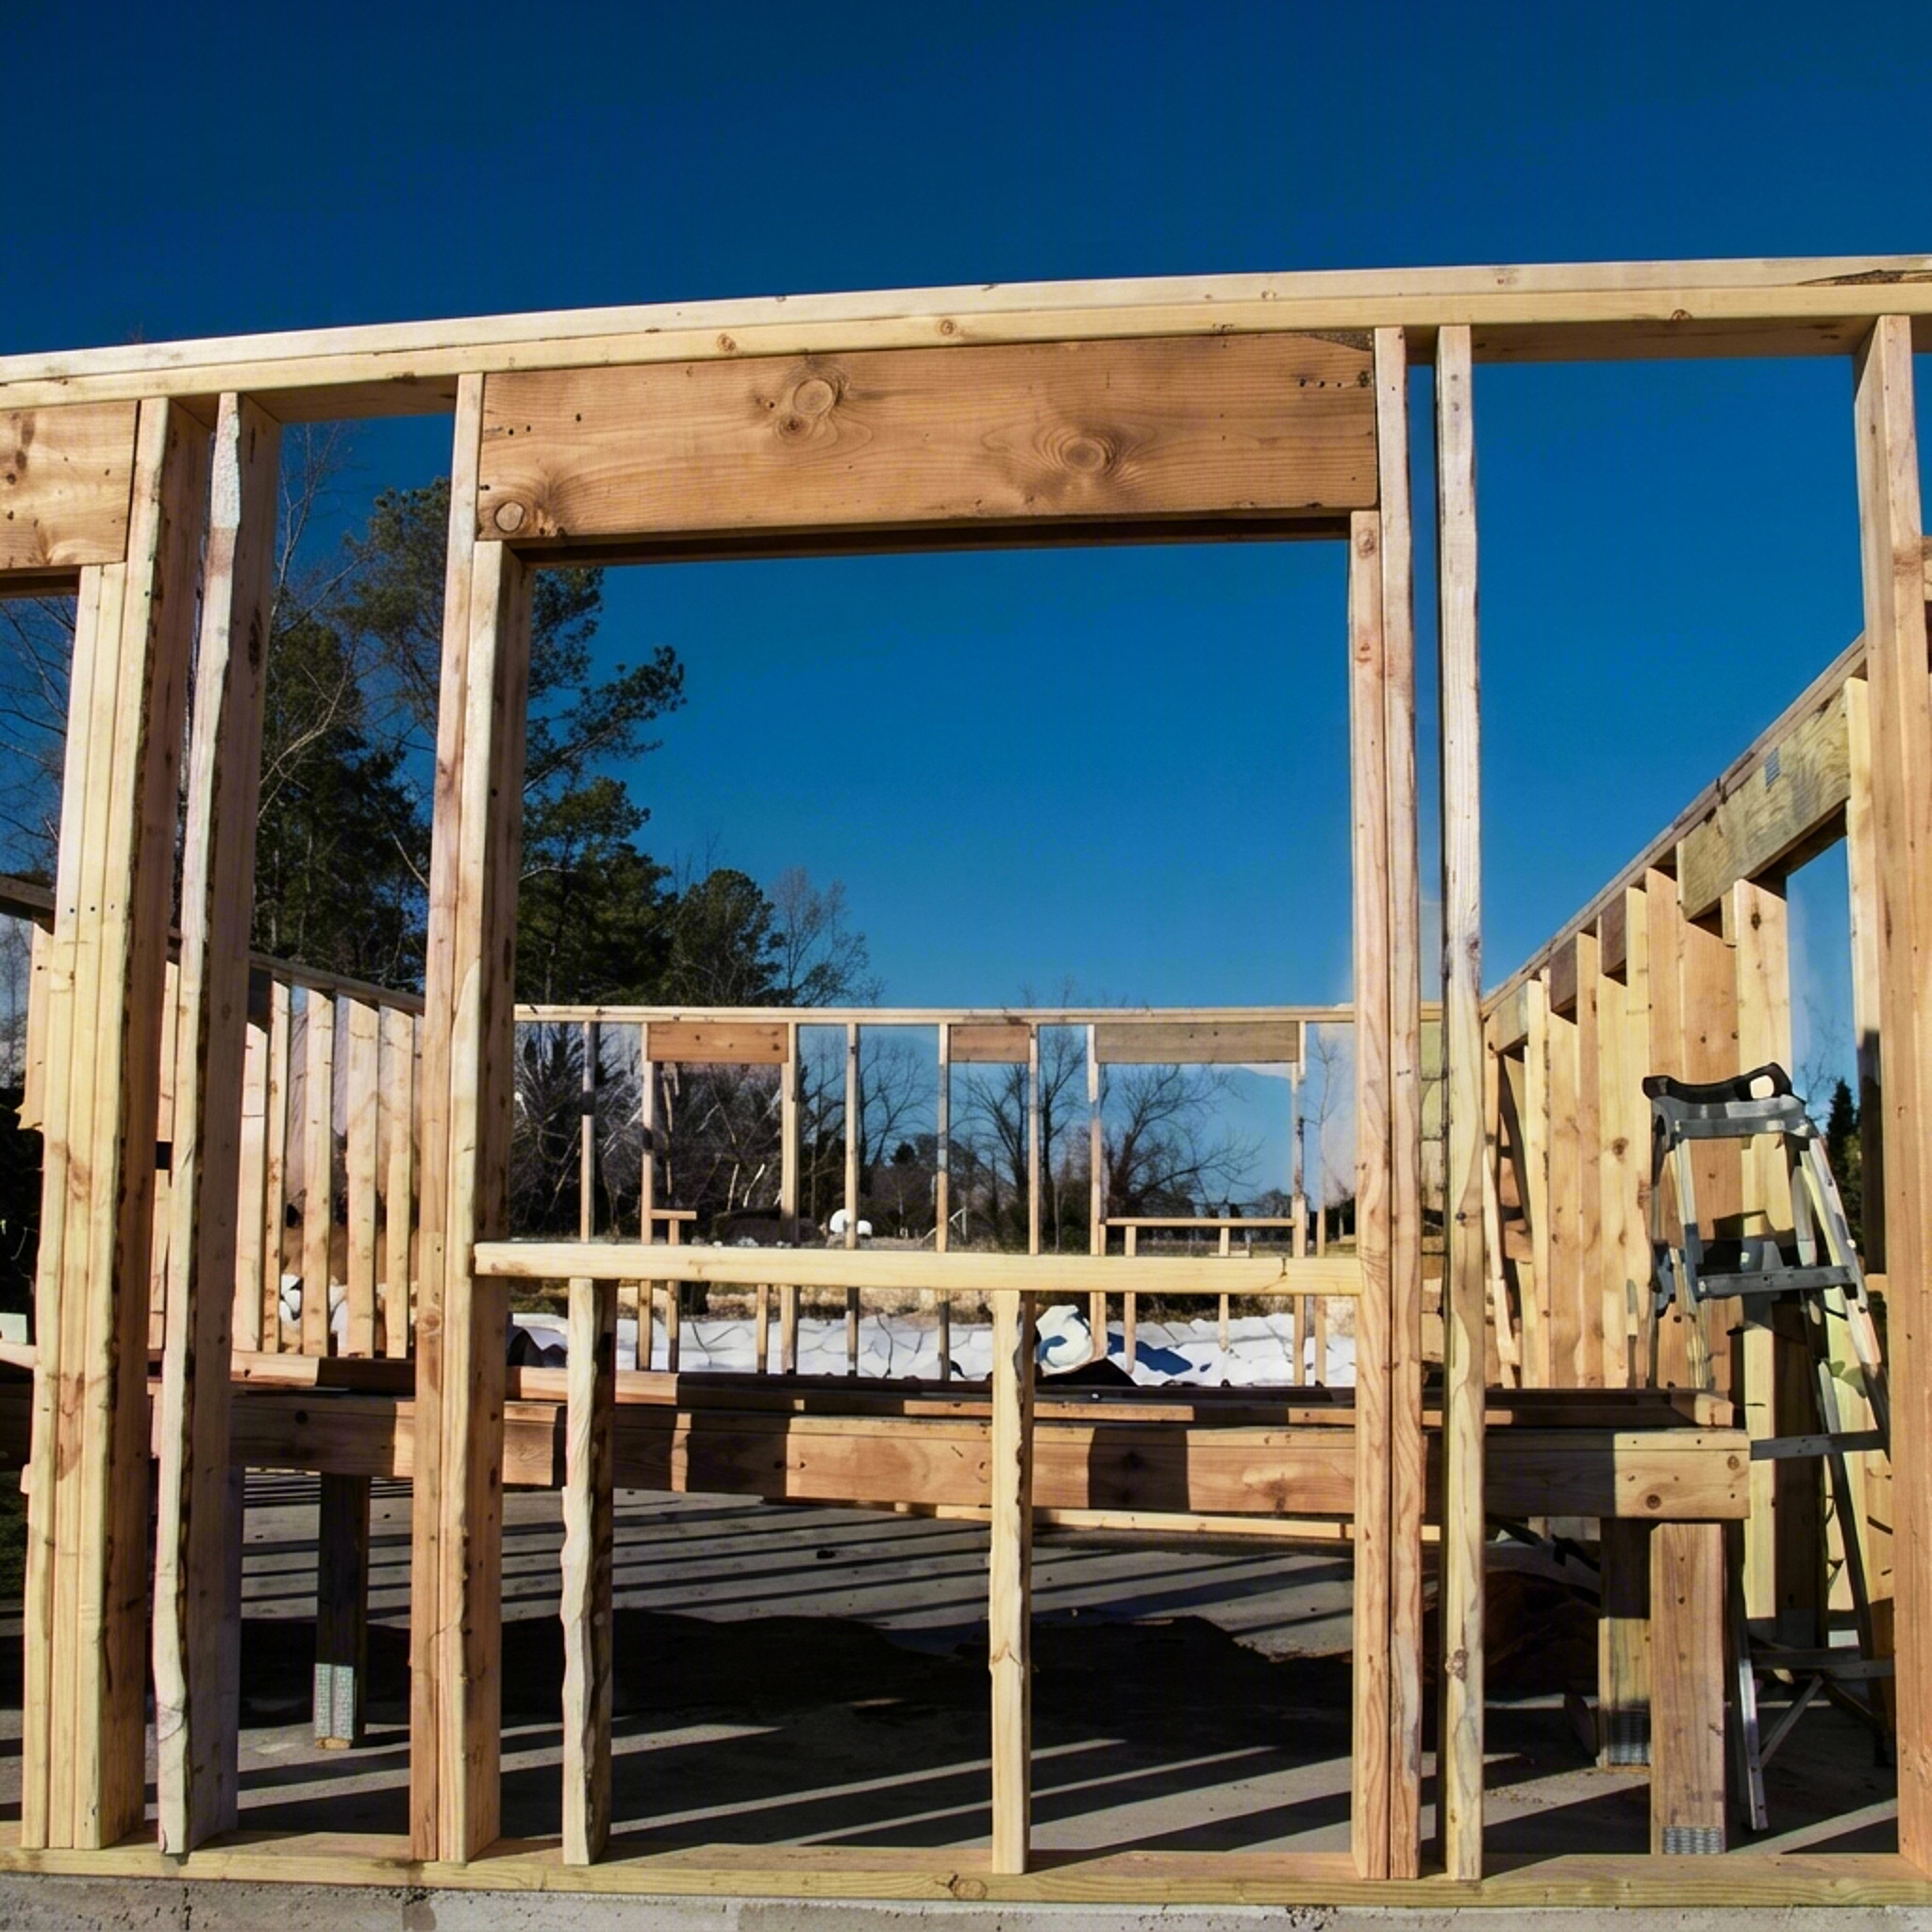
Every window and door creates a gap in your home's structural support. To keep your roof from sagging, a network of specialized studs redirects the weight around the opening down to the floor system.
- Headers: Heavy beams that bridge the top of the opening to carry structural loads.
- King Studs & Trimmer (Jack) Studs: Full-length studs paired with shorter support studs that hold up the header.
- Cripple Studs: Short framing members that fill the space above headers or below window sills.
- Explore the full guide: Master framing layout math and discover how to read manufacturer spec sheets: [Link to T4: How to Frame Window and Door Rough Openings Accurately].
Top Plates and Wall Height Adjustments
Standard walls use a single bottom plate and a double top plate to tie intersecting walls together. Calculating your total wall height isn't just about picking 8-foot or 9-foot studs—you must factor in the thickness of your three horizontal plates and how they align with standard drywall sheets to prevent unnecessary cutting.
- Explore the full guide: Avoid framing math headaches by following our exact height calculations checklist: [Link to T4: Calculating Wall Plate Layouts and Framing Heights].
Advanced Framing Layout (16" vs. 24" O.C.):
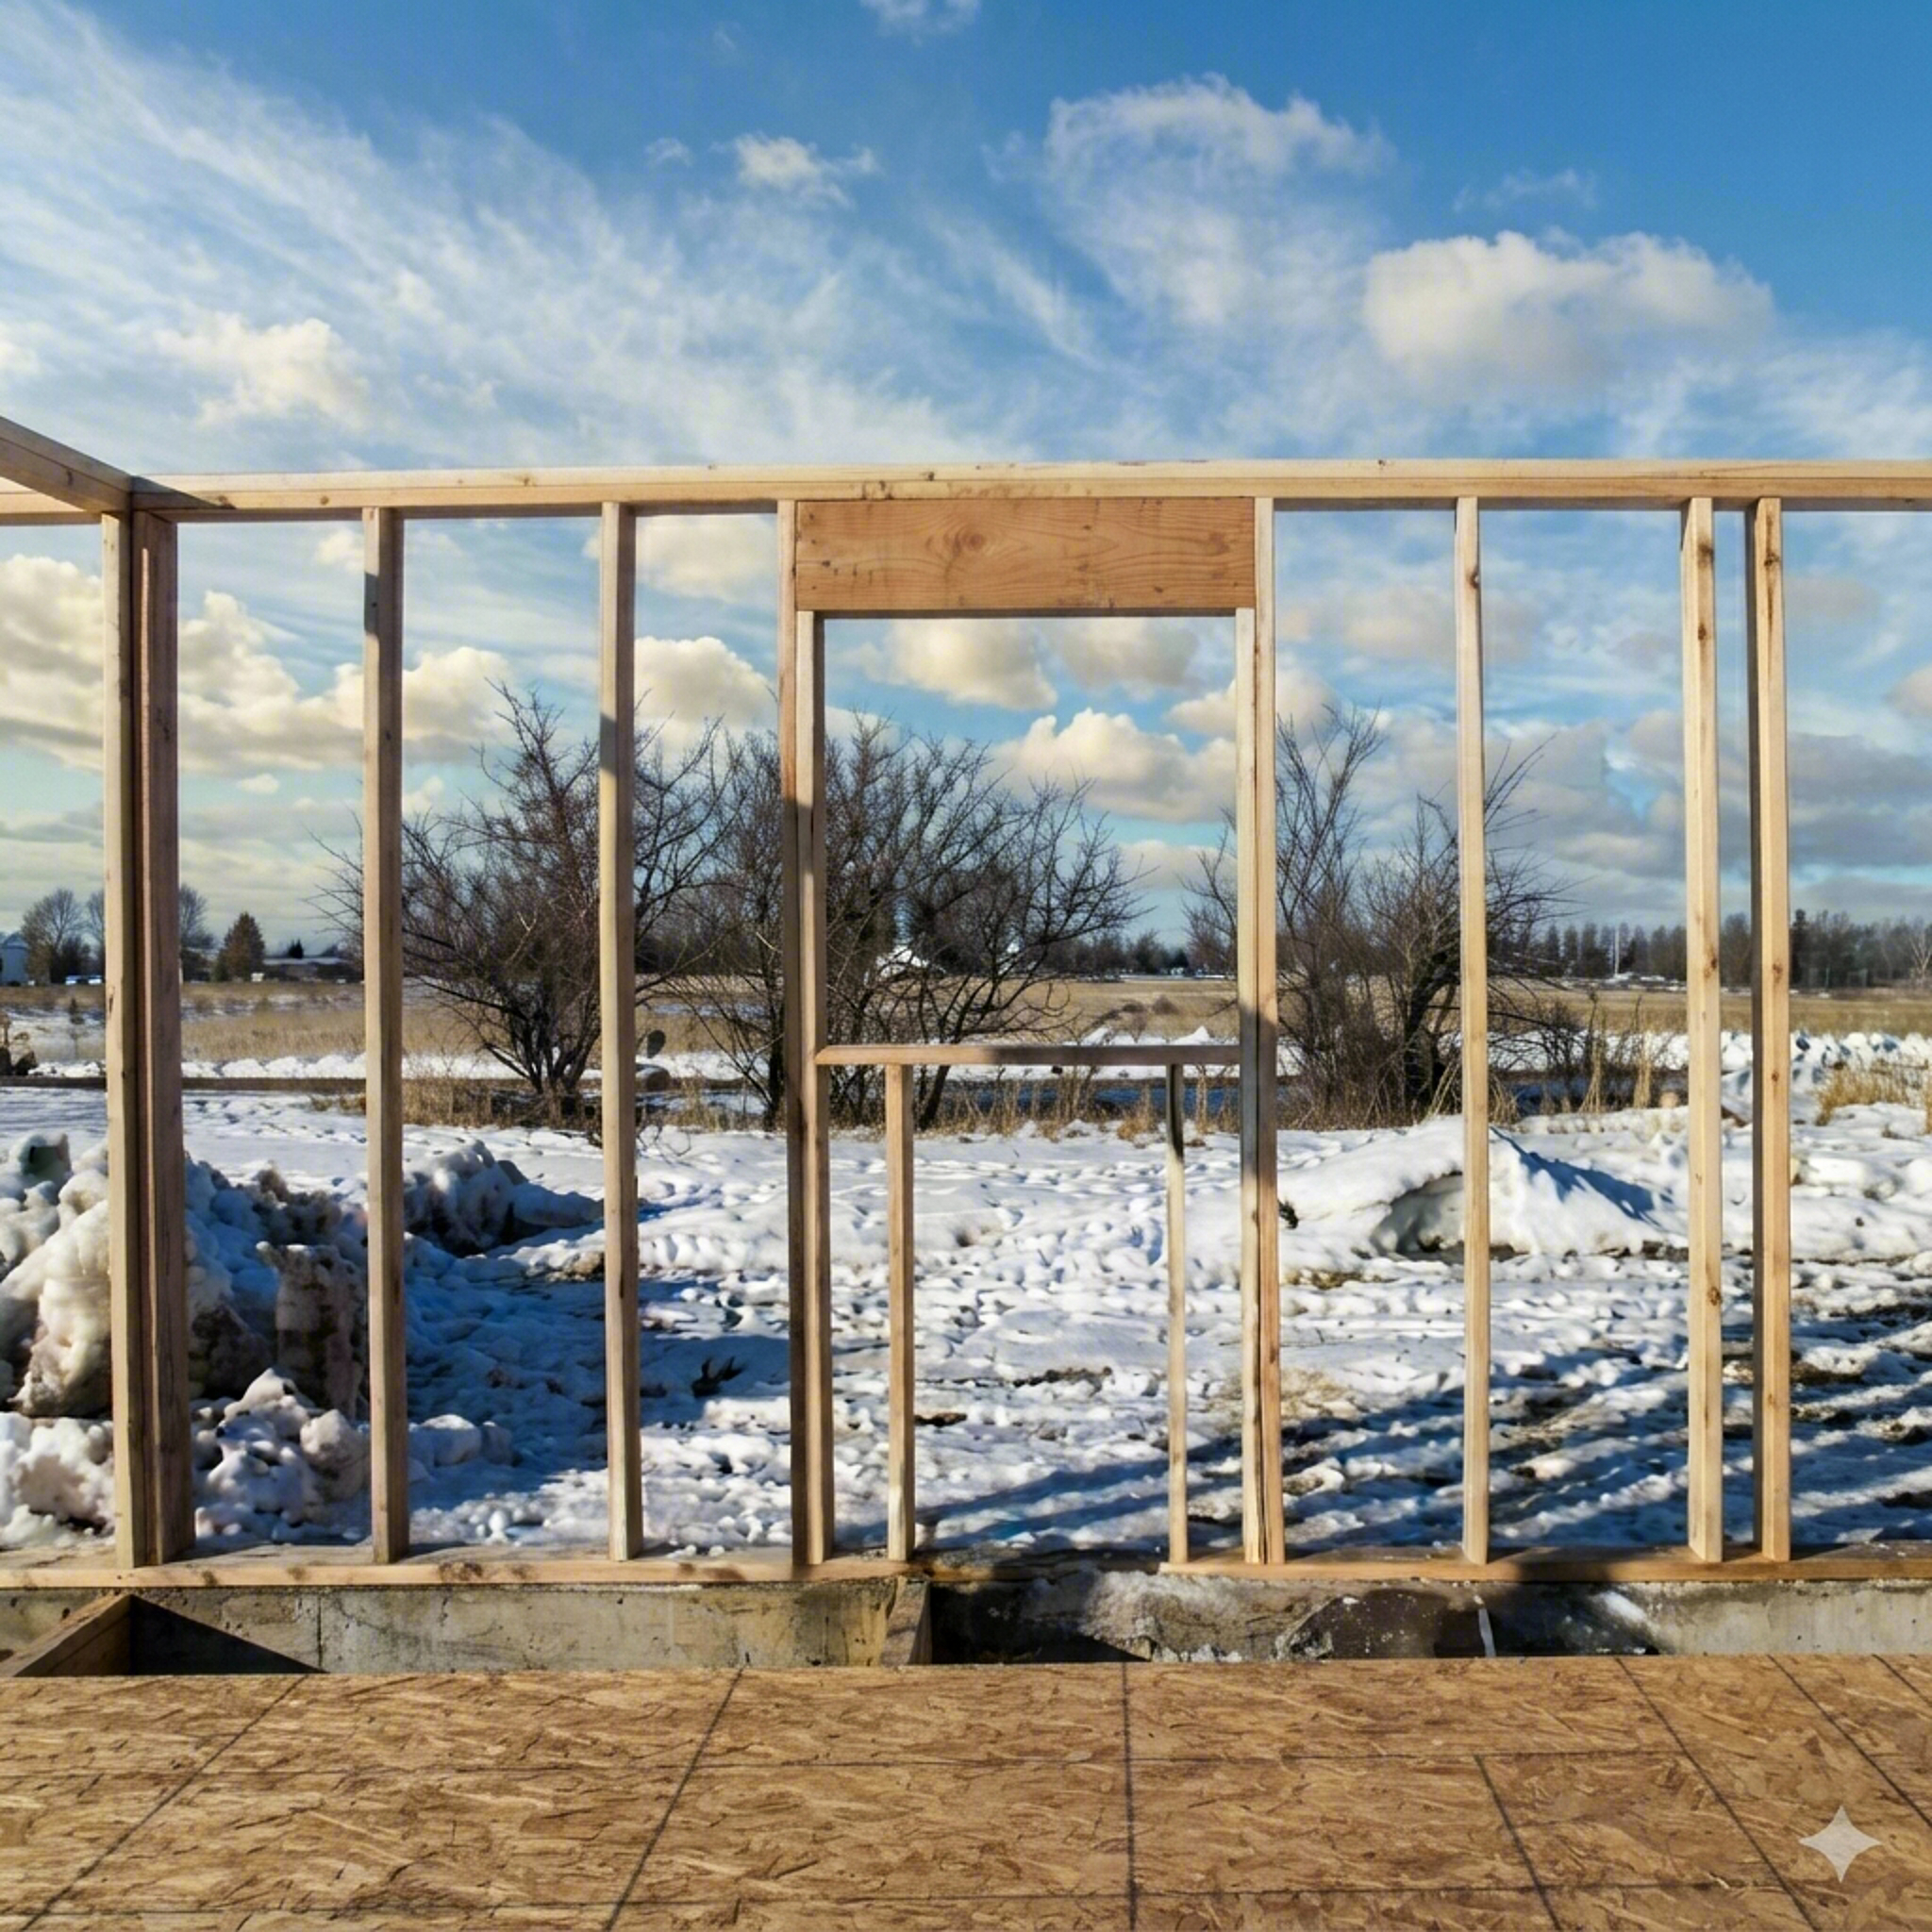
- Explain the rules of "On Center" stud layout so their sheathing and drywall edges land perfectly in the middle of a stud.T4 Opportunity: [How to Layout Wall Studs on 16-Inch Centers (The Beginner's Guide)]
Corner and Intersecting Wall Layouts (Drywall Backing):
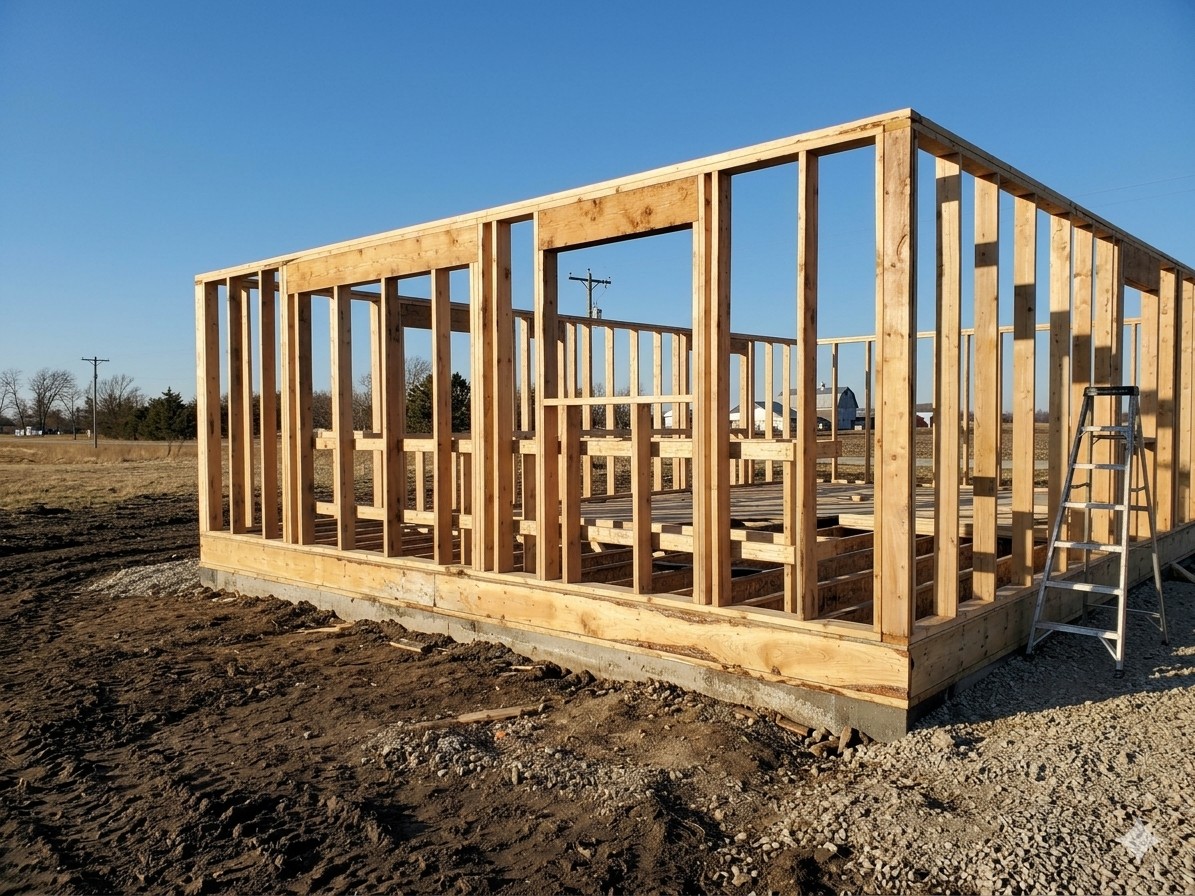
- Novice builders often forget that walls meeting at 90 degrees require specialized 3-stud corners or "ladder blocking" so there is a solid wood surface to nail drywall to later.T4 Opportunity: [How to Frame Corner Posts and Partition T-Intersections for Drywall Backing]
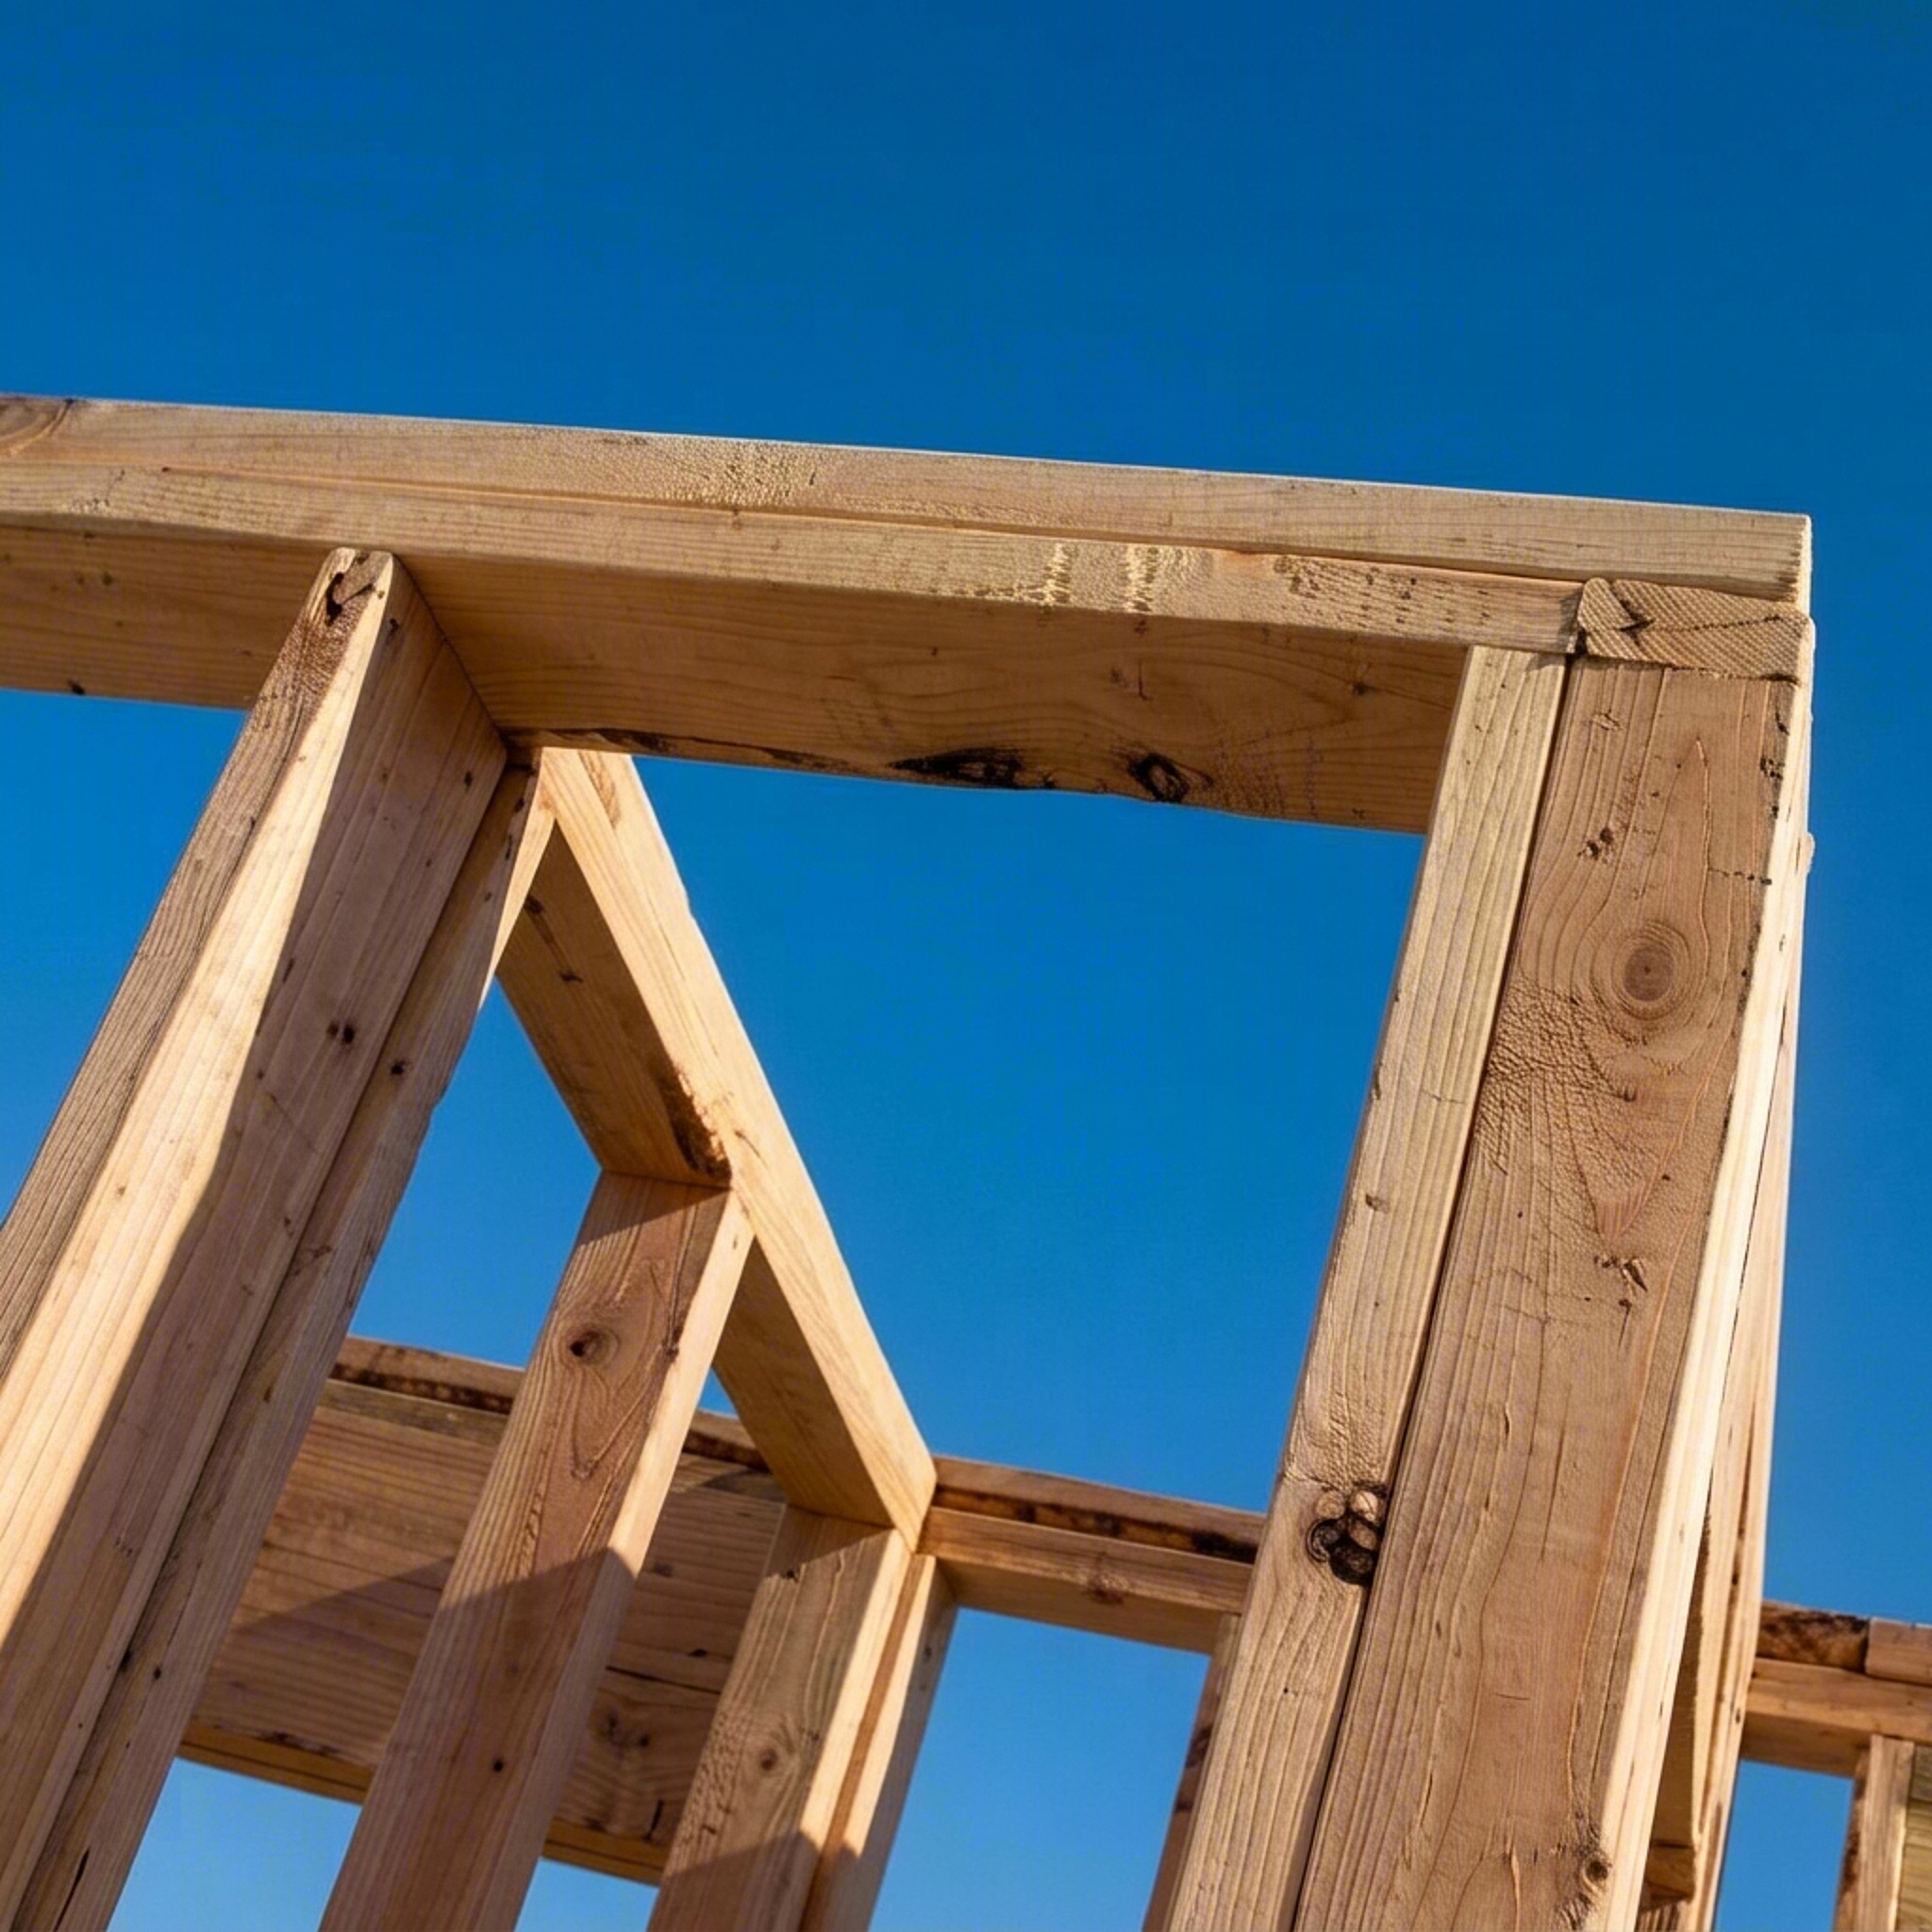
At the exterior corners, you must construct a specialized corner post assembly. This ensures a rock-solid structural connection between the two walls and provides a crucial nailing surface for your interior drywall later on.
Wall Bracing and Squaring:
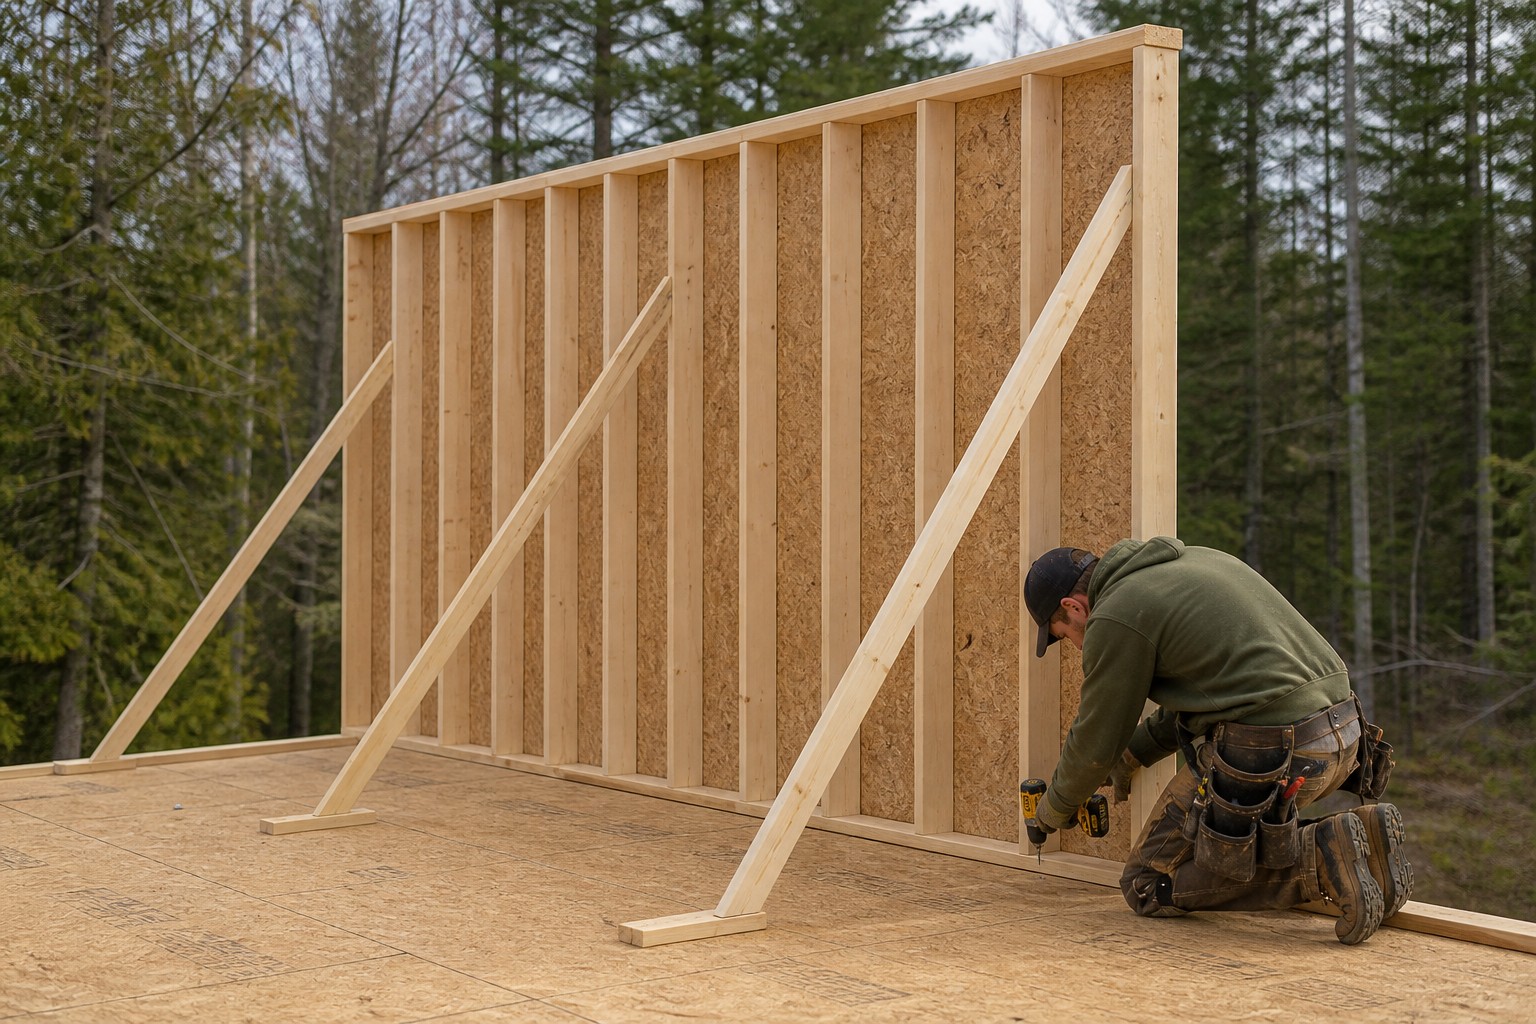
- A wall can look perfect on the ground but get pushed out of square when raised. Introduce the concept of temporary diagonal bracing to keep walls plumb until the roof sheathing is nailed down.T4 Opportunity: [How to Square, Plumb, and Temporarily Brace Framed Walls]
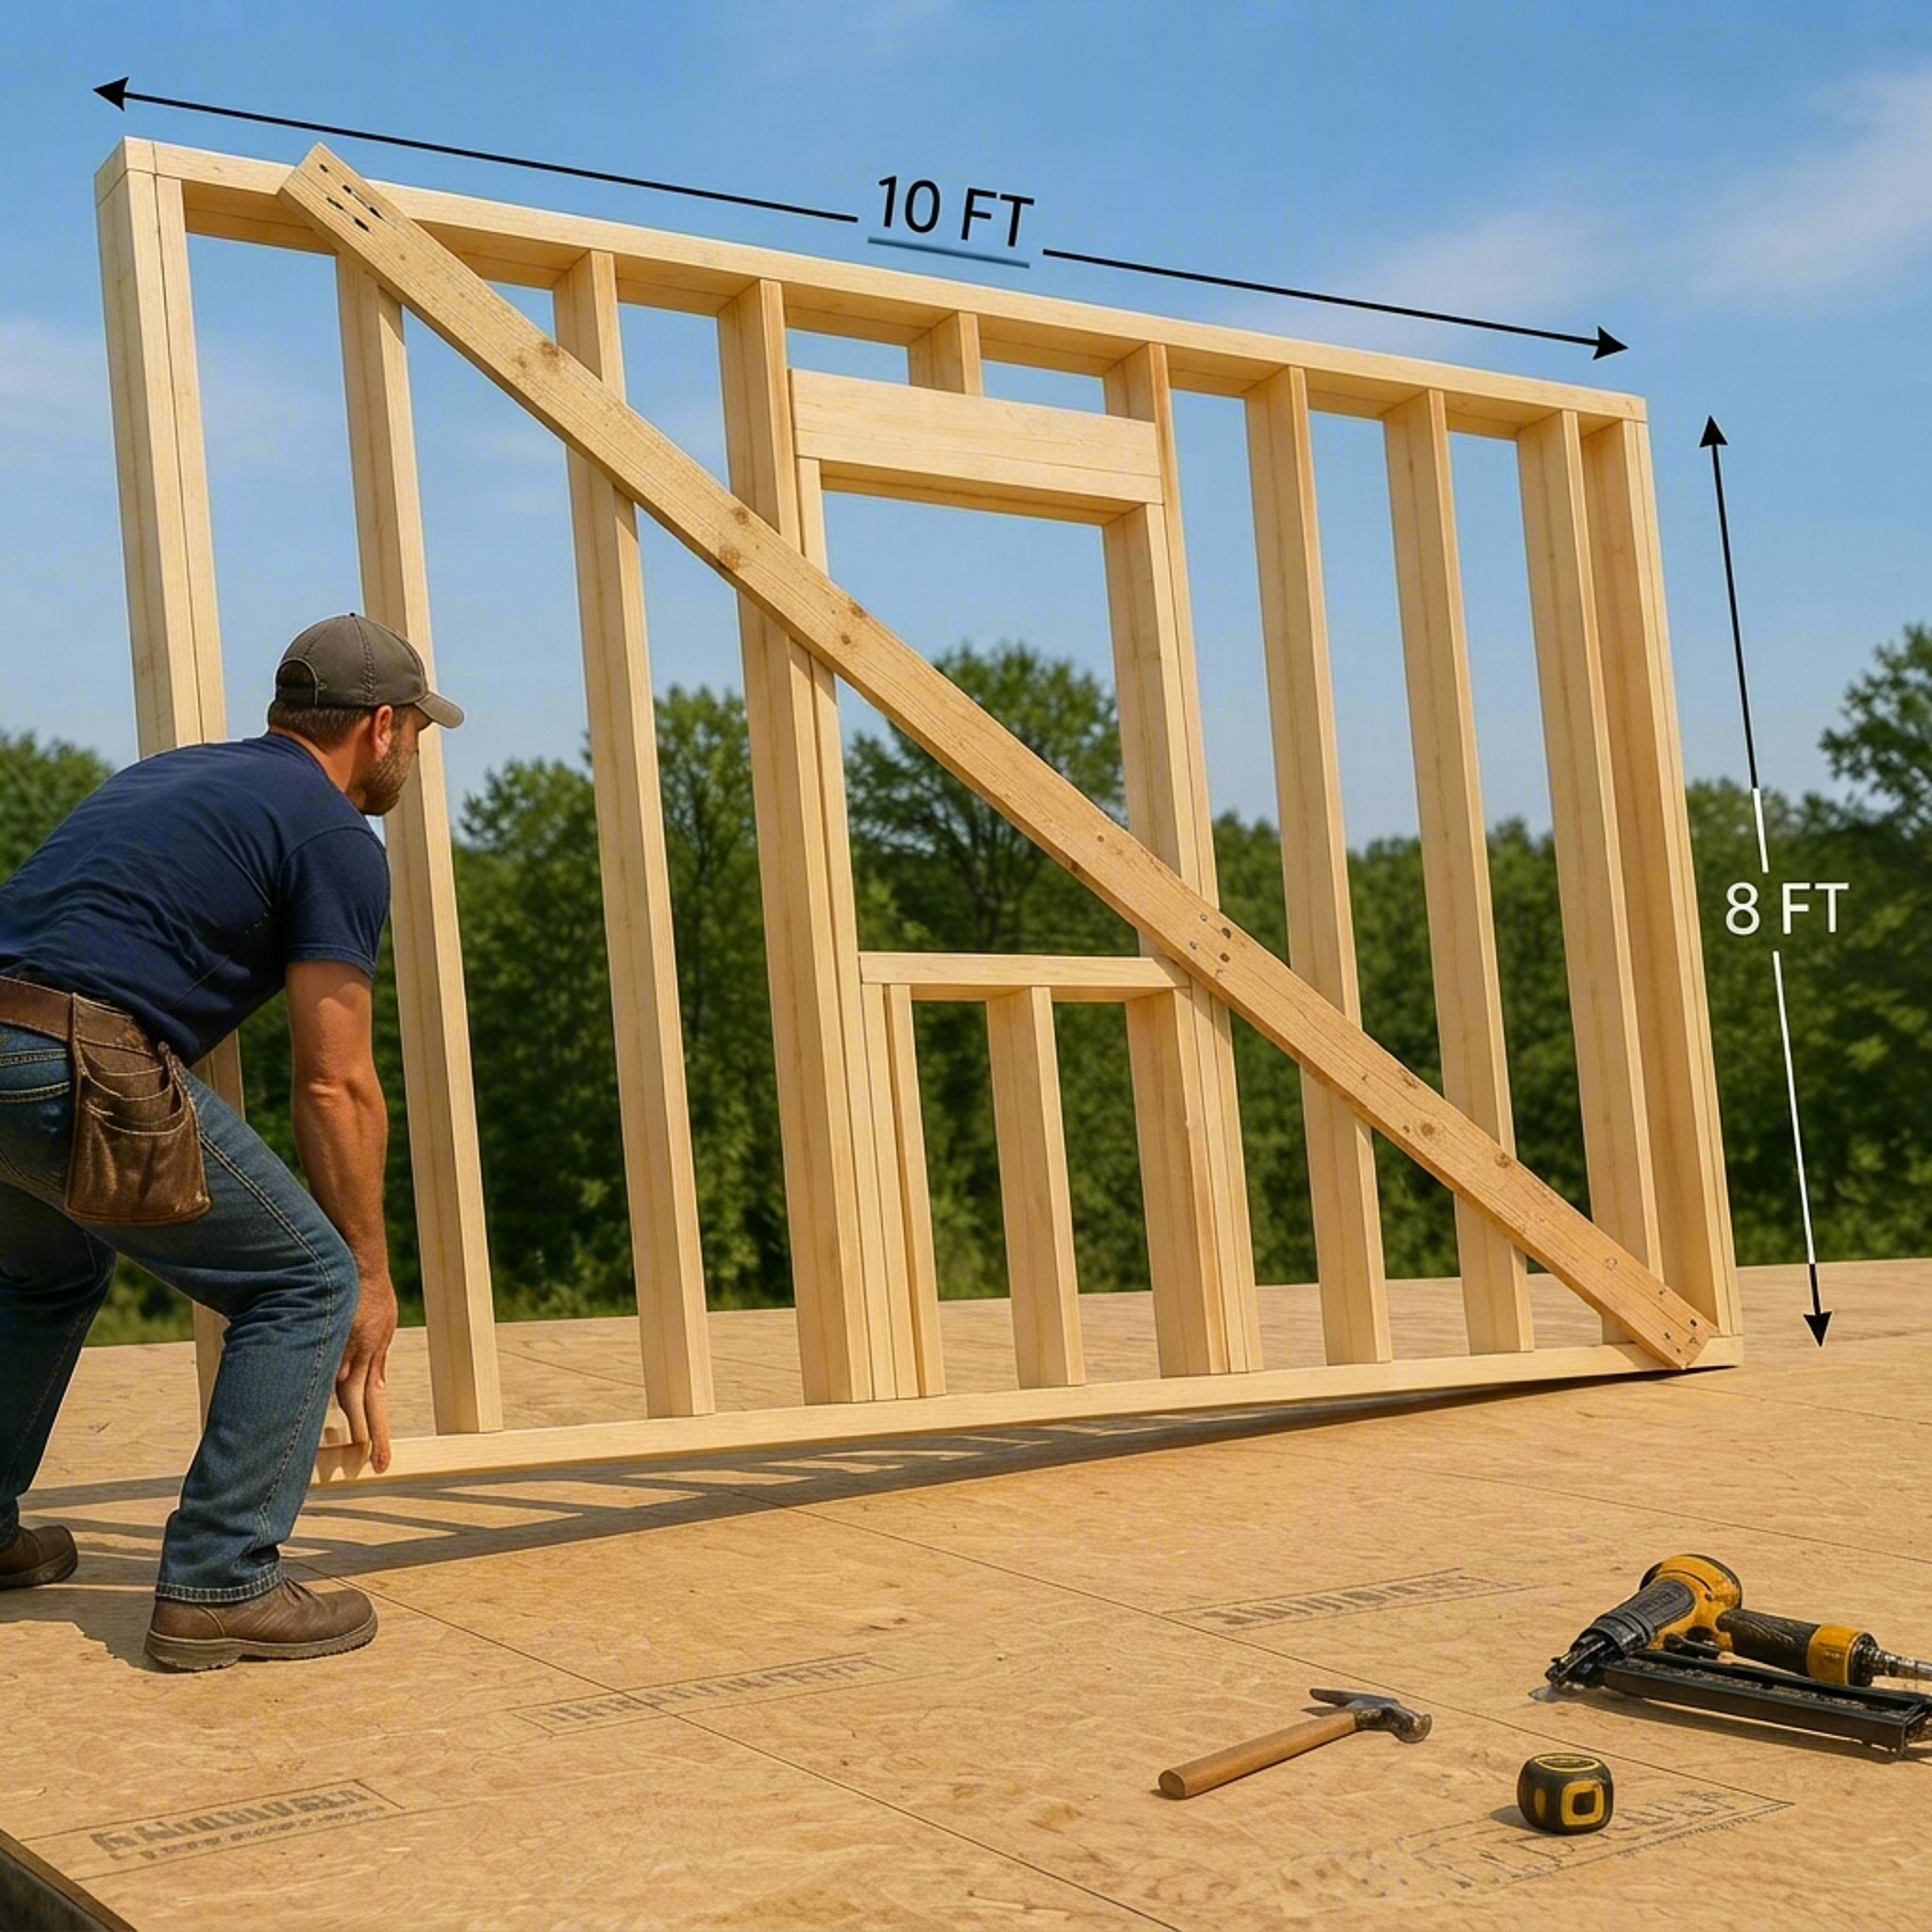
When we work alone, there will be times when we have to compensate for not having a buddy to help us, but in this case we just add a cross-member to maintain squareness before we lift up the wall and secure it to the floor. This makes sure the frame doesn't bend before we have a chance to secure it onto the floor.
Wall-to-Floor Fastening Codes:
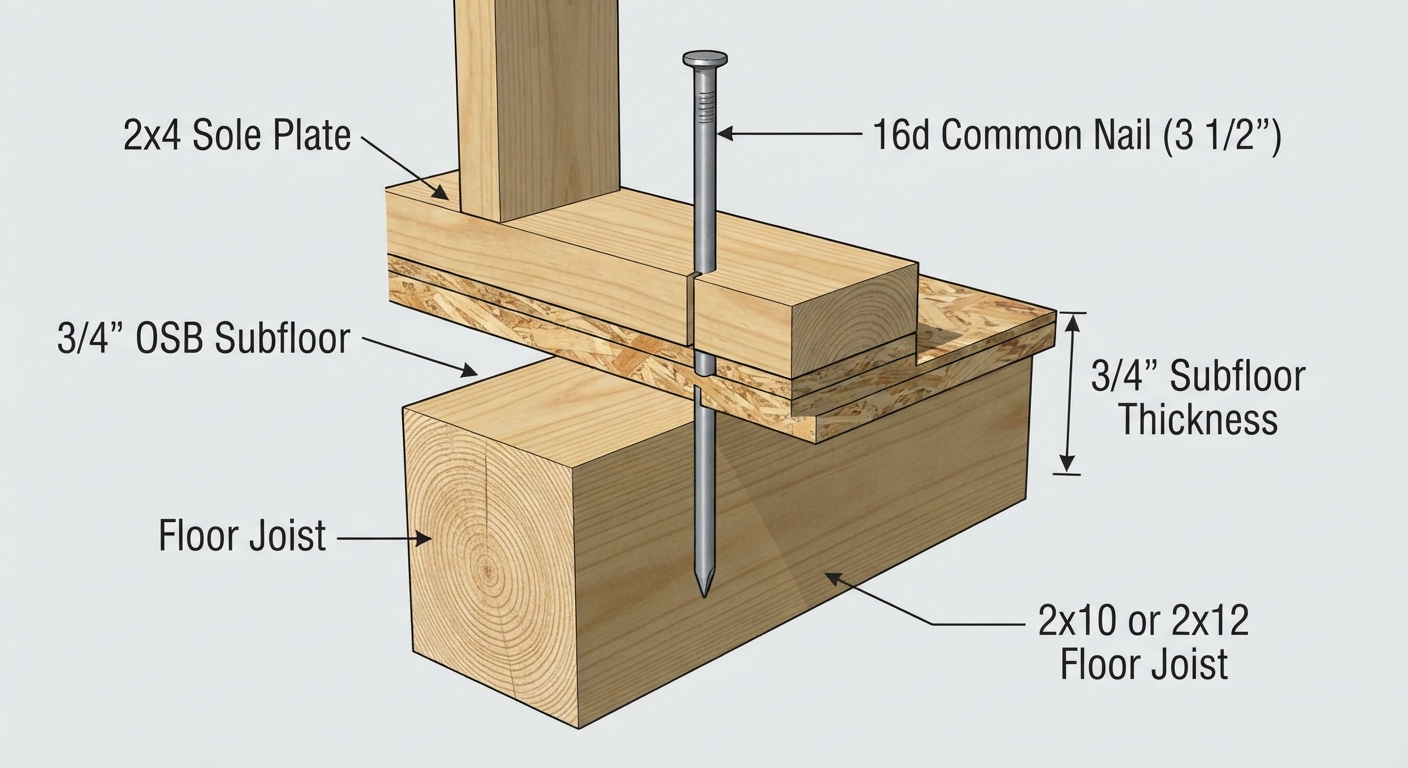
- Explain where and how to drive nails through the bottom plate into the subfloor and joists to meet structural building codes if the code requires it. Other walls can just be fastened to the subfloor. I will show you the difference. T4 Opportunity: [IRC Wall Fastening Schedules: Nailing Bottom Plates to the Floor System]
Wall-to-Floor Fastening Codes: