How to Mark a Sill Plate for Anchor Bolts (A Foolproof DIY Guide)
How to Mark a Sill Plate for Anchor Bolts is easy as long as you follow some easy techniques that will help you get an accurate and secure plate.
Sill Plate Installation
With the foundation complete, the next critical phase of framing begins with the installation of the sill plate (often referred to as the mudsill). The sill plate serves as the structural interface between your concrete foundation and the wooden floor system. Anchored directly to the top of the foundation wall, it provides a secure, level nailing surface for the floor joists and rim joists.
For standard poured concrete foundations, a 2x6 lumber profile is typically used, while concrete block foundations often require a 2x8 plate to match the wall width.
How to Mark a Sill Plate for Anchor Bolts
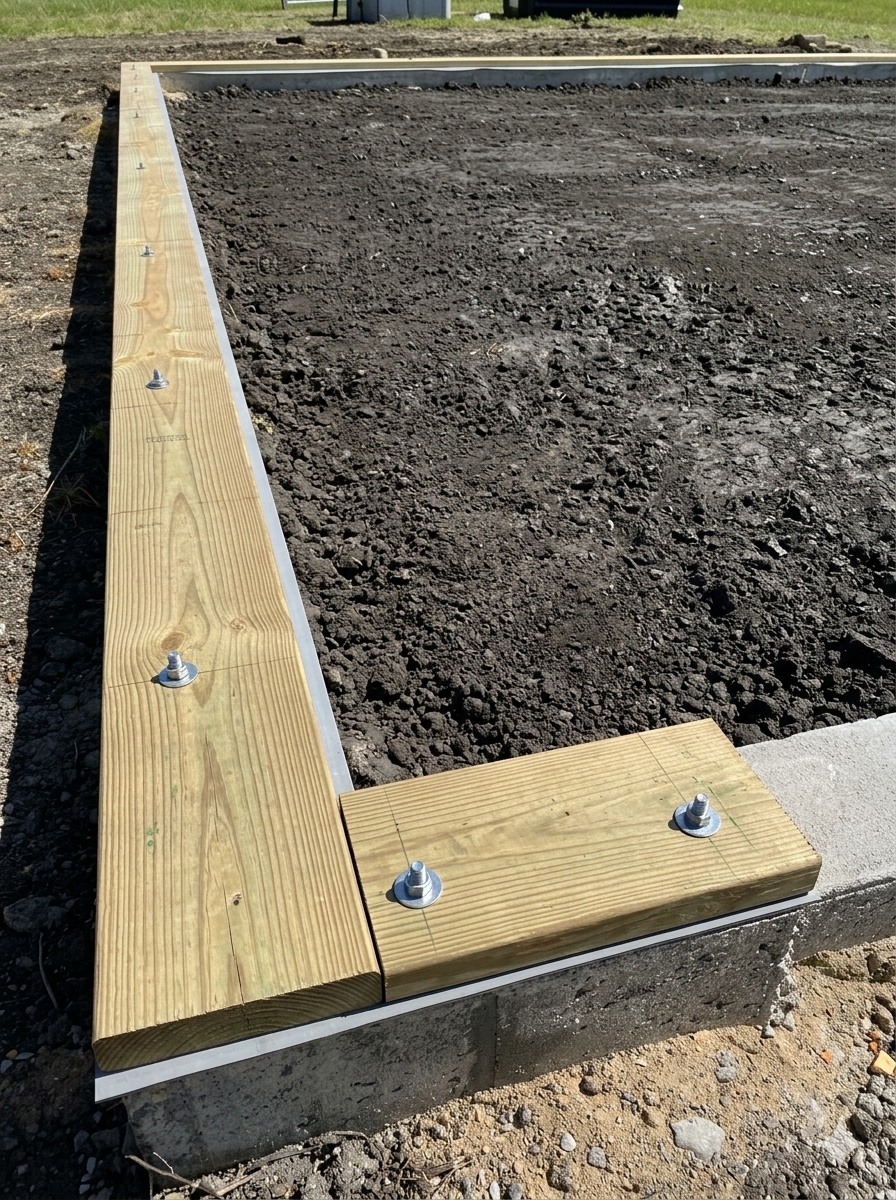
Just as an FYI:
The lumber is pressure treated so it doesn't mold or rot in the humidity. It is injected with a chemical that bugs won't eat, so the sill plate could last for over a hundred years.
Modern pressure-treated lumber generally uses copper-based treatments like MCA or ACQ, not arsenic, which was phased out for residential use in 2003. Arsenic created a hazard when burned in firepits at construction sites so it seems reasonable to find alternatives.
Mastering the Foundation Interface: Installing Your Sill Plate
The "Roll-Marking" Sill Plate Layout
Use this classic framing trick to transfer bolt locations onto your pressure-treated sill plates without measuring errors.
- Prep the Concrete Face: Scrape off any concrete splashes or bumps from the foundation top so it is smooth and flat.
- Position the Lumber: Place your pressure-treated lumber flat on edge right next to the anchor bolts. Hold the board flush against the outer chalk line or perimeter edge of your foundation wall.
- Square and Transfer Lines: Place a framing square flat across the face of the board, aligned directly with the center of each anchor bolt. Draw a sharp line across the face of the wood at every bolt location
- Select Your Drill Bit: Equip your drill with a bit that is 1/16-inch to 1/8-inch larger than your bolt diameter (e.g., use a 9/16-inch or 5/8-inch bit for a 1/2-inch bolt).
- Drill Vertically: Place the tip of your spade or auger bit exactly on the crosshair. Hold the drill perfectly vertical and drill completely through the lumber.
- Roll & Test Fit: Roll out your foam mudsill sealer gasket over the concrete. Lift your newly drilled sill plate, slide it down over the bolts, and verify it drops neatly into place without forcing it.
Mudsill layout tricks
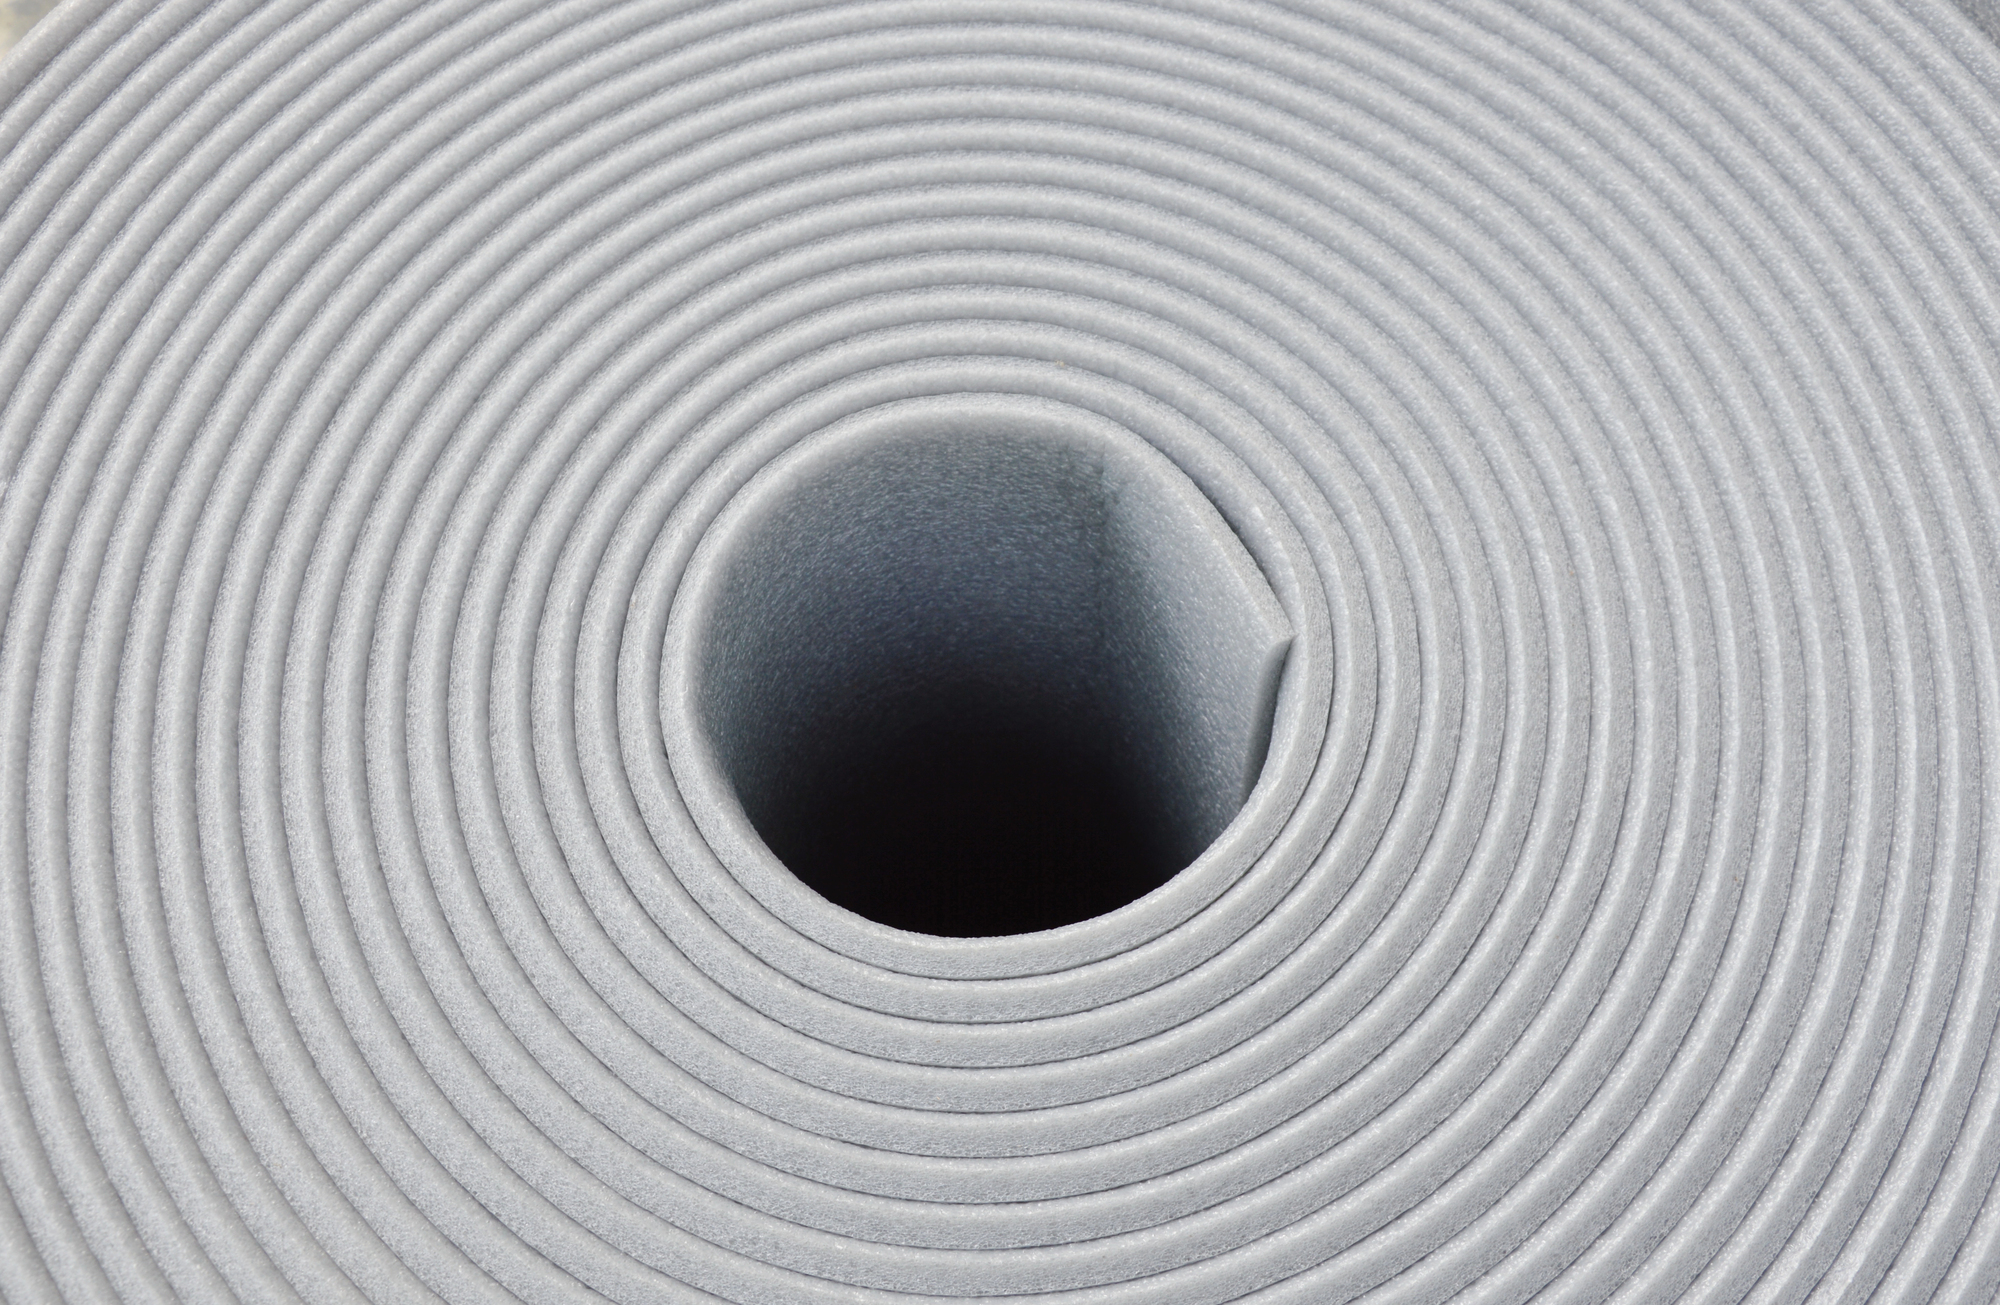
The foam mudsill gasket adds another barrier of protection between the concrete and the wood. It comes available in a few different sizes depending on your sill plate width.
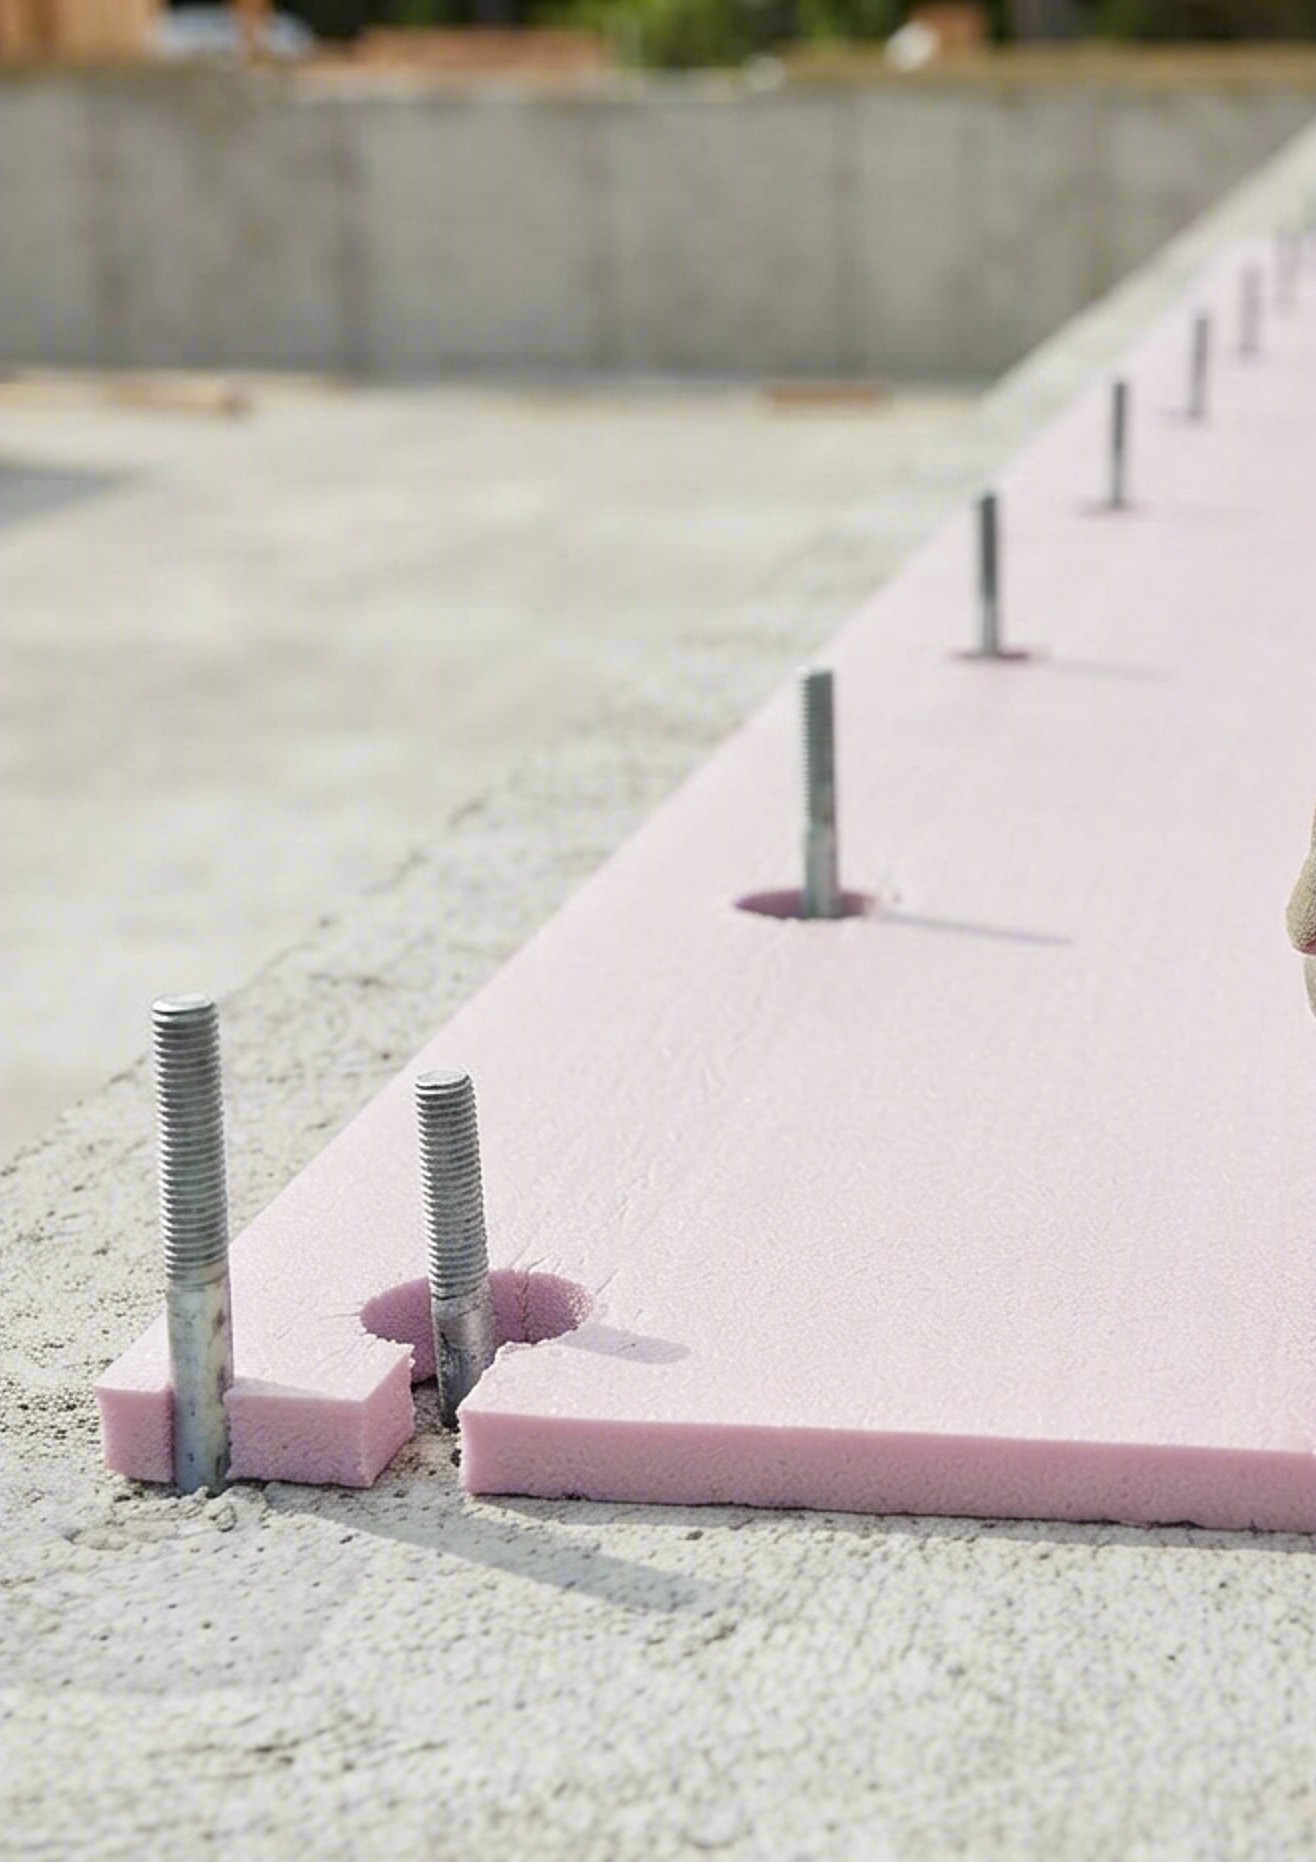
Sill Sealer Layer: Before placing the lumber, roll out a continuous layer of foam sill sealer (mudsill gasket) along the top of the concrete. This creates a capillary break that blocks rising moisture and seals air gaps between the rough concrete and the straight lumber.
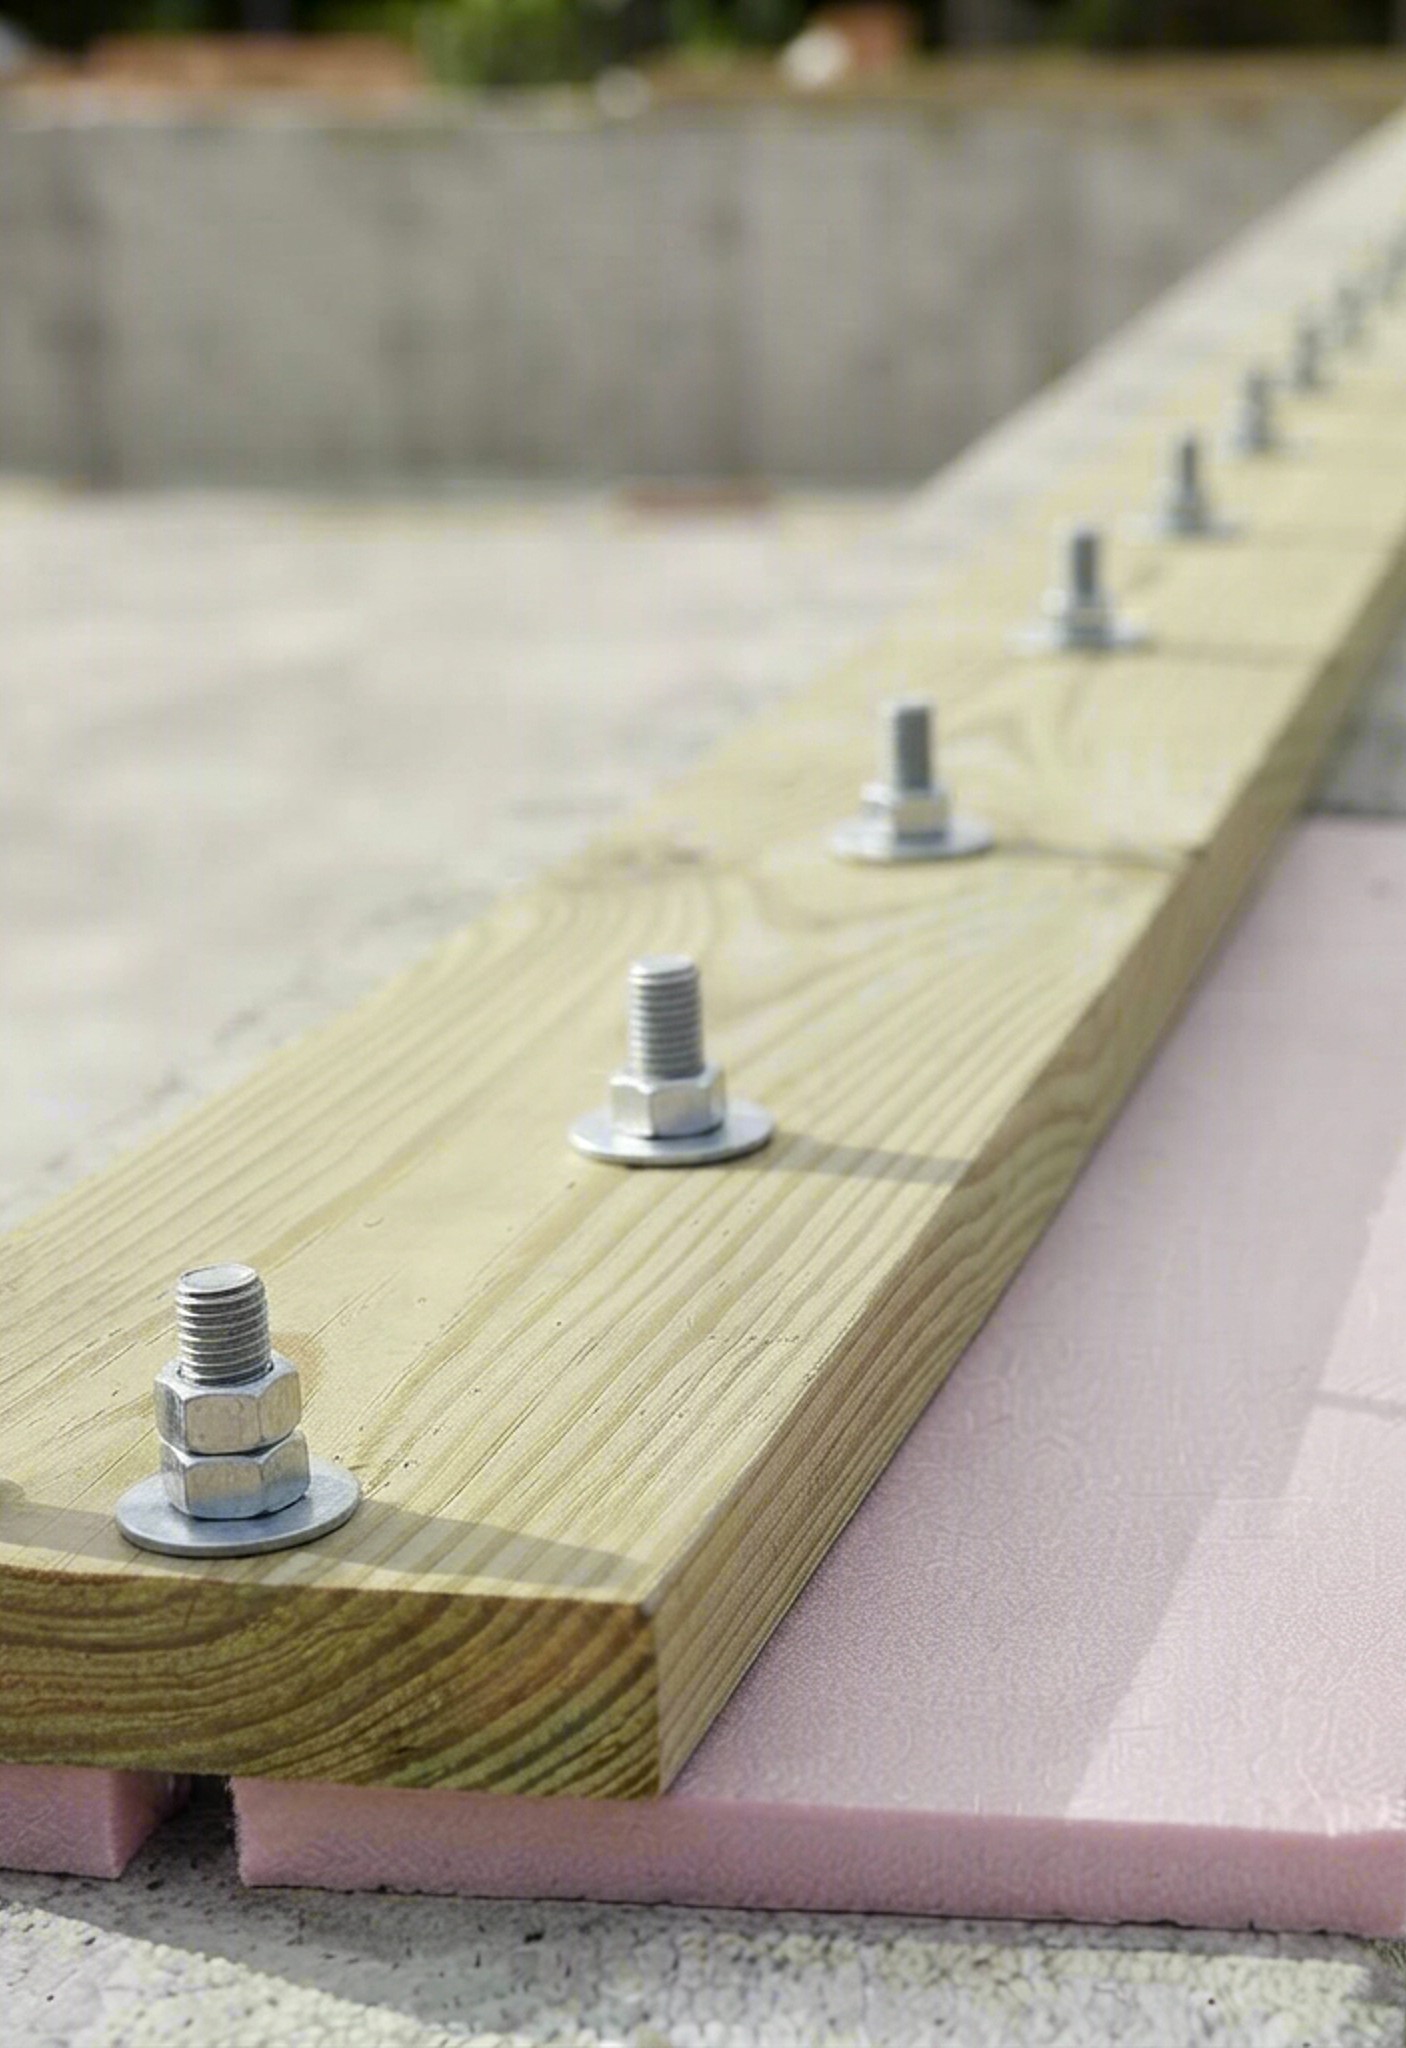
Once you have the board on you can begin to secure the bolts with washers and nuts.
When you make a last minute 3-4-5 diagonal measurement and find out that the foundation is a little bit out of square, you can compensate at this point by drilling larger holes into the board so you can move each piece so that you can get a close measurement.
The method below shows how to compensate if your foundation is a little out of square.
🛠️ Troubleshooting: What to Do If Your Foundation is Out of Square
It is a nightmare scenario for any owner-builder: you stretch your tape measures to run the 3-4-5 diagonal check on your completed concrete foundation, and the numbers don’t match. Your foundation is out of square.
Don't panic, and do not pour more concrete. Because wood framing is forgiving, you can correct an out-of-square foundation directly on top of the concrete using your sill plate layout.
The "Overhang and Underhang" Adjustment Strategy
If your concrete corners form a parallelogram instead of a perfect rectangle, you can fix the geometry by shifting your wooden sill plate layout into a perfect rectangle on top of the concrete.
- The Adjustment Rule: You can slide your wooden sill plates so they slightly overhang the concrete edge on one corner, or sit slightly inward (underhang) on the opposite corner.
- The Safe Limit: Most local structural building codes allow your wood sill plate to overhang the outside edge of a concrete foundation wall by a maximum of 5/8 inch (or 1/3 of the sill plate's width).
Step-by-Step Squaring Adjustment
- Snap New Master Lines: Do not follow the raw concrete edge. Instead, use a chalk line to snap a perfectly square template rectangle directly onto the concrete based on your ideal blueprint dimensions. Use the 3-4-5 rule until your chalk lines have perfectly identical diagonal measurements.
- Verify the Tolerances: Look at where your square chalk lines sit relative to the concrete edge. Ensure no corner exceeds a 5/8-inch overhang. If the foundation is so crooked that a corner overhangs by more than this limit, stop and consult your local building inspector or structural engineer.
- Adjust the Anchor Bolt Holes: Because you are shifting the boards relative to the pre-set concrete anchor bolts, your drilled holes will need to be slightly offset. Drill your sill plate slot holes 1/16 to 1/8 inch larger than the bolt diameter to allow the board to slide right onto your square chalk line.
- Seal and Fasten: Lay down extra-thick closed-cell foam sill sealer to completely block the air and moisture gaps created in the areas where the lumber pulls inward from the uneven concrete edge. Tighten your heavy-duty structural washers and nuts down firmly. You can get more information at the Nachi.org