Making a foundation wall on the footer for a strong foundation
Making a foundation wall on the footer is the second part of this foundation project. I say that because there will be two cement pours. The first pour will be for the footer. It will need around a week to cure. After that you will make the cement forms and rebar for the foundation wall then pour the cement.
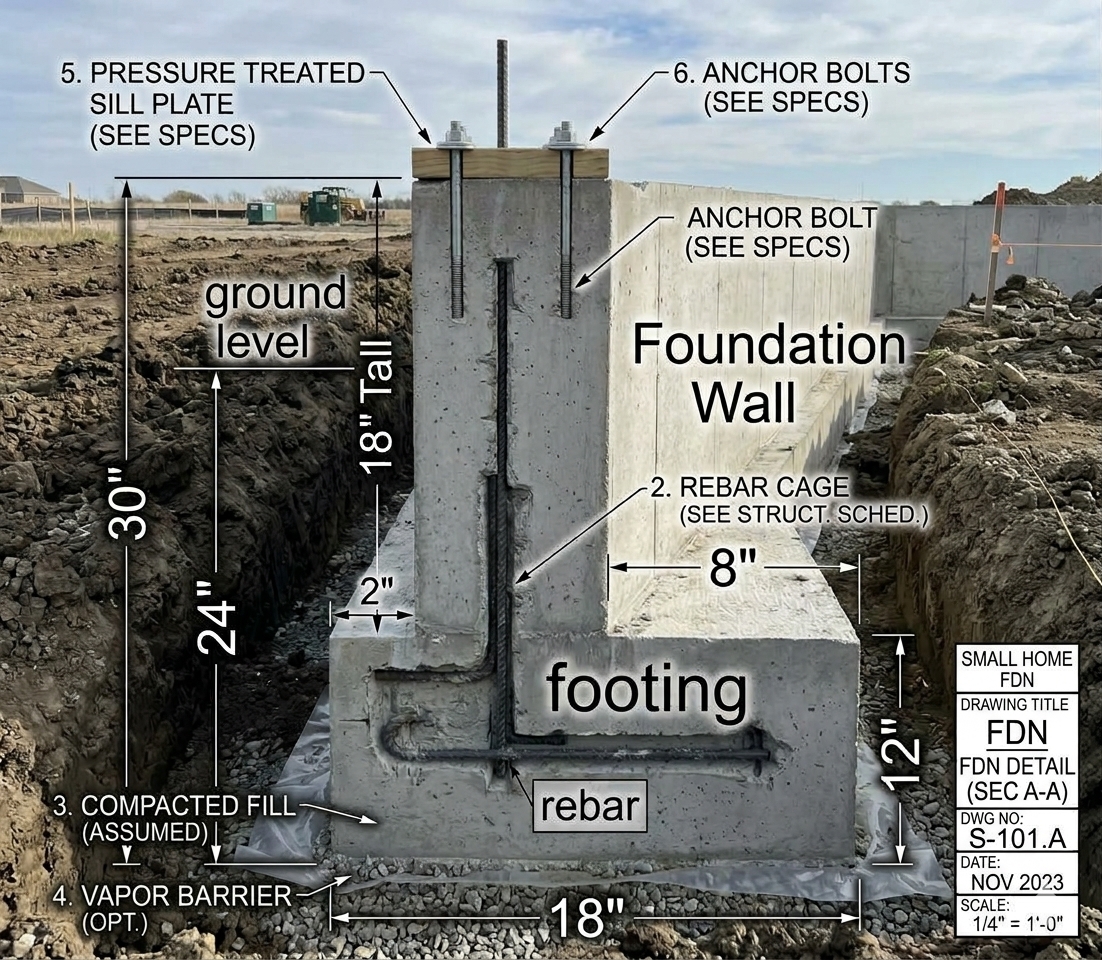
The foundation wall will need to be the minimum measurements in height and width as determined by your local building inspector. He or she will have a list of the dimensions needed for your project. With that information, you can then start to make the cement forms on top of the footer.
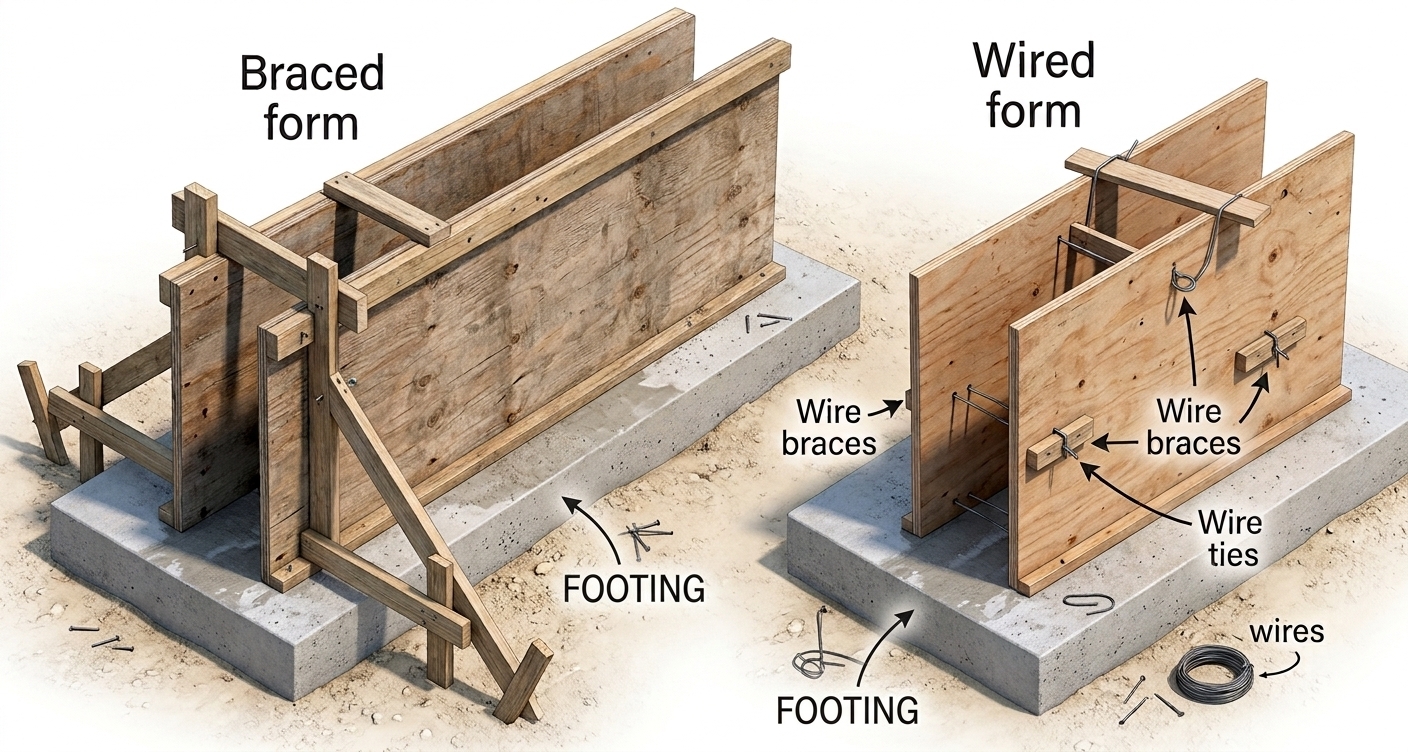
There are a couple of ways to brace the cement forms. I have used both ways for my foundation. The wire method works by drilling a small hole into each side of the cement forms and running a wire through secured on each end with a stick. This is cheaper than putting wood braces all around. The important part is to prevent the forms from bowing out with the pressure of the cement because it gets really heavy.
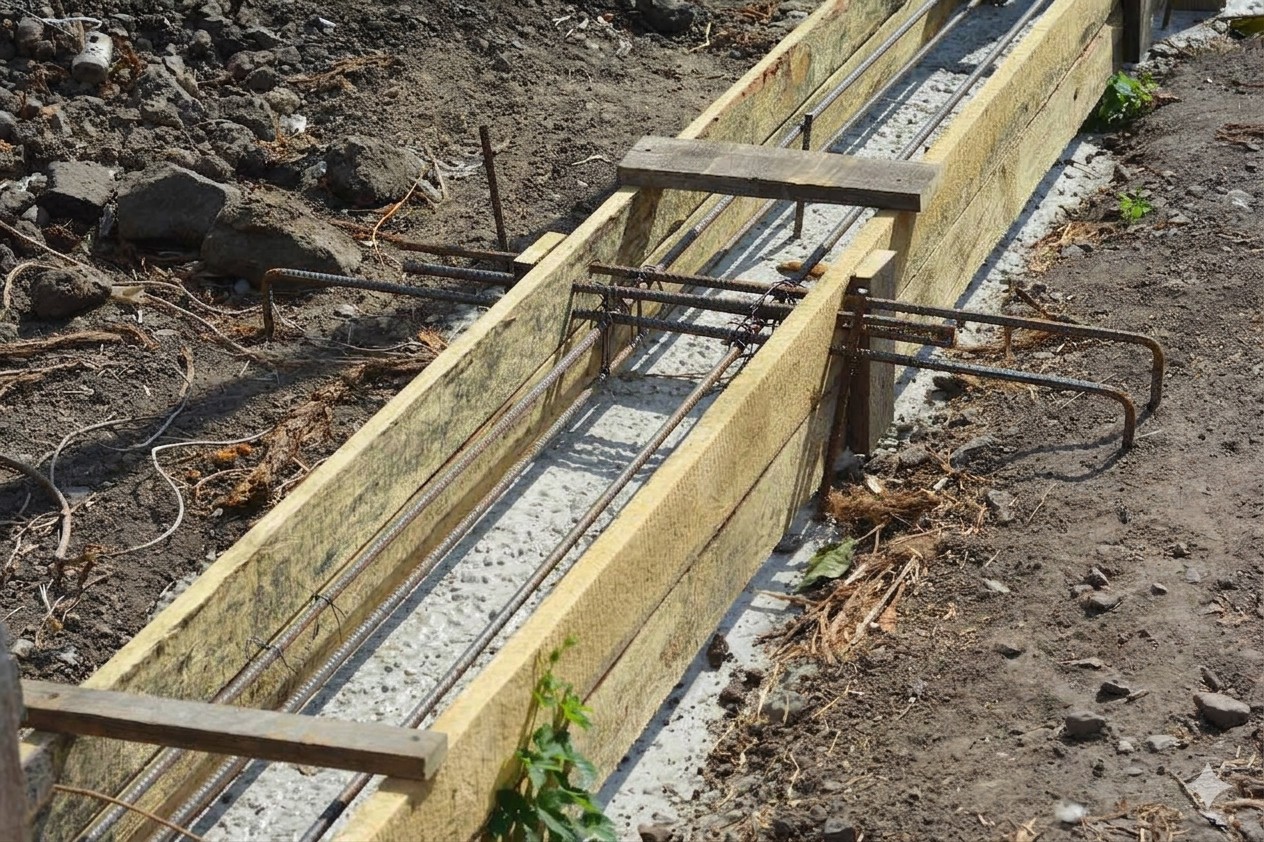
Remember to put the rebar in the foundation wall for extra strength. There might be a code for how many bars are needed, but just plan on using two bars running the distance and make sure they are secured to each other for extra strength.
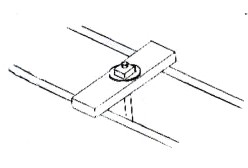
You can hang the anchor bolts like this or you can just stick them into the wet cement. I prefer to do it this way just in case I get busy and forget to place them in the wet cement. That would be bad.
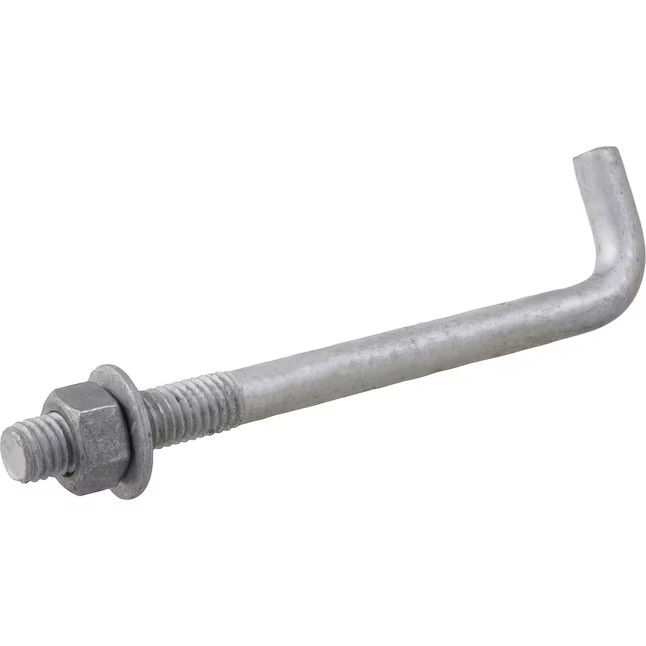
There are many different kinds of anchor bolts. They all do basically the same thing. They just need to be protruding from the wet cement so you can secure your sill plate on top of the foundation. That is what keeps your house from flying or floating away.
When you place your anchor bolts, try to think about where you will be placing your floor joists and try to prevent putting an anchor bolt where a floor joist will be. It will save a little sawing to make the joist fit if you can get it right.
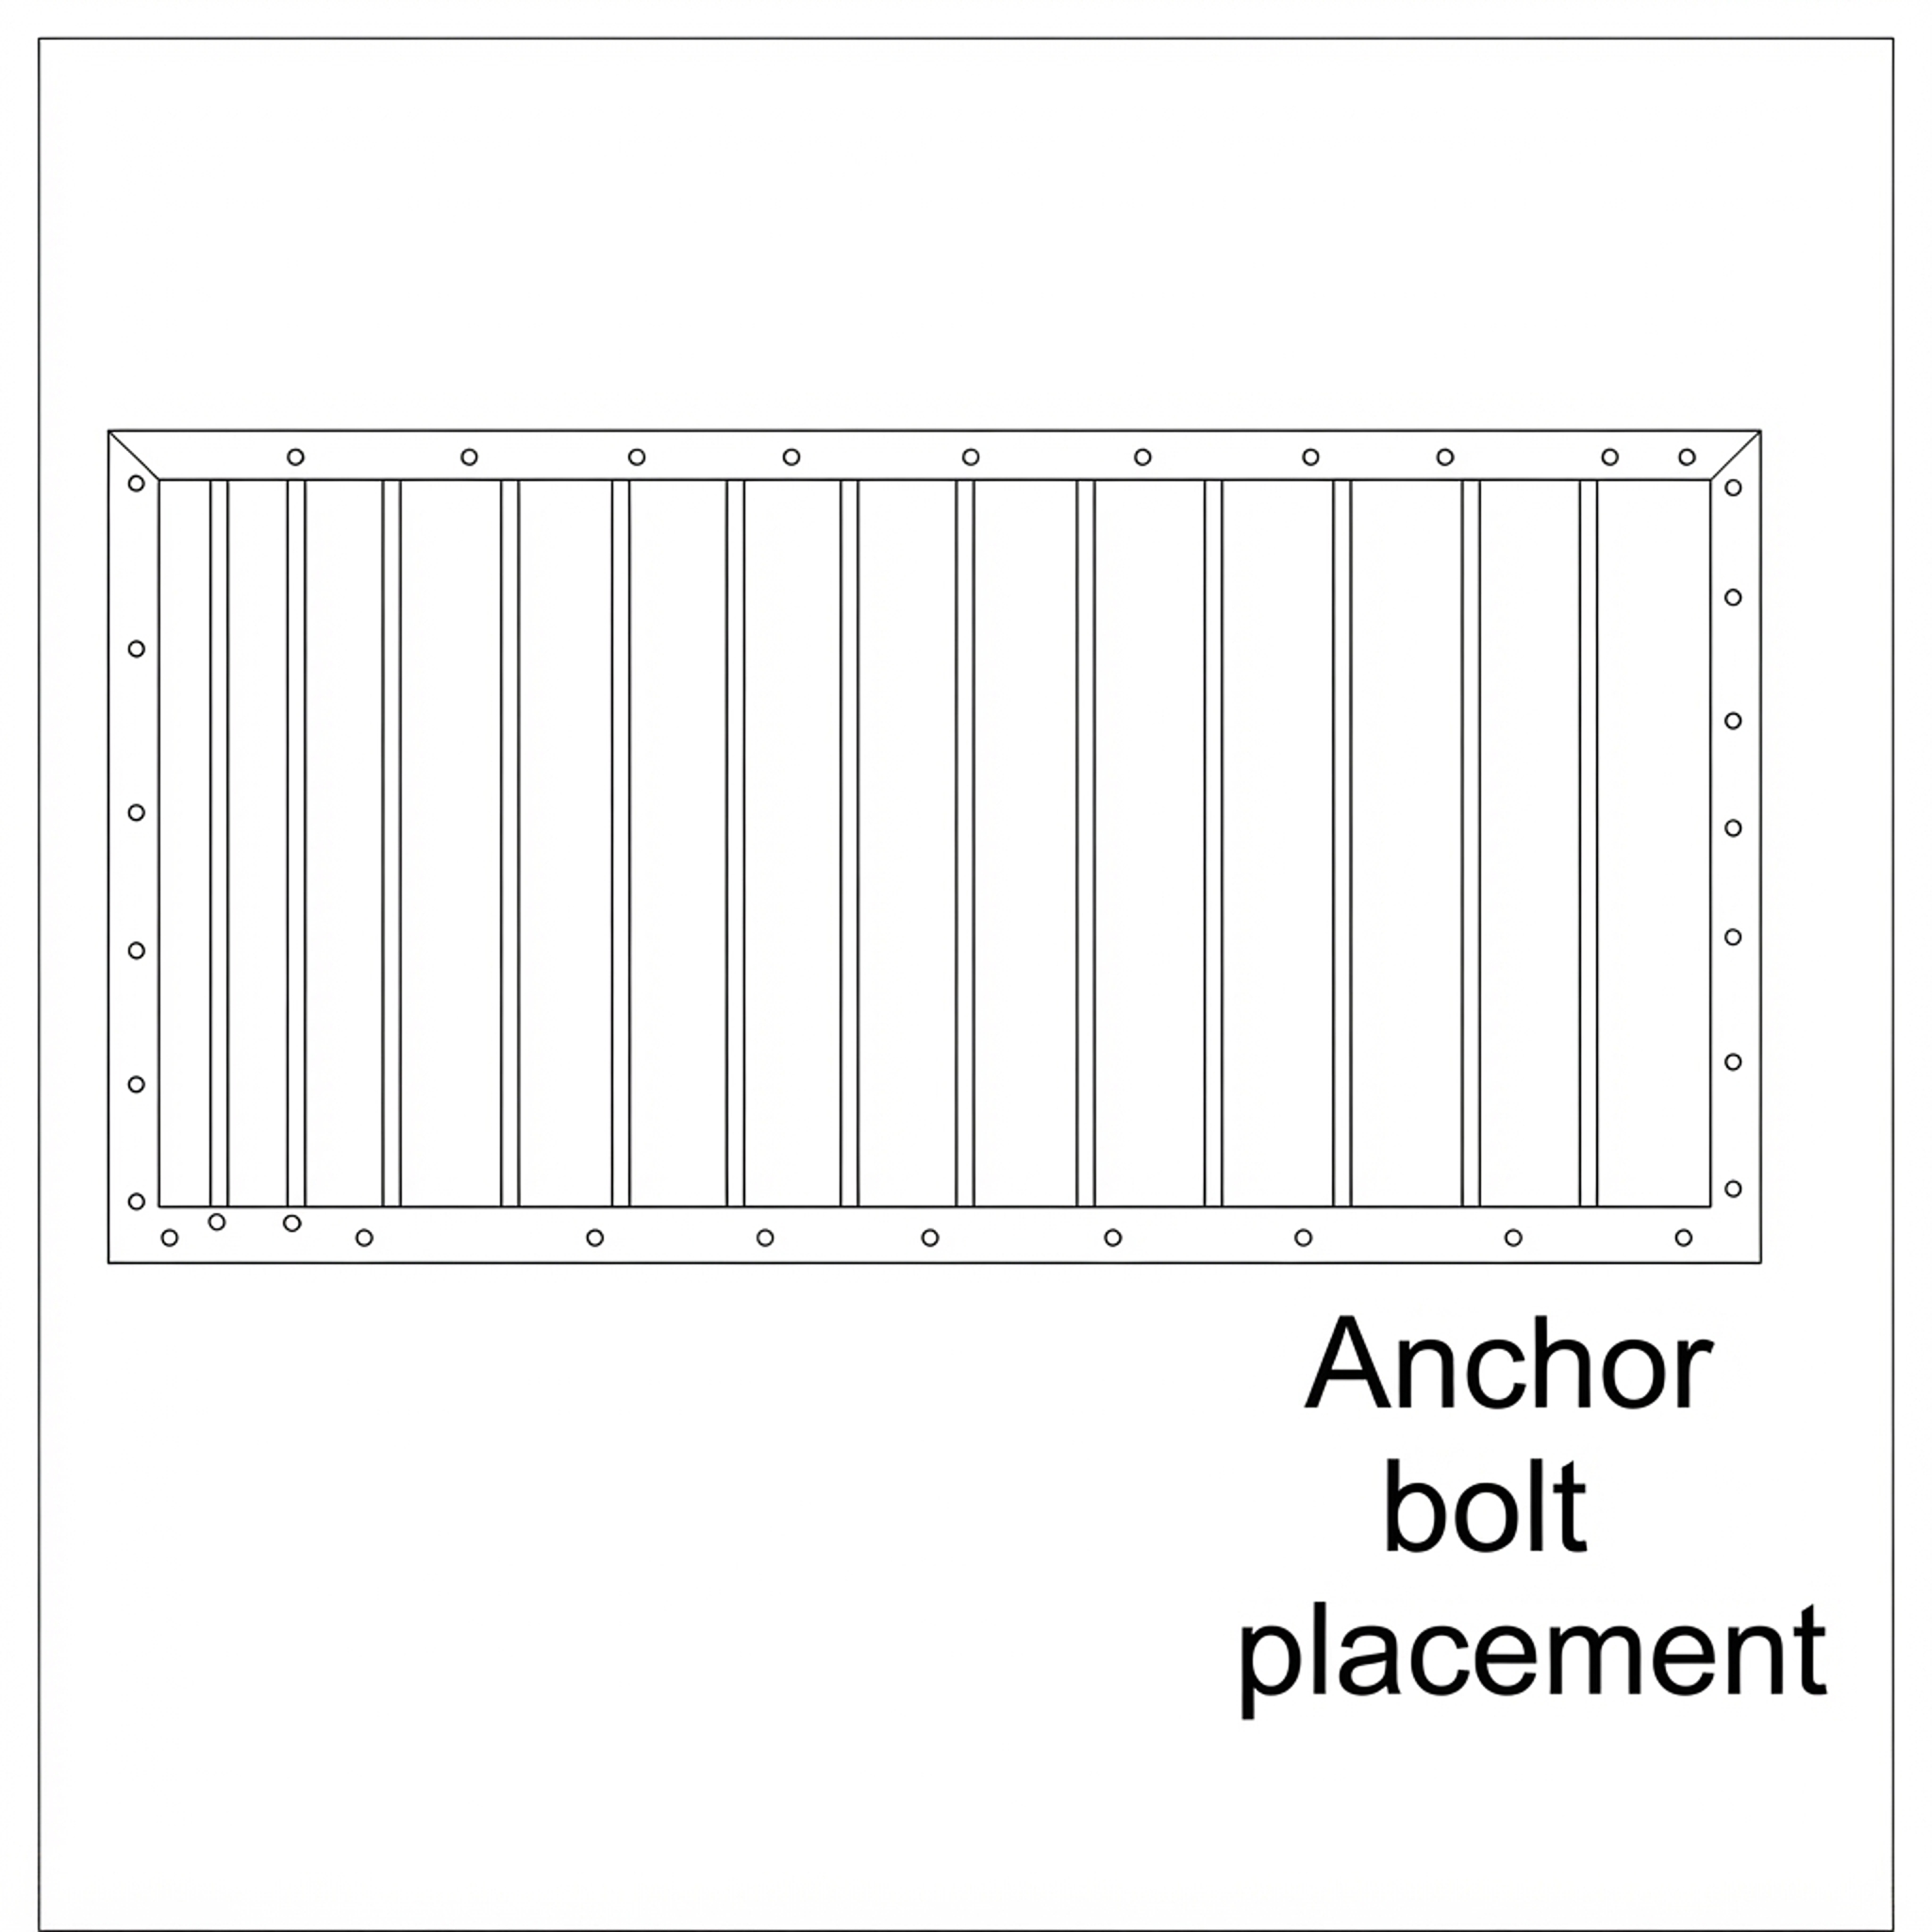
Making a foundation wall on the footer should look like this
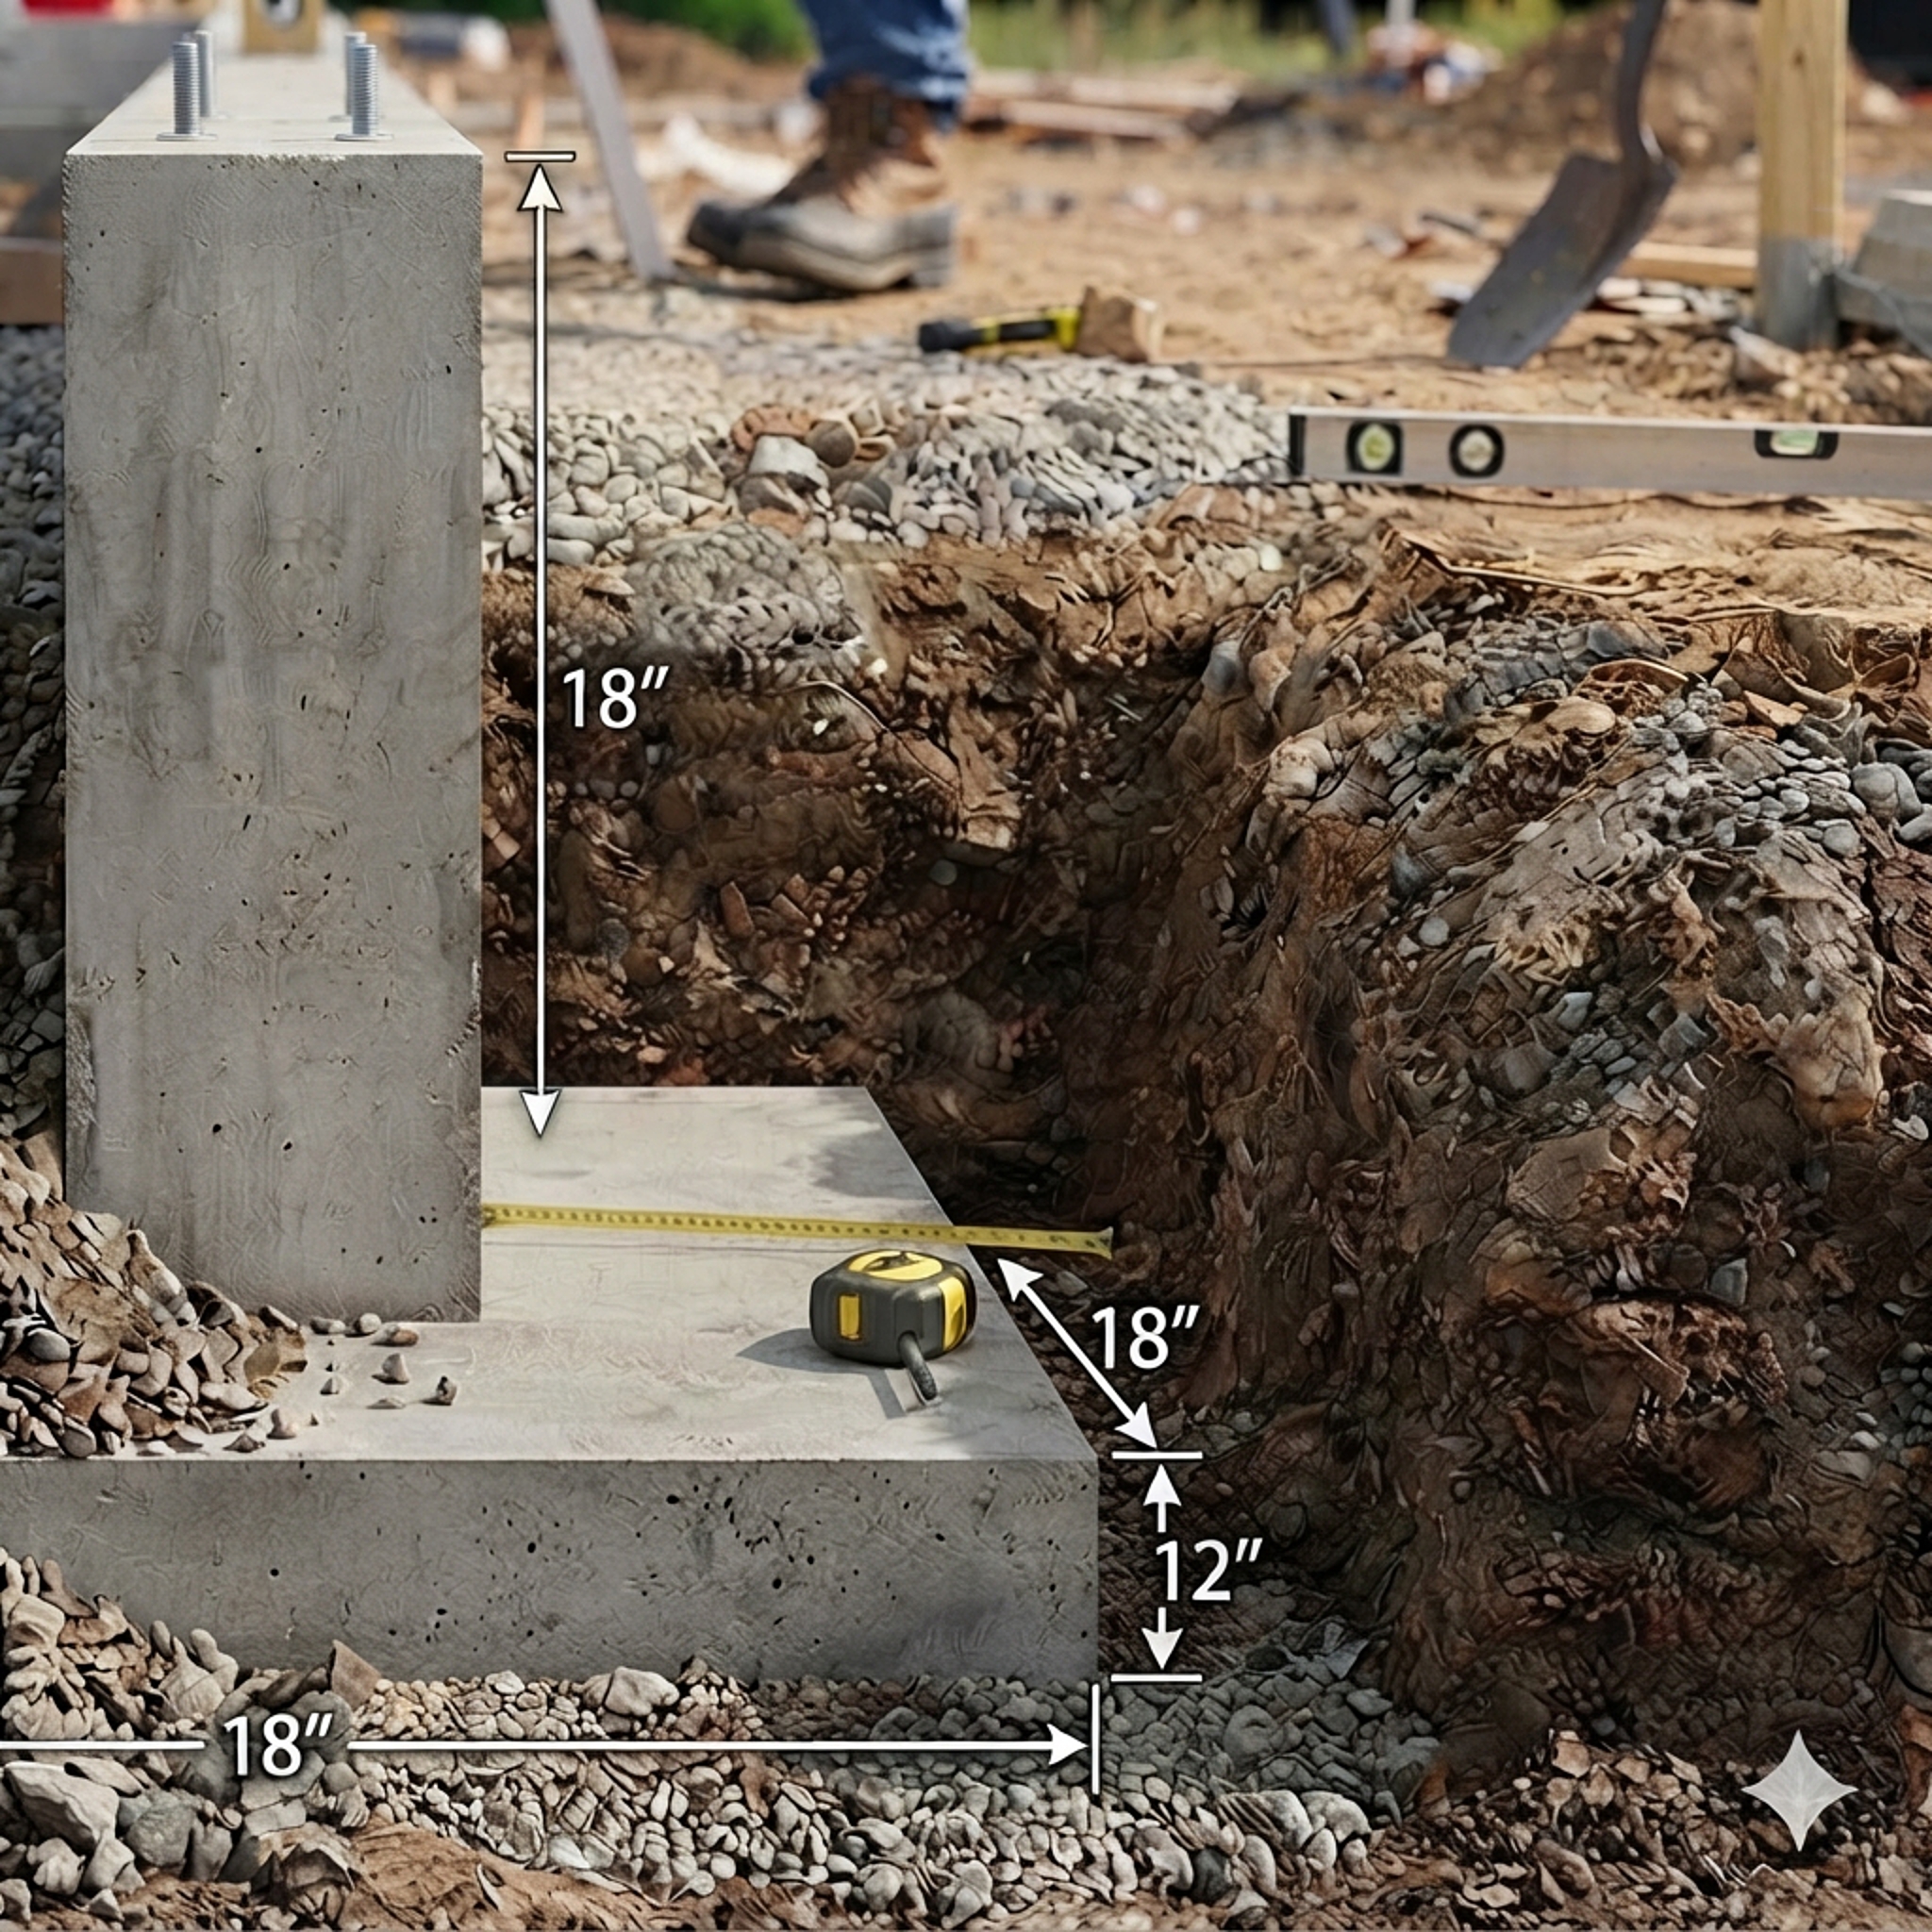
The wall will look something like this once the forms are removed. The footing and foundation wall won't need to be quite this big for a small home. This is just an example of how the finished concrete wall should look. After that, you can start to backfill with soil on the outer perimeter.
The next step is to apply the sill plate. It gets a little tricky because you will need to drill the holes where the anchor bolts will fit through. I just put the board on top of the wall and anchor bolts and let it rest there as straight and perfect as you can get it, then stand on it and smack it with a hammer so the underside anchor bolts leave marks on the board. Drill the holes where the marks are. Pop the board onto the bolts, then put the washers and nuts on each bolt and torque them down. That's one way. Another involves measuring accurately and drilling. Either way works.
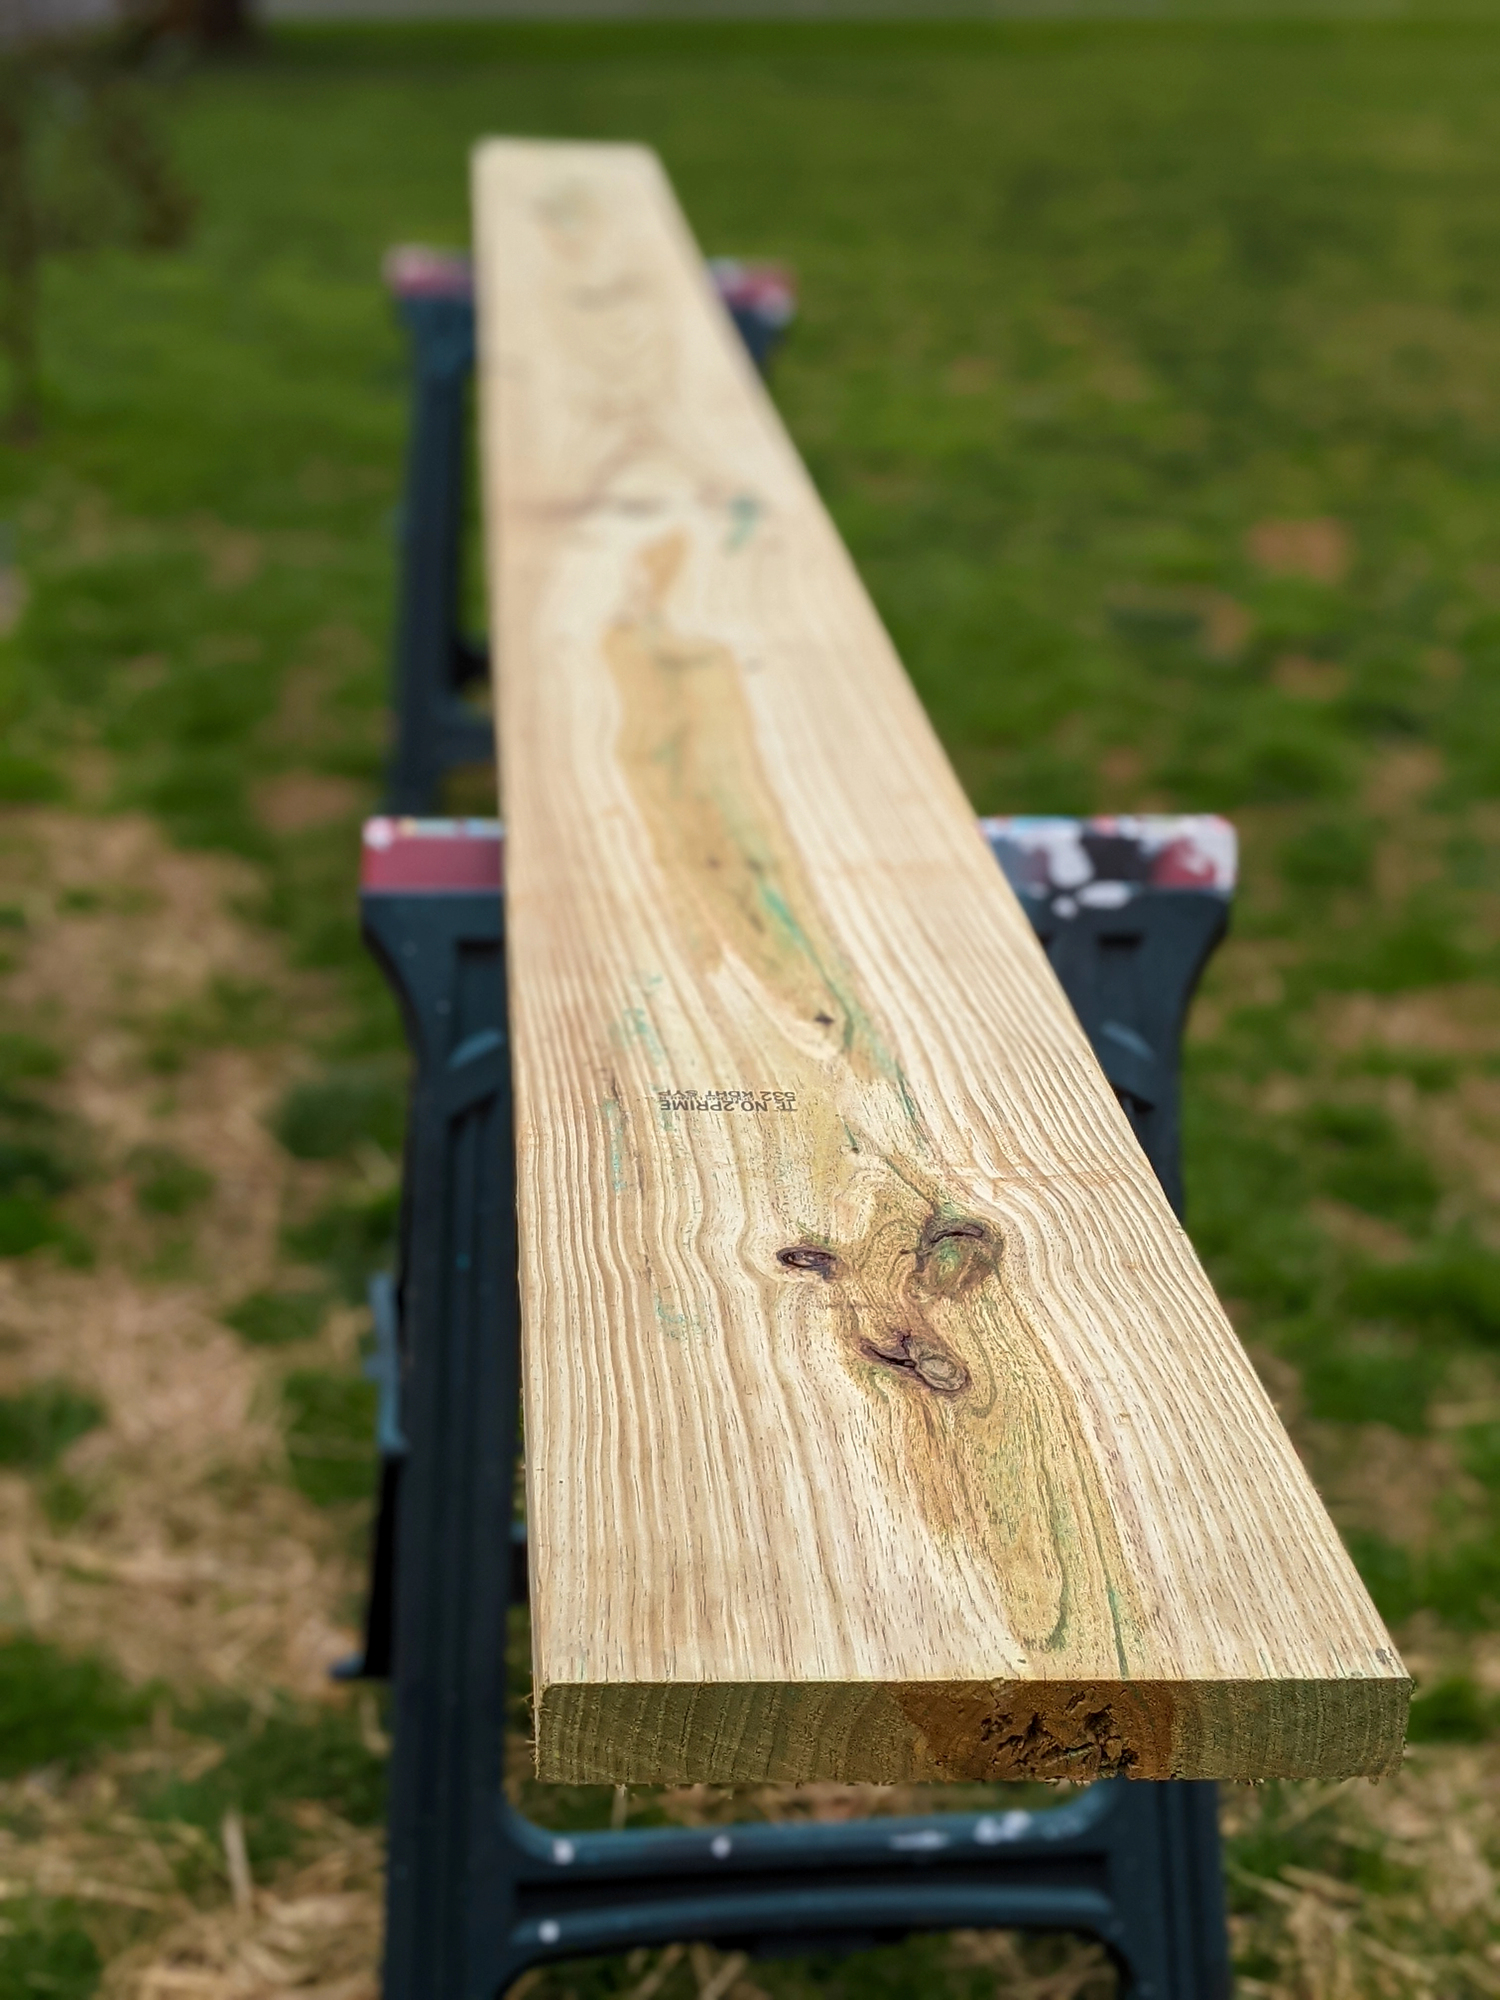
One super important thing is to only use pressure-treated lumber for the sill plate. I used pressure-treated 2X8 boards for the sill plates. This is the single place where your house will rest on concrete. That makes the lumber vulnerable to rot or insects. Both break lumber down really fast.
The boards are pressure-treated with a chemical like arsenic. This prevents insects from eating it and it is resistant to rot. It will act like a protective barrier that keeps the earth and its environment and creatures from creeping up and destroying your hard work.
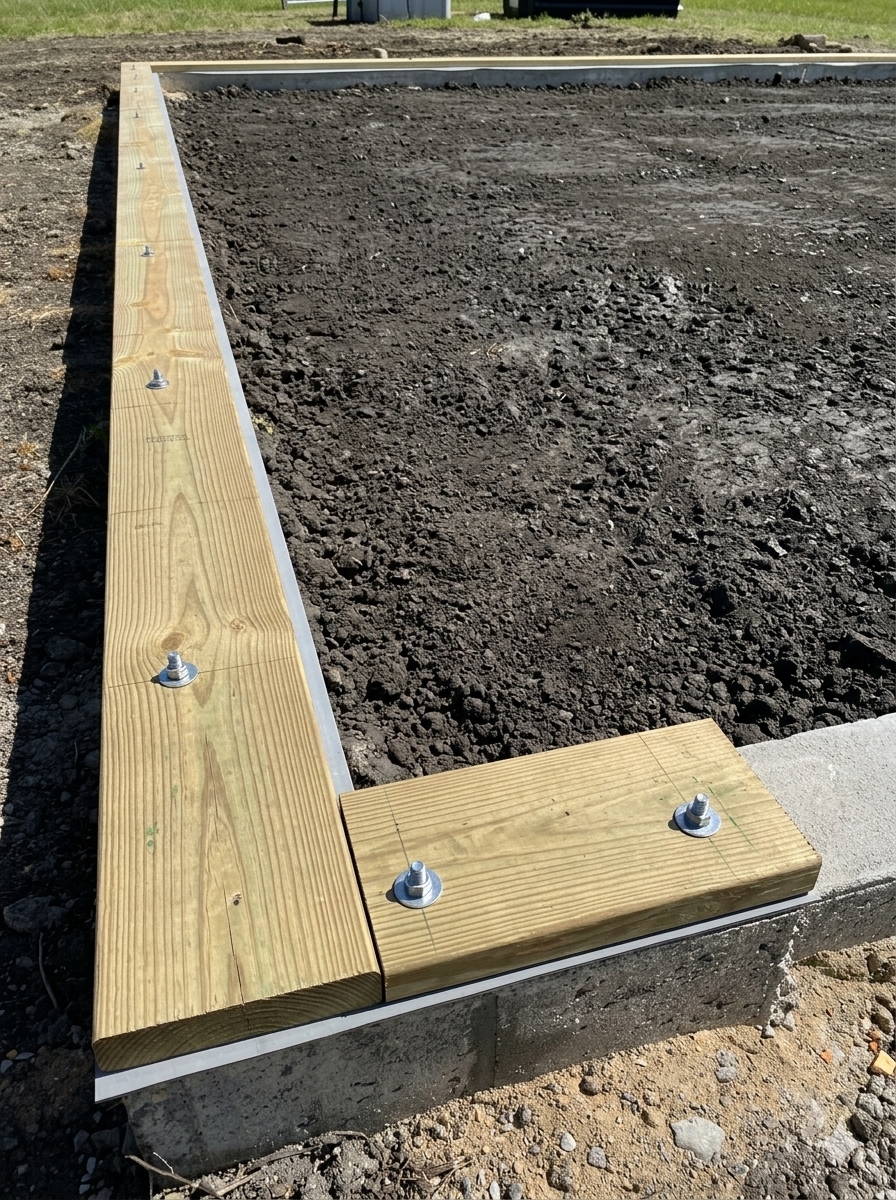
Make sure the sill plate is even and flush with the foundation wall. This will help keep everything in-square assuming the foundation is in-square.
Put the sill plate all around and make sure all bolts are tightened down.
Your house will be attached to its foundation by this plate.