Site clearing and grading basics for a level footing
Your home site clearing and grading basics will include clearing the land before you measure it, but also staking out your foundation plan and grading the lot so it is level. You have several helpful tools to help you get your house footings level. You can use strings and a level or you can get fancy and go buy or rent a rotary laser level or even a transit. I think for a small project, you can keep it simple though.
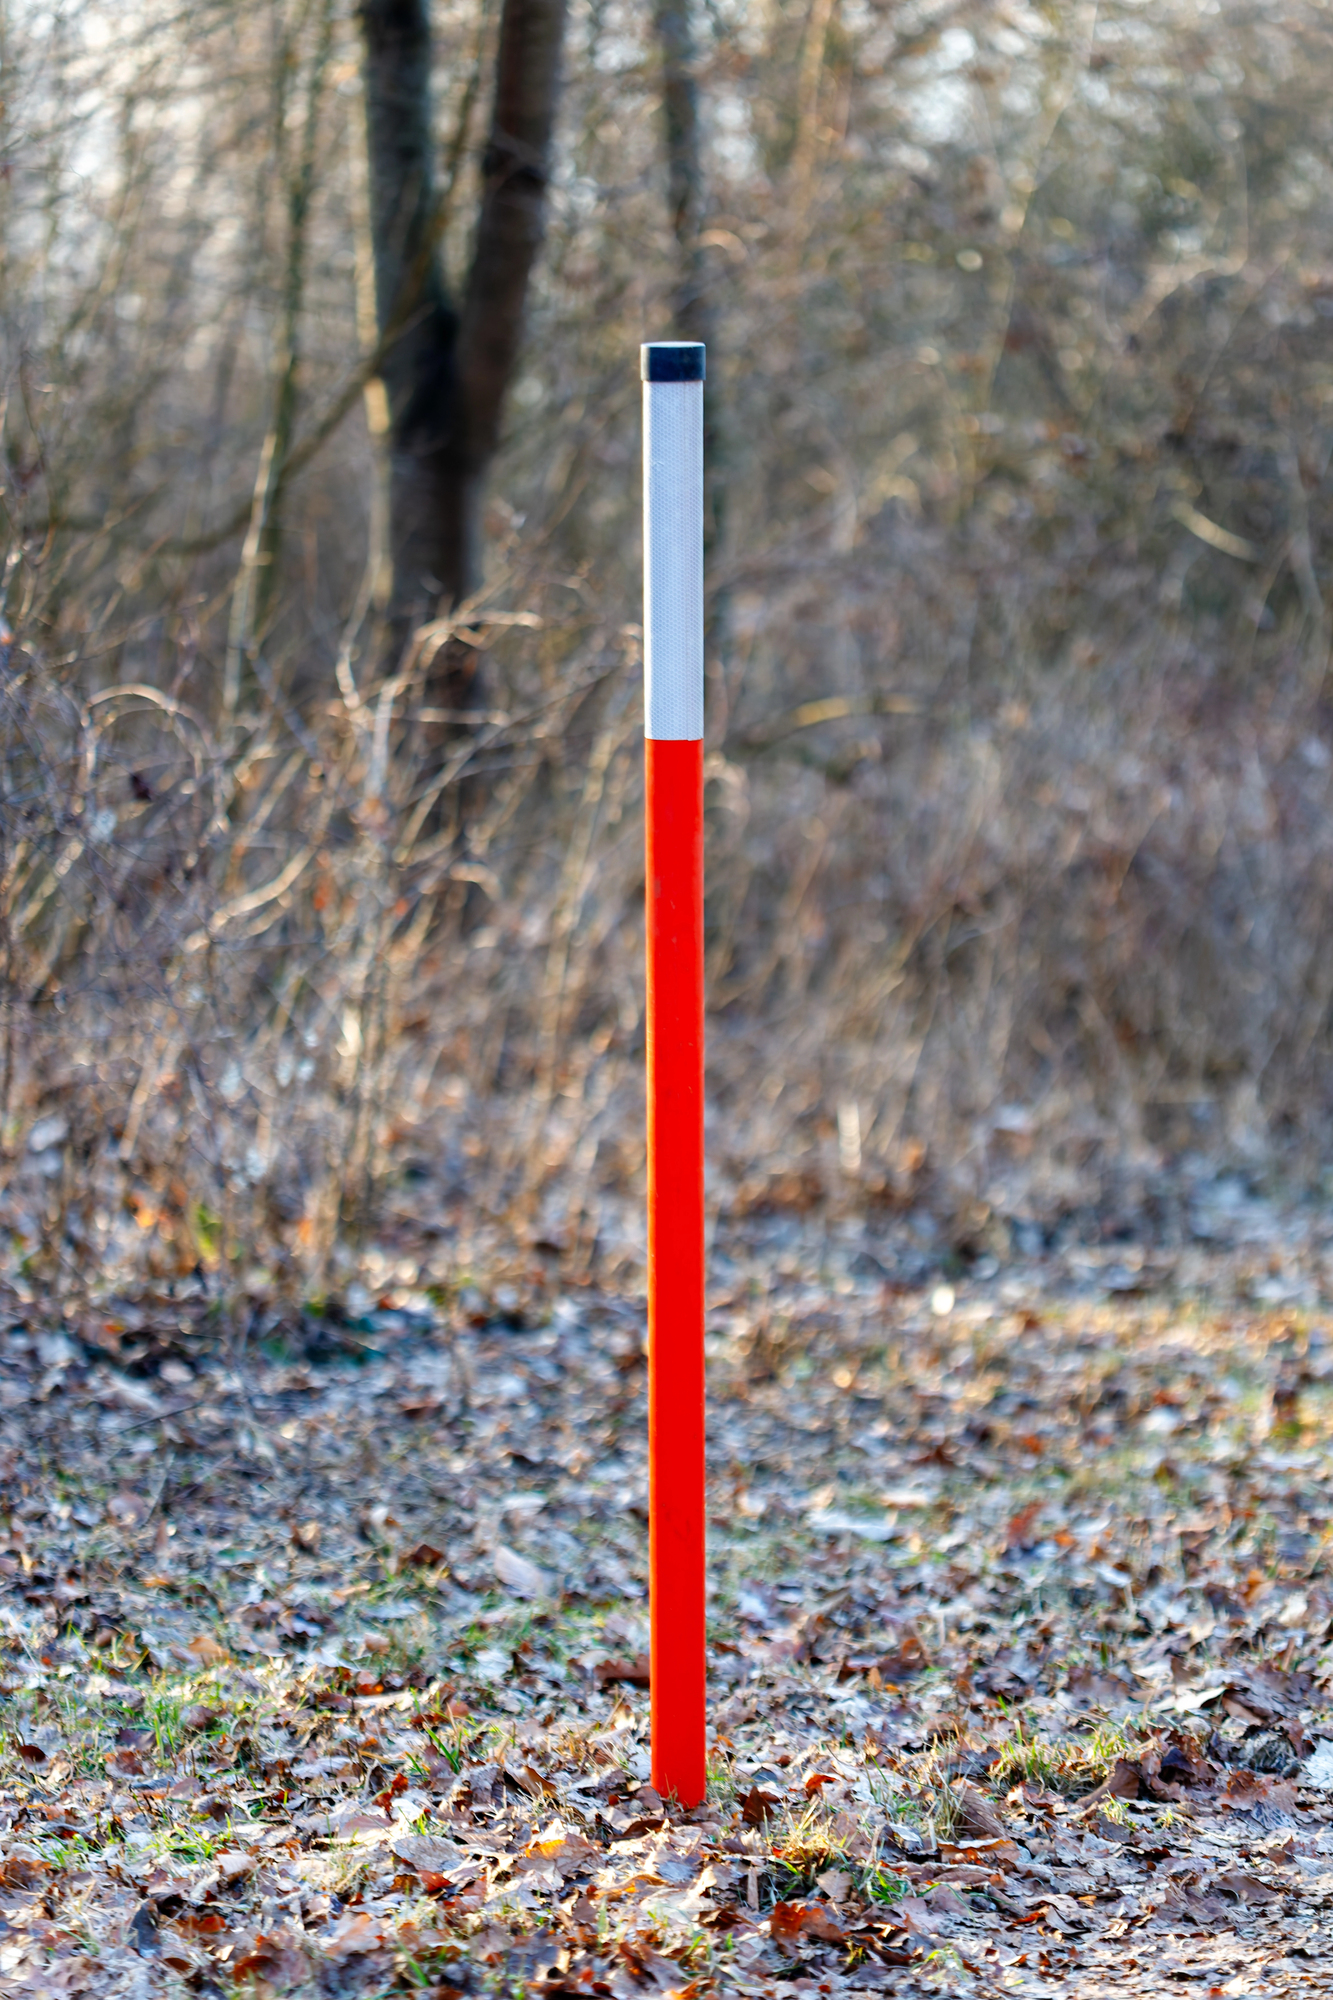
I found it helpful when I marked off my house foundation with stakes was to get a benchmark pole or poles I used as reference points. It's important that these points are stable and don't move. Do the same for two more posts and create a square that is much wider than your foundation measurements so you will be digging inside of this square.
I consider these posts as kind of goal posts to aim at for an initial measurement. It is old-fashioned, but it works just fine for the first steps to get your lot marked for the foundation footings. Everything at this point is just eyeballing the boundaries. You can also use these benchmark points to determine depth when you run strings between them if you choose to not use a laser level or a transit.
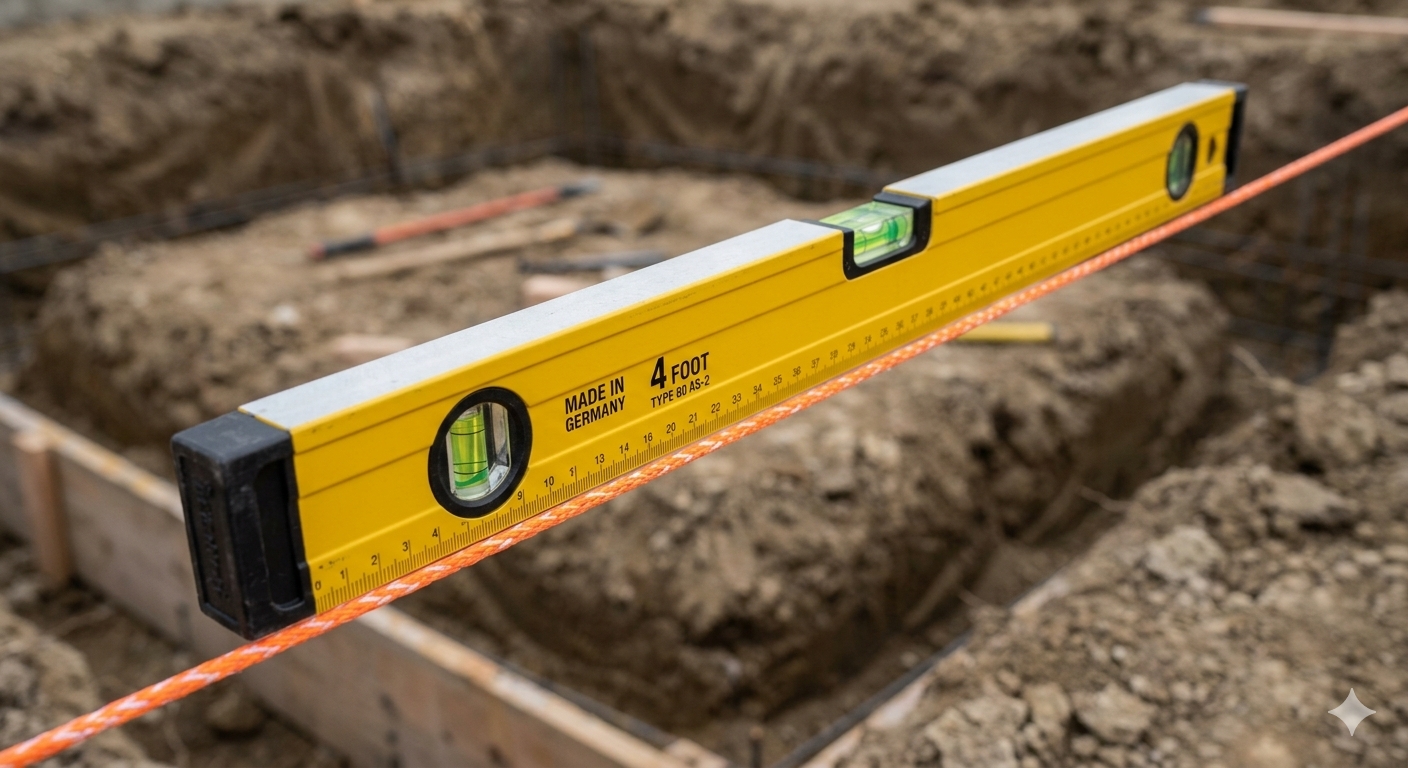
If you are building a small home, you can start by using a stringline and a four foot bubble level. Put stakes in that mark where your forms will be. You can dig with a shovel or an excavator. I decided to dig the entire rectangular plan with a starting depth of about one foot deep. This gave me a good idea how long and how wide it is and I did it with a string and level entirely. I was able to eventually get the perfect depth by this means. My projects afterward, I used a rotary laser level and it is almost easier, so I learned something new.
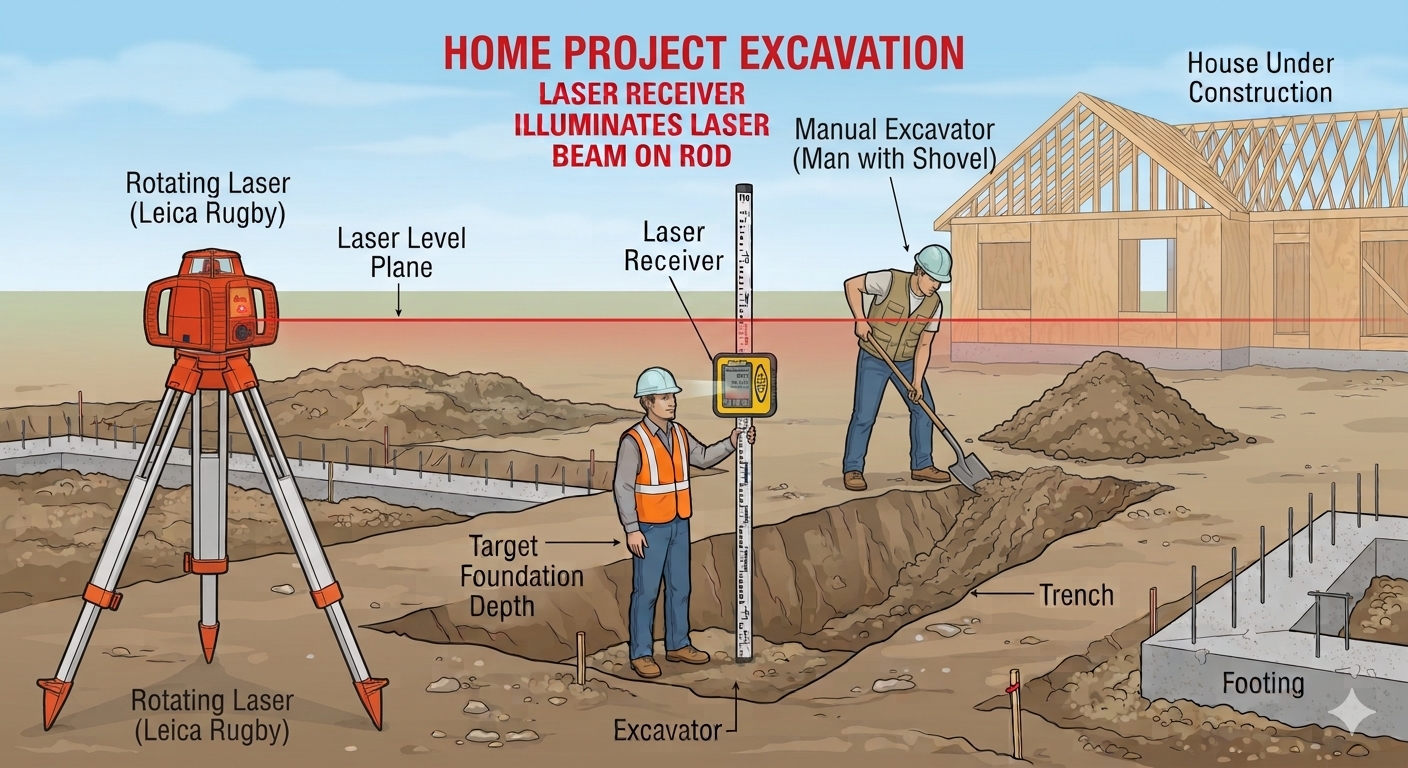
Now the depth needs to be the important thing here. You already know the importance of getting below the frost layer. If you decide to go buy a rotary laser level, you can usually buy one for under $100 or you can rent one for about the same price.
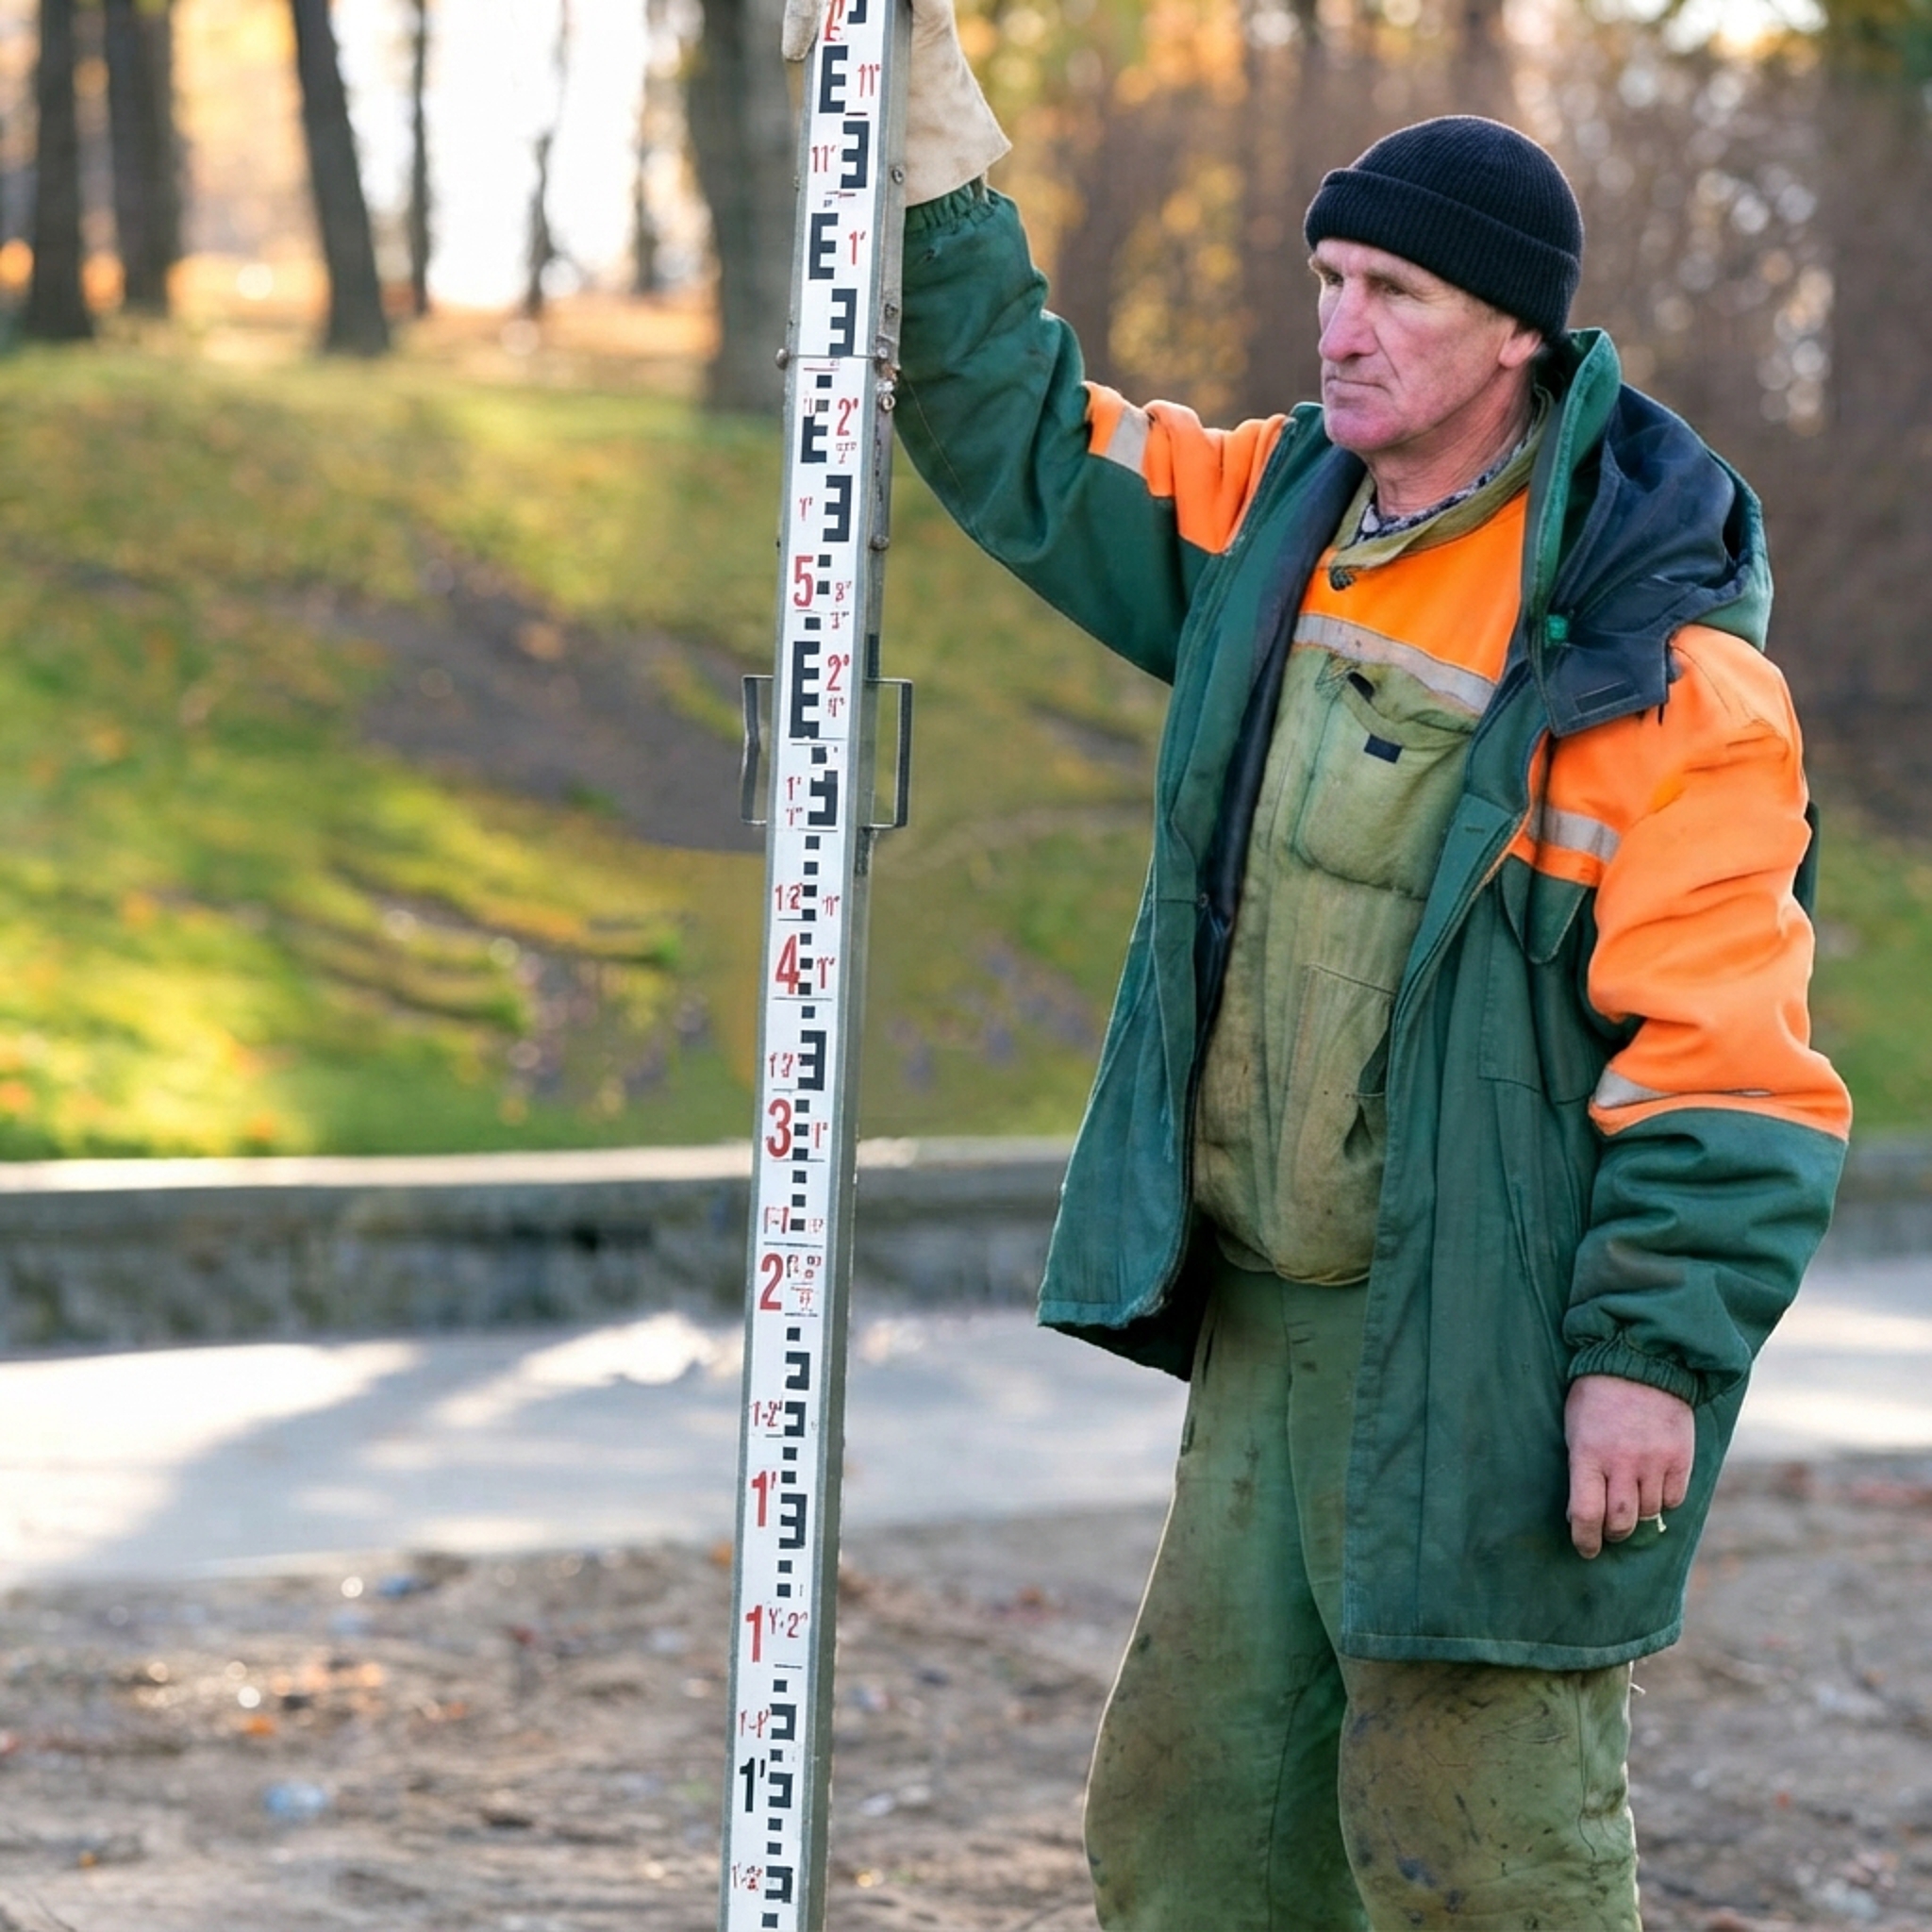
Even the cheaper laser levels work just fine. The laser projects an image that shows up in a red or green light on the laser receiver the slides up and down the calibrated rod that looks like a giant ruler. As you dig, you hold the rod on the ground and it will let you know when you achieve the correct depth with an "on-grade" display. Use this method throughout the entire footings process so everything matches up and the footing will be level all the way around. When you use a rotary laser, you can determine a reference point. At ground level, considering the top of the ground where the laser is located can be for example 3 feet off the ground. That will be where the level laser beam is. You will know that if you need to dig 2 feet down to get below the frost layer, you will add two more feet on top of the three feet where the level beam is. This is if you don't have a laser receiver.
Site clearing and grading basics for a level footing
After the measuring and calibrating, it's time to get the payoff for your hard work and proper planning.
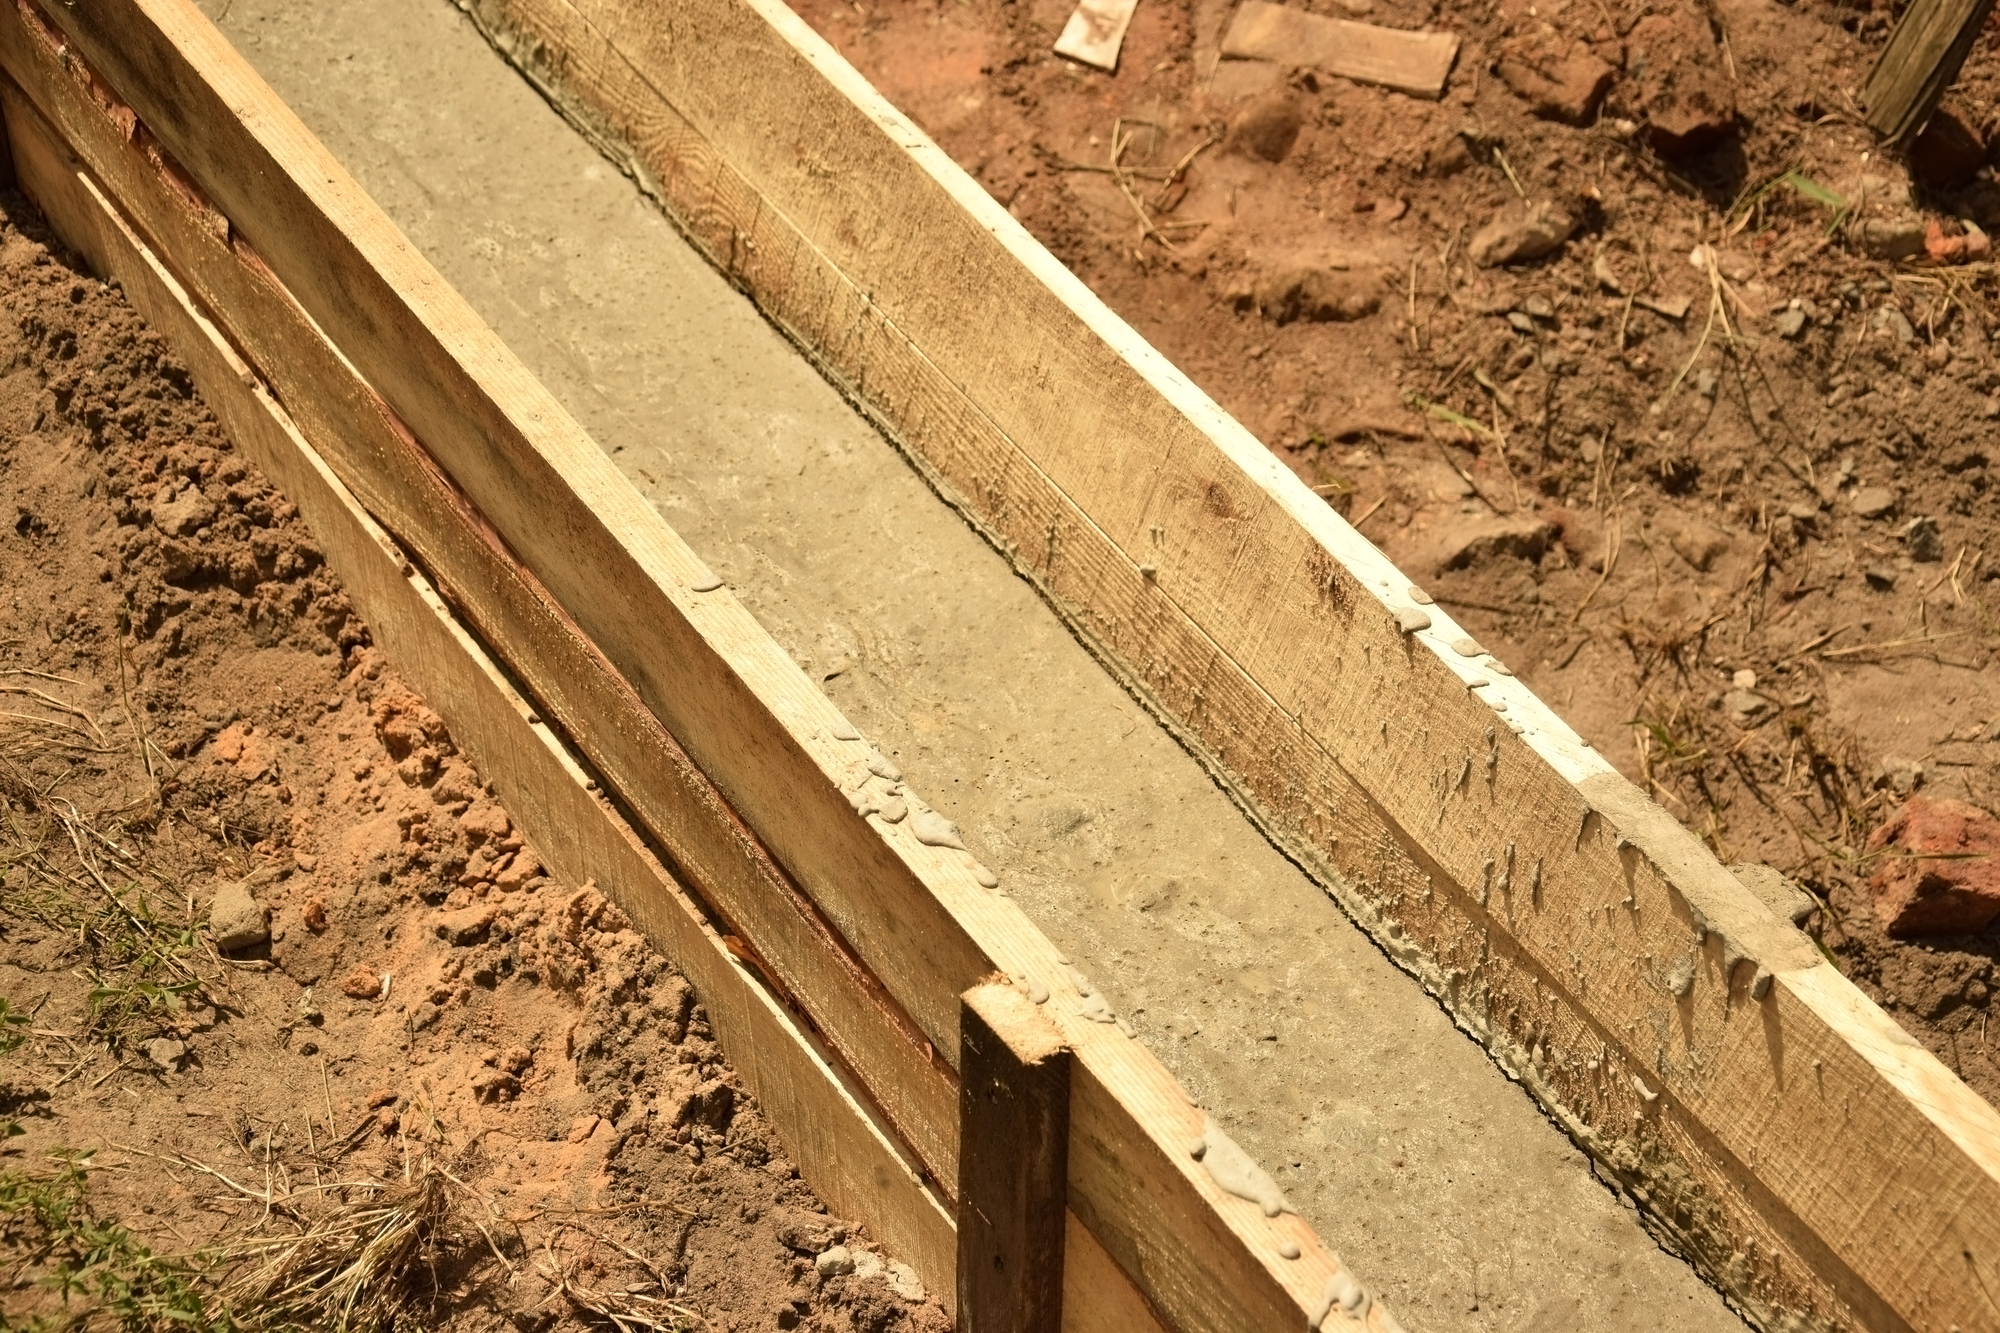
Set up the forms once you have reached the perfect depth without disturbing soil beyond that. You may need to put rocks or loose gravel in and maybe a plastic moisture barrier before you pour the cement.
Now you're ready to call the cement company. They will ask you what your project is because the mix of cement is different for footings than it is for sidewalks. They will also ask for the dimensions to calculate the amount of cement needed. The site clearing and grading basics will make sure everything is level and ready for the pour.
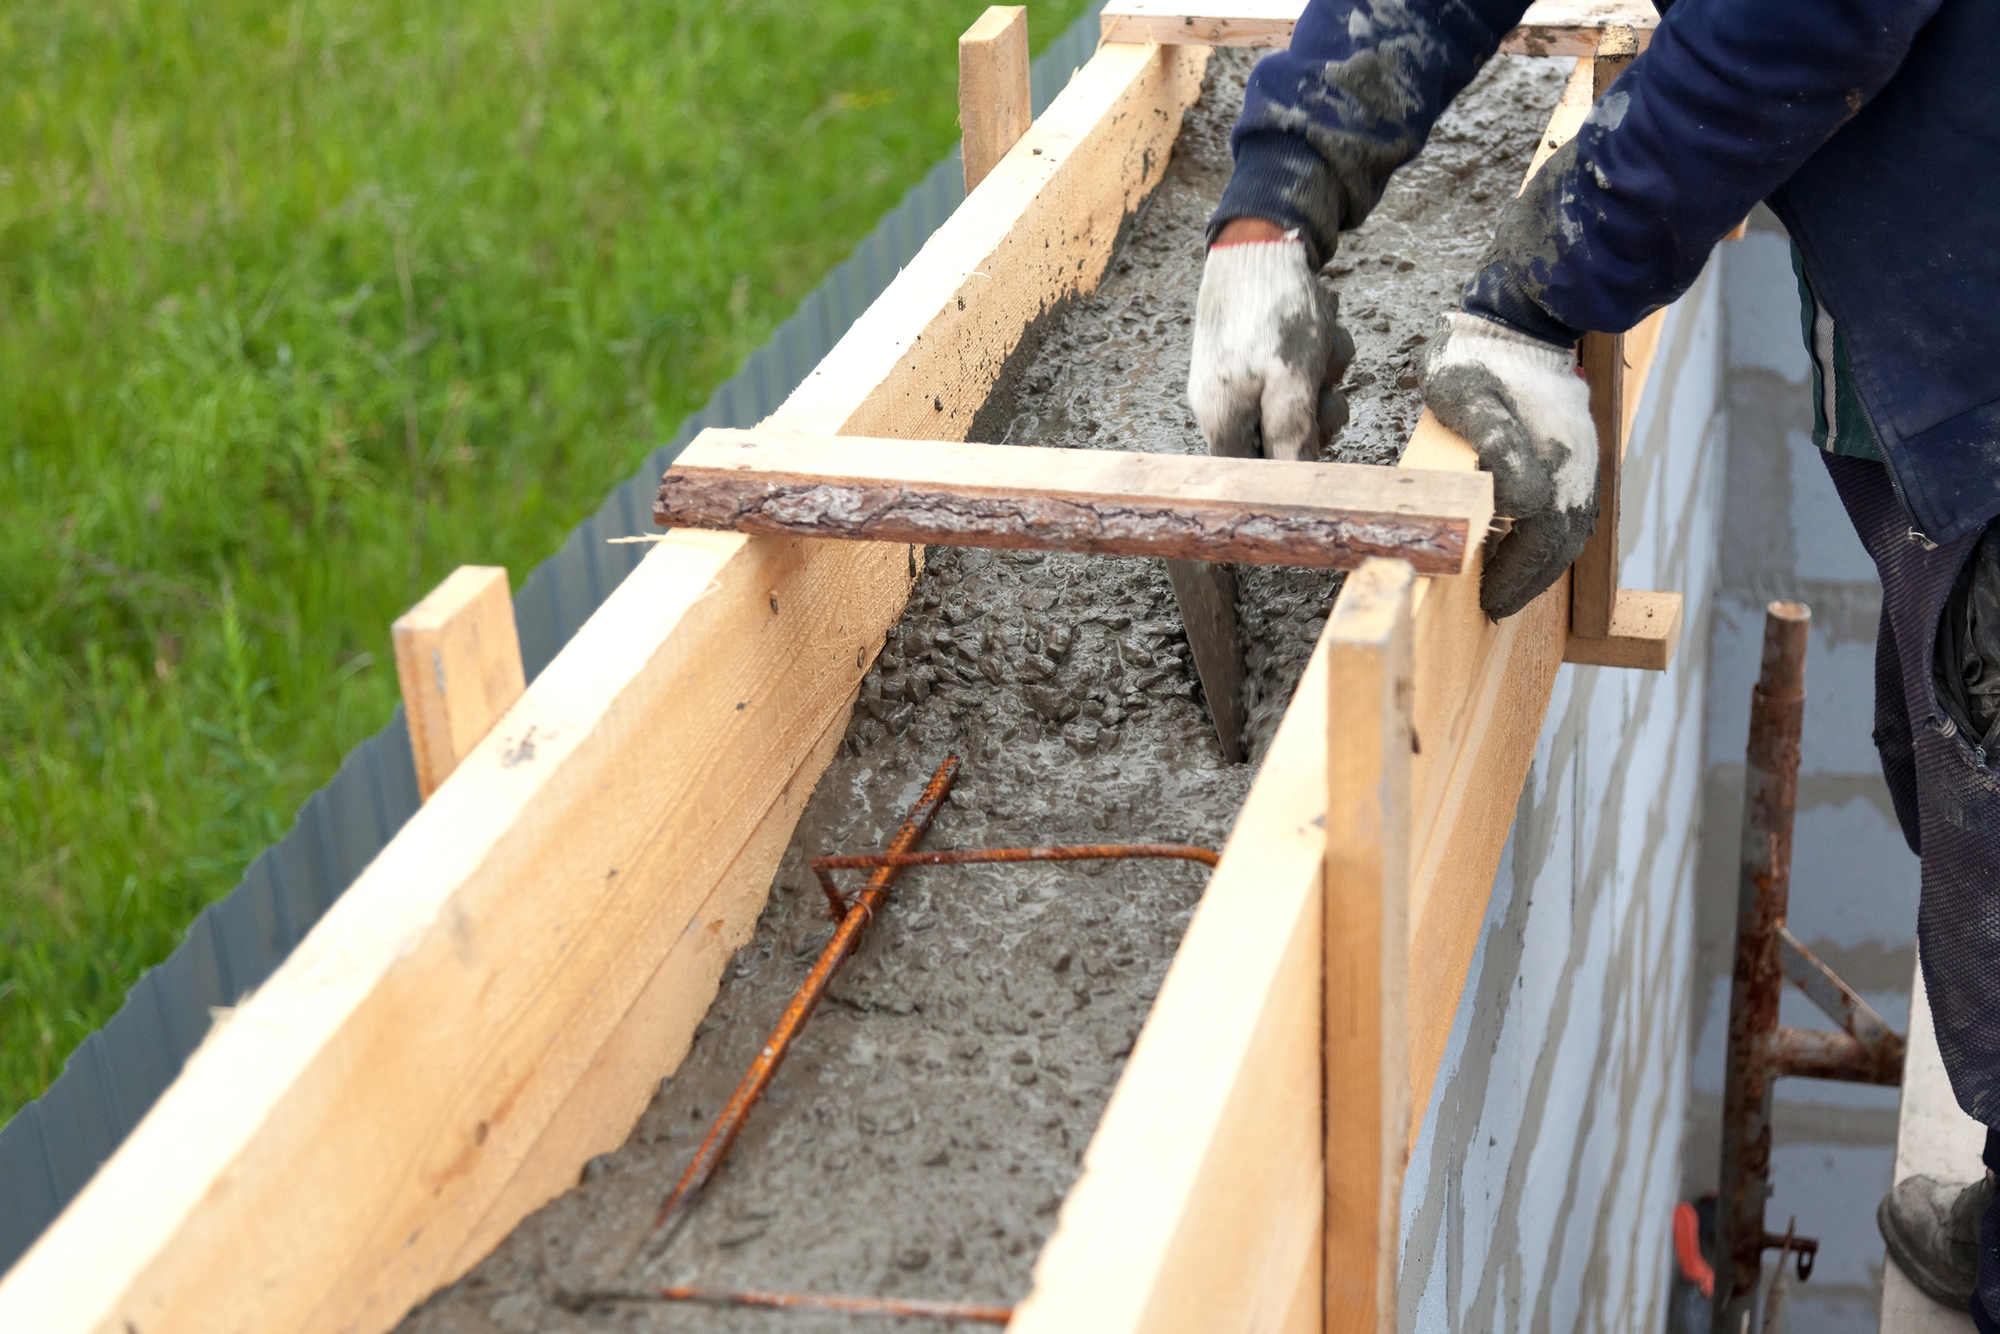
As they pour the cement you want to work it with a trowel to make sure there are no bubbles. You can do this with a chopping motion up and down in the wet cement. Make sure the cement forms around the rebar and doesn't push it down with the weight. Continue to work all the cement all the way around the footing forms to make sure there is enough cement to reach the top of the forms.
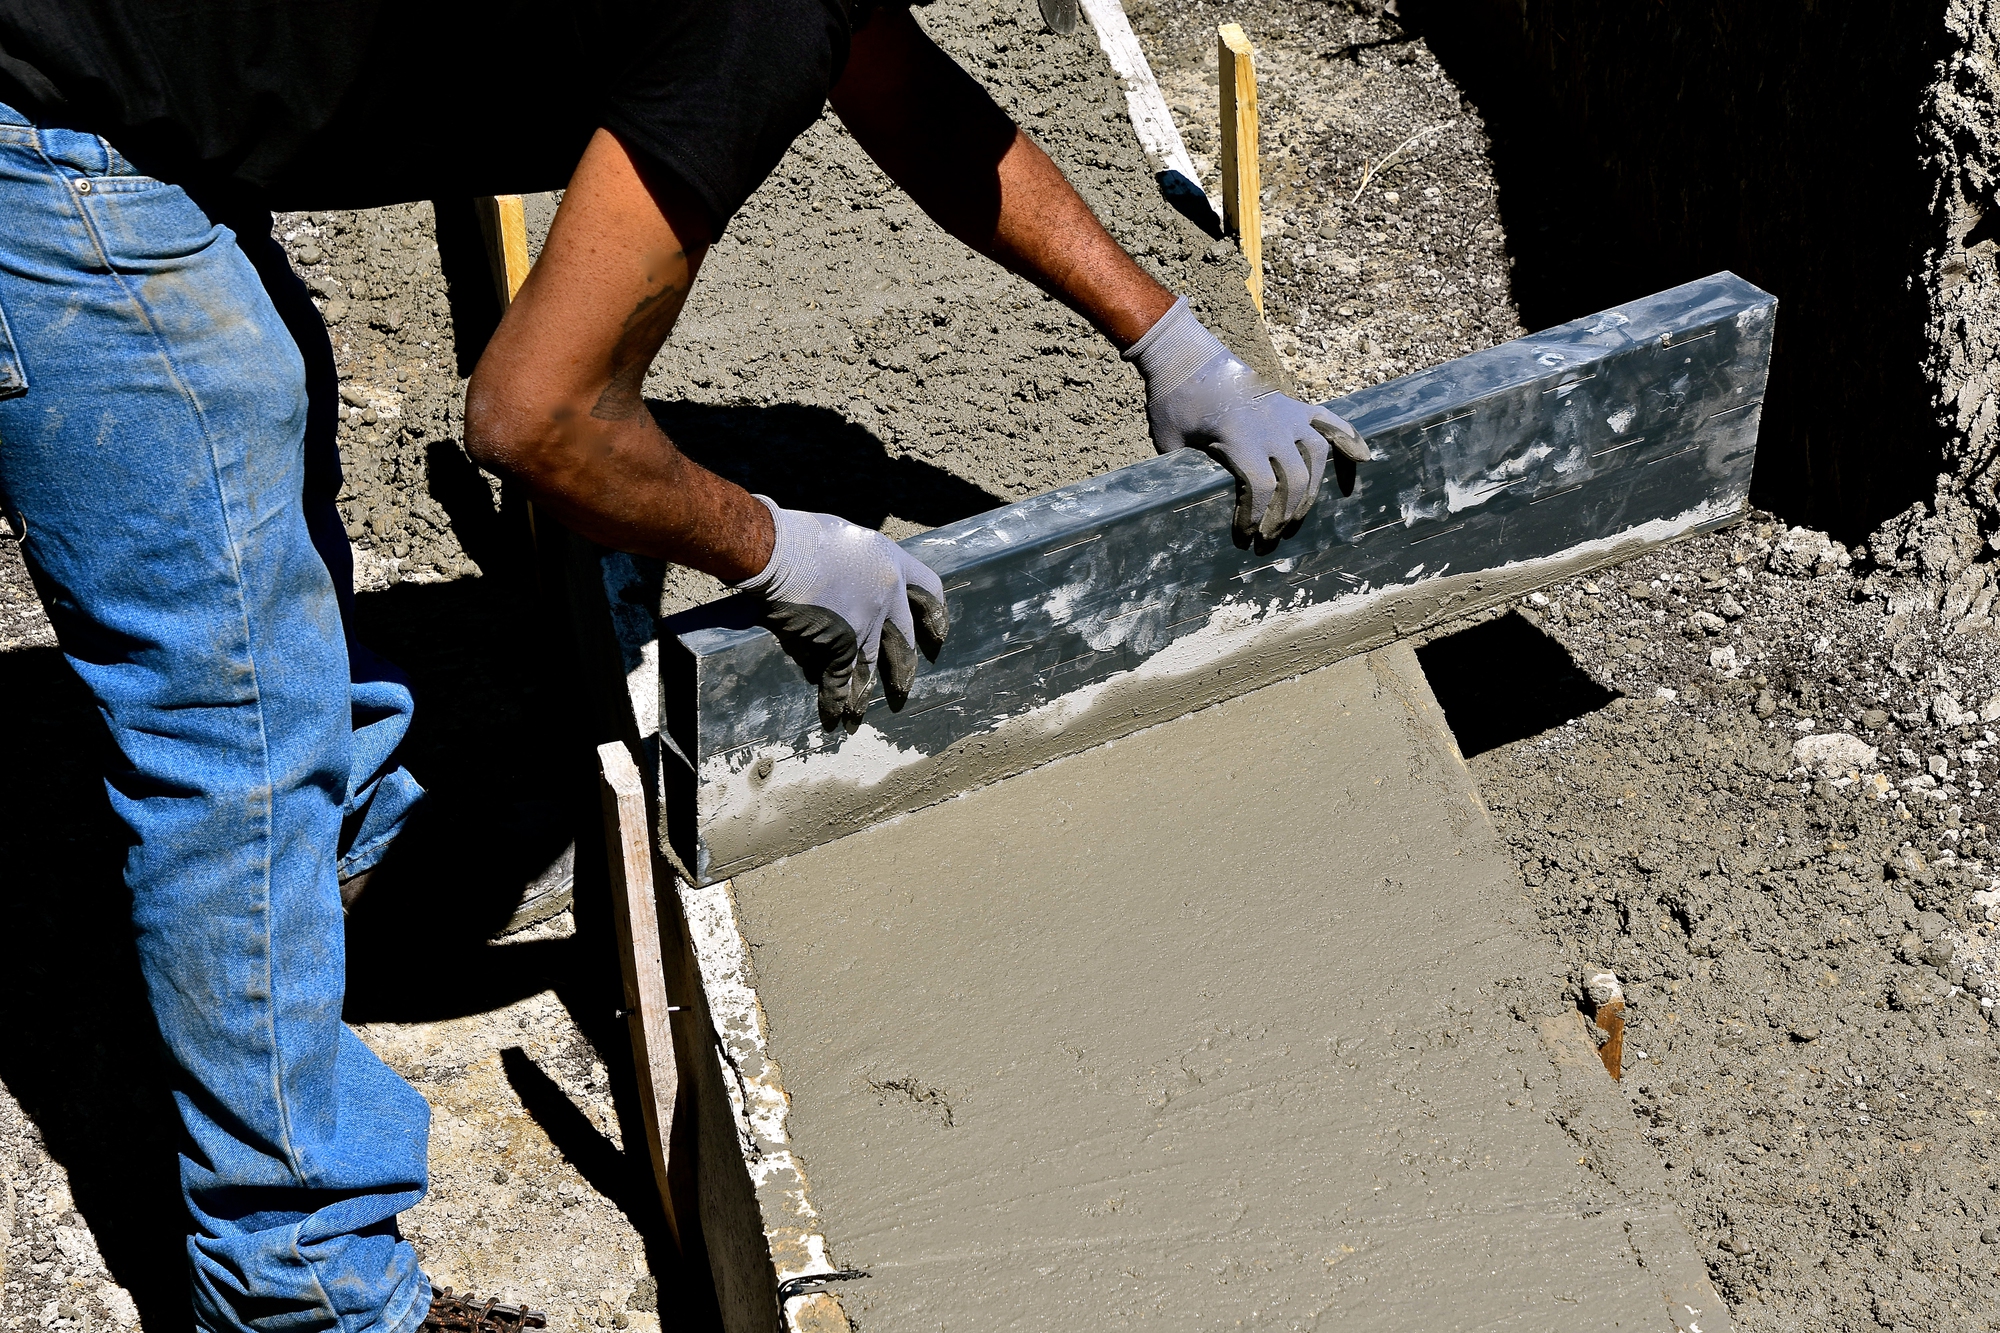
After cement has been poured, you will take a long screed or a 2x4 board and make the top smooth. Don't worry about getting it perfect as it isn't a sidewalk and will just get covered partially with the foundation wall.
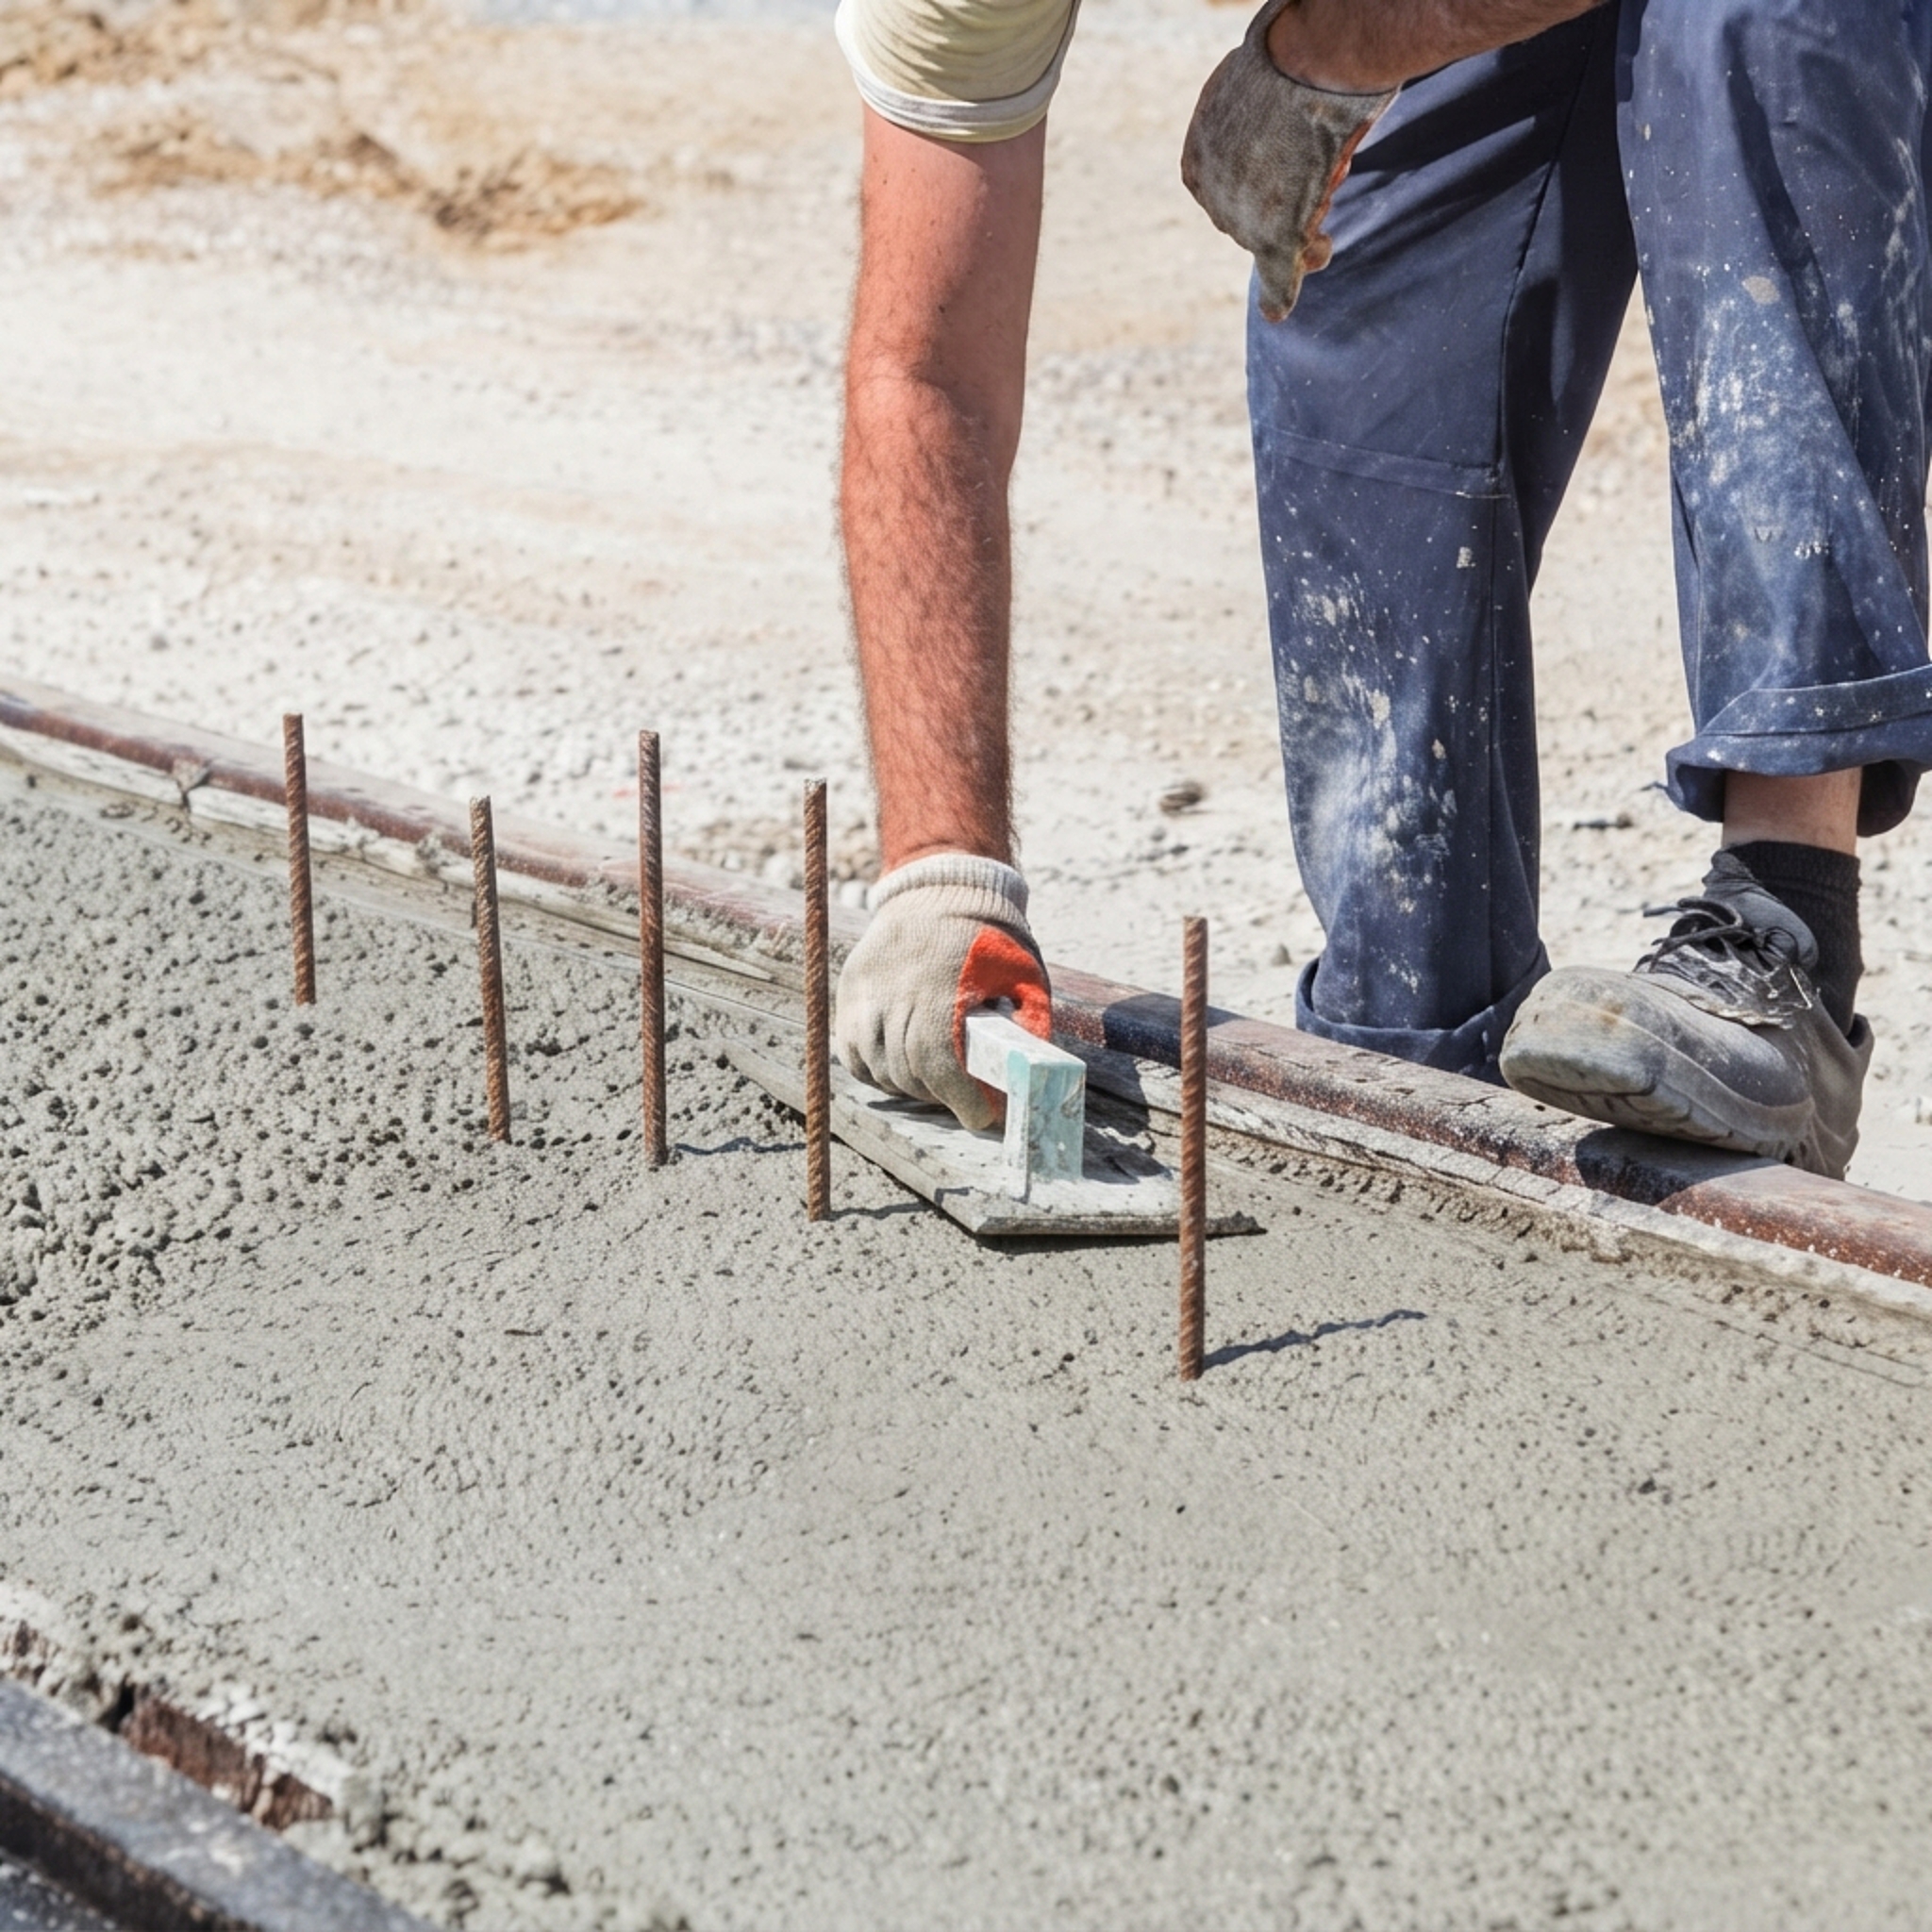
Once it's fully done and smooth you will want to put in the L-bar rebar if you haven't already done that as part of the rebar columns that run along the middle in two rows.
You will find more helpful information at the International Association for Certifies Home Inspectors or Nachi.org