How to Install Tongue and Groove Subfloor Single Handed: An Owner-Builder Guide
It's time to learn how to install tongue and groove subfloor single handed all by yourself and maintain the perfect expansion gap, and eliminate future floor squeaks.
Now that your foundation is pinned, your sill plates are bolted down, and your joist system spans across the footprint, it is time to establish the actual floor you will stand on to build the rest of your home.
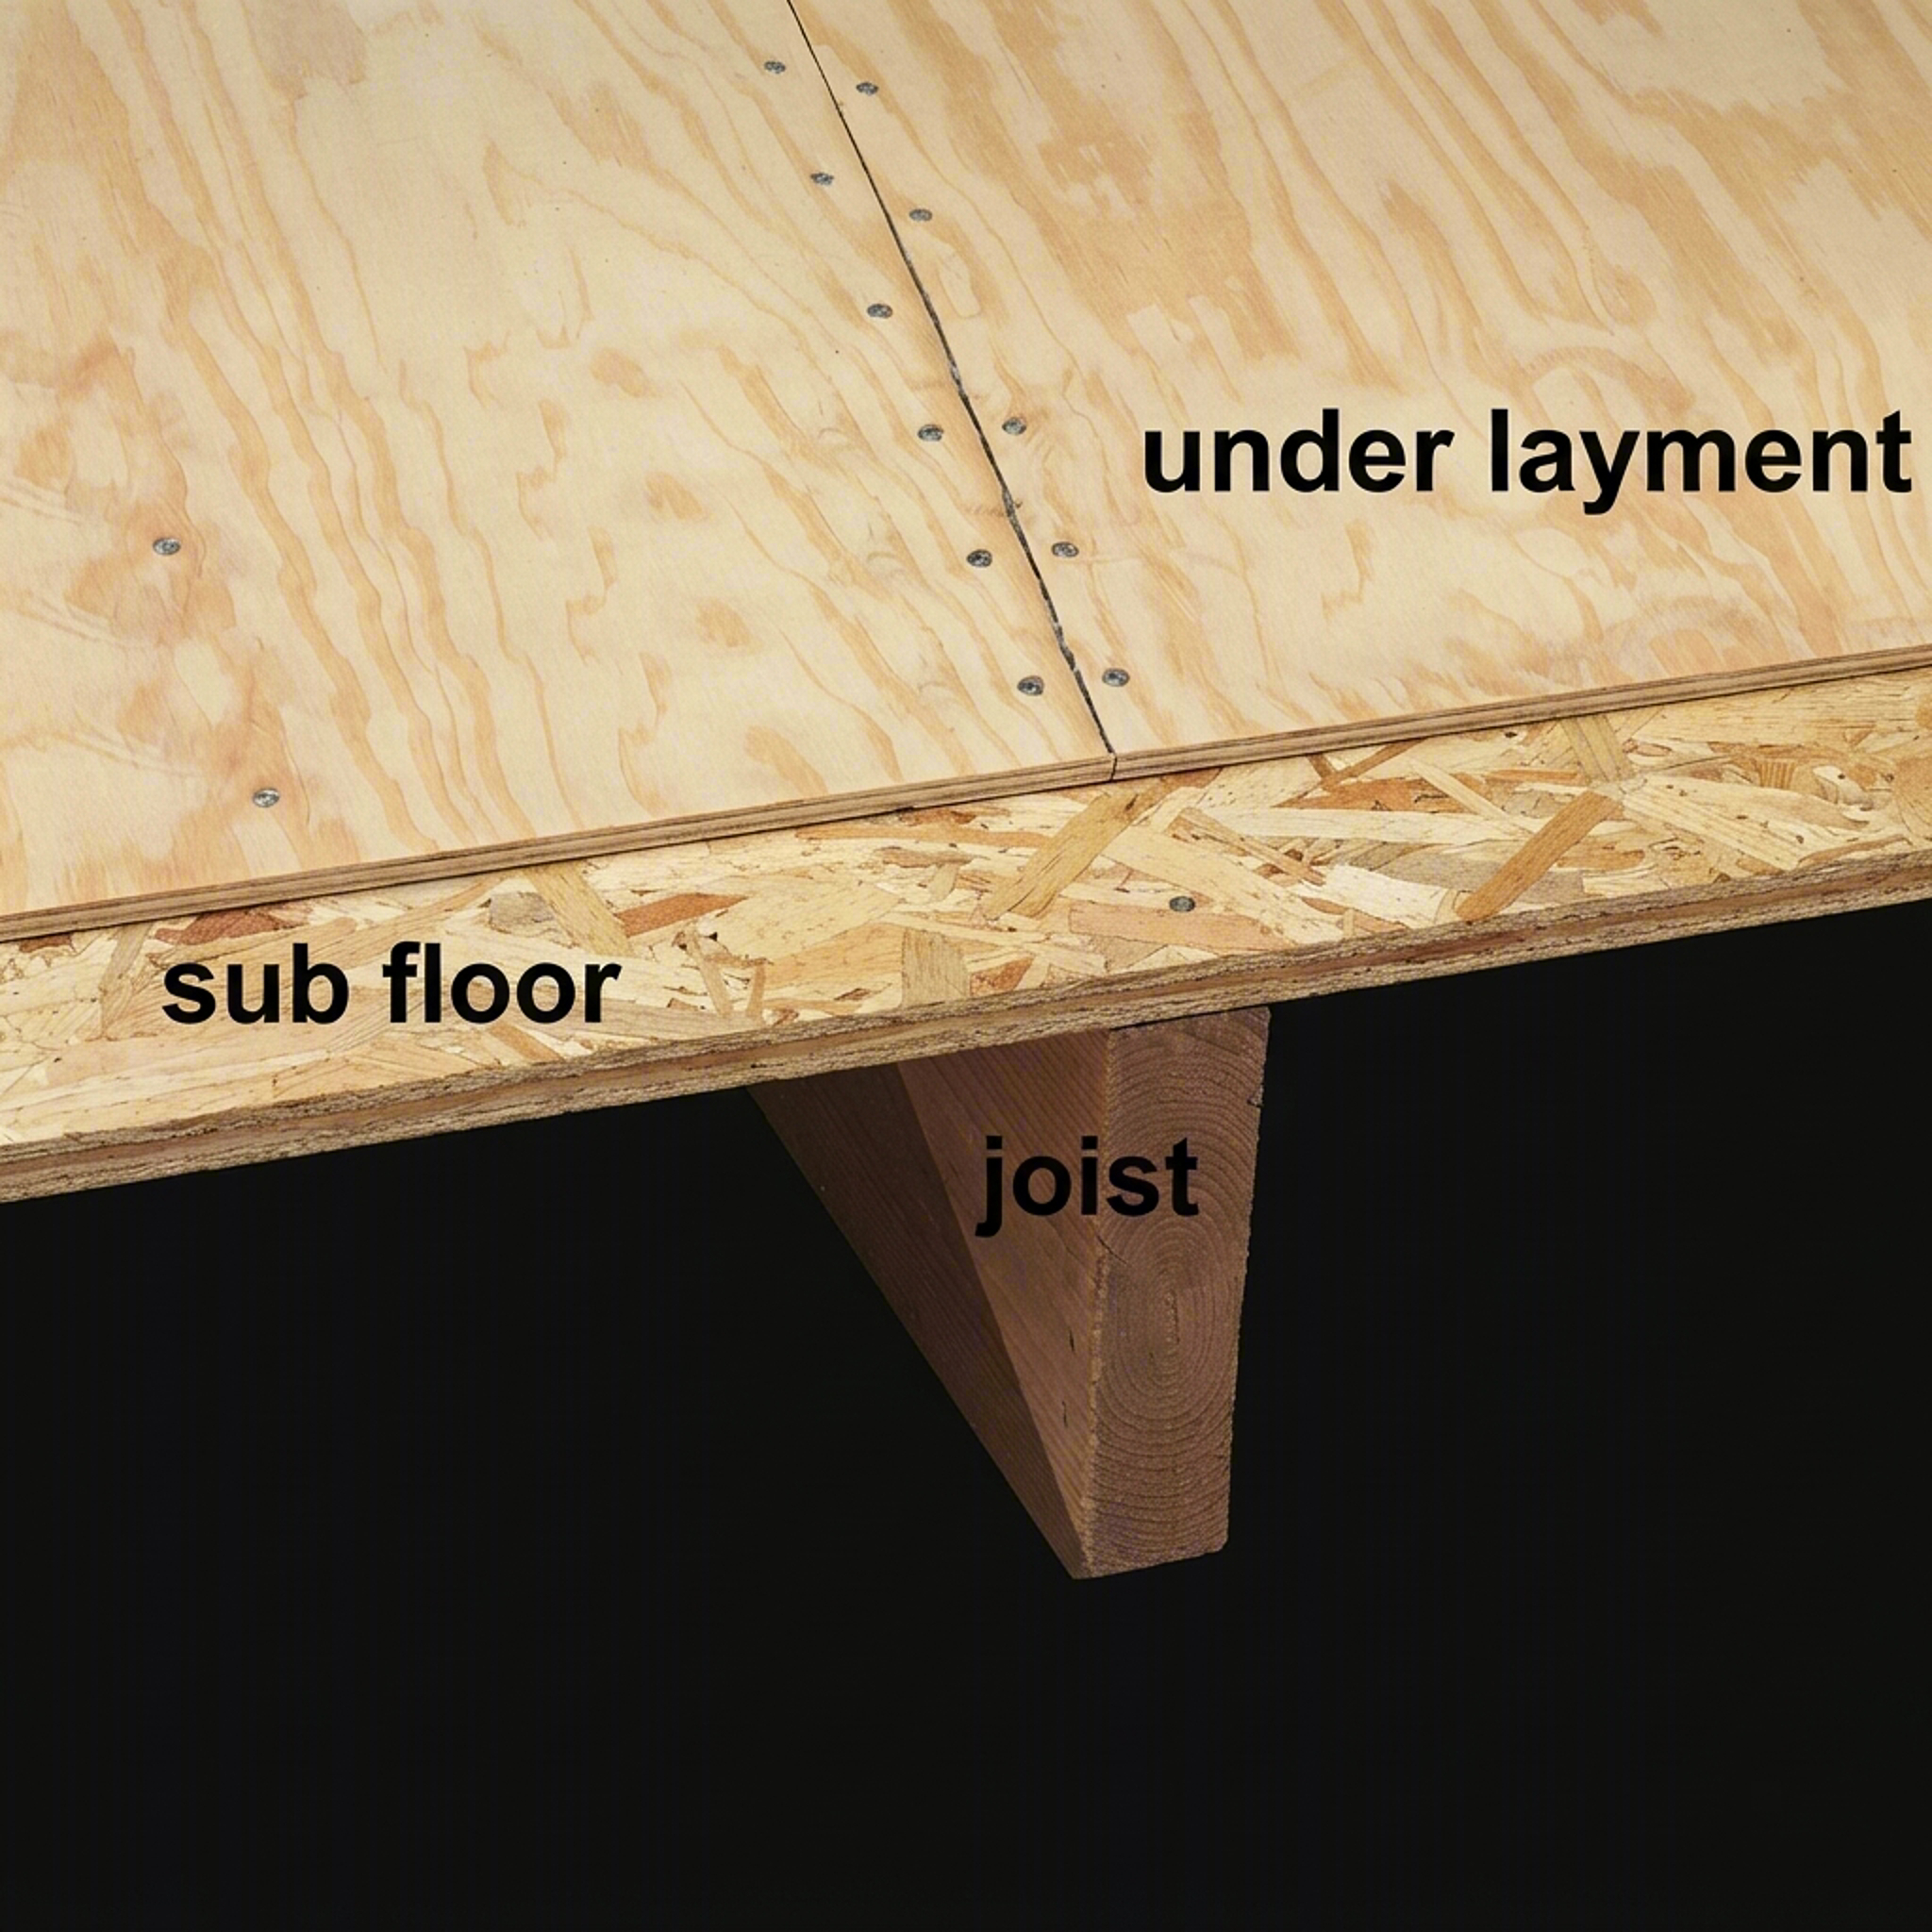
In carpentry terms, this platform is called the subfloor deck. The upper layer of the floor will be added later with the finish work. For an owner-builder working with no prior structural carpentry experience, this phase is incredibly rewarding because the house suddenly transforms from a grid of open beams into a solid, walkable workspace. However, a silent floor starts here. Every squeak, creak, or bouncy soft spot you experience in a finished home is rarely the fault of the hardwood or carpet—it is almost always caused by a subfloor sheet that wasn't glued down or nailed correctly. Let's look at how to get this right on the first try.
Before you begin hoisting sheets of plywood or spreading adhesive, it is absolutely critical that your underlying framing is straight, flat, and clear of debris. Take the time to completely prep subfloor joists before laying plywood using this comprehensive pre-flight checklist to eliminate future floor sagging and squeaks."
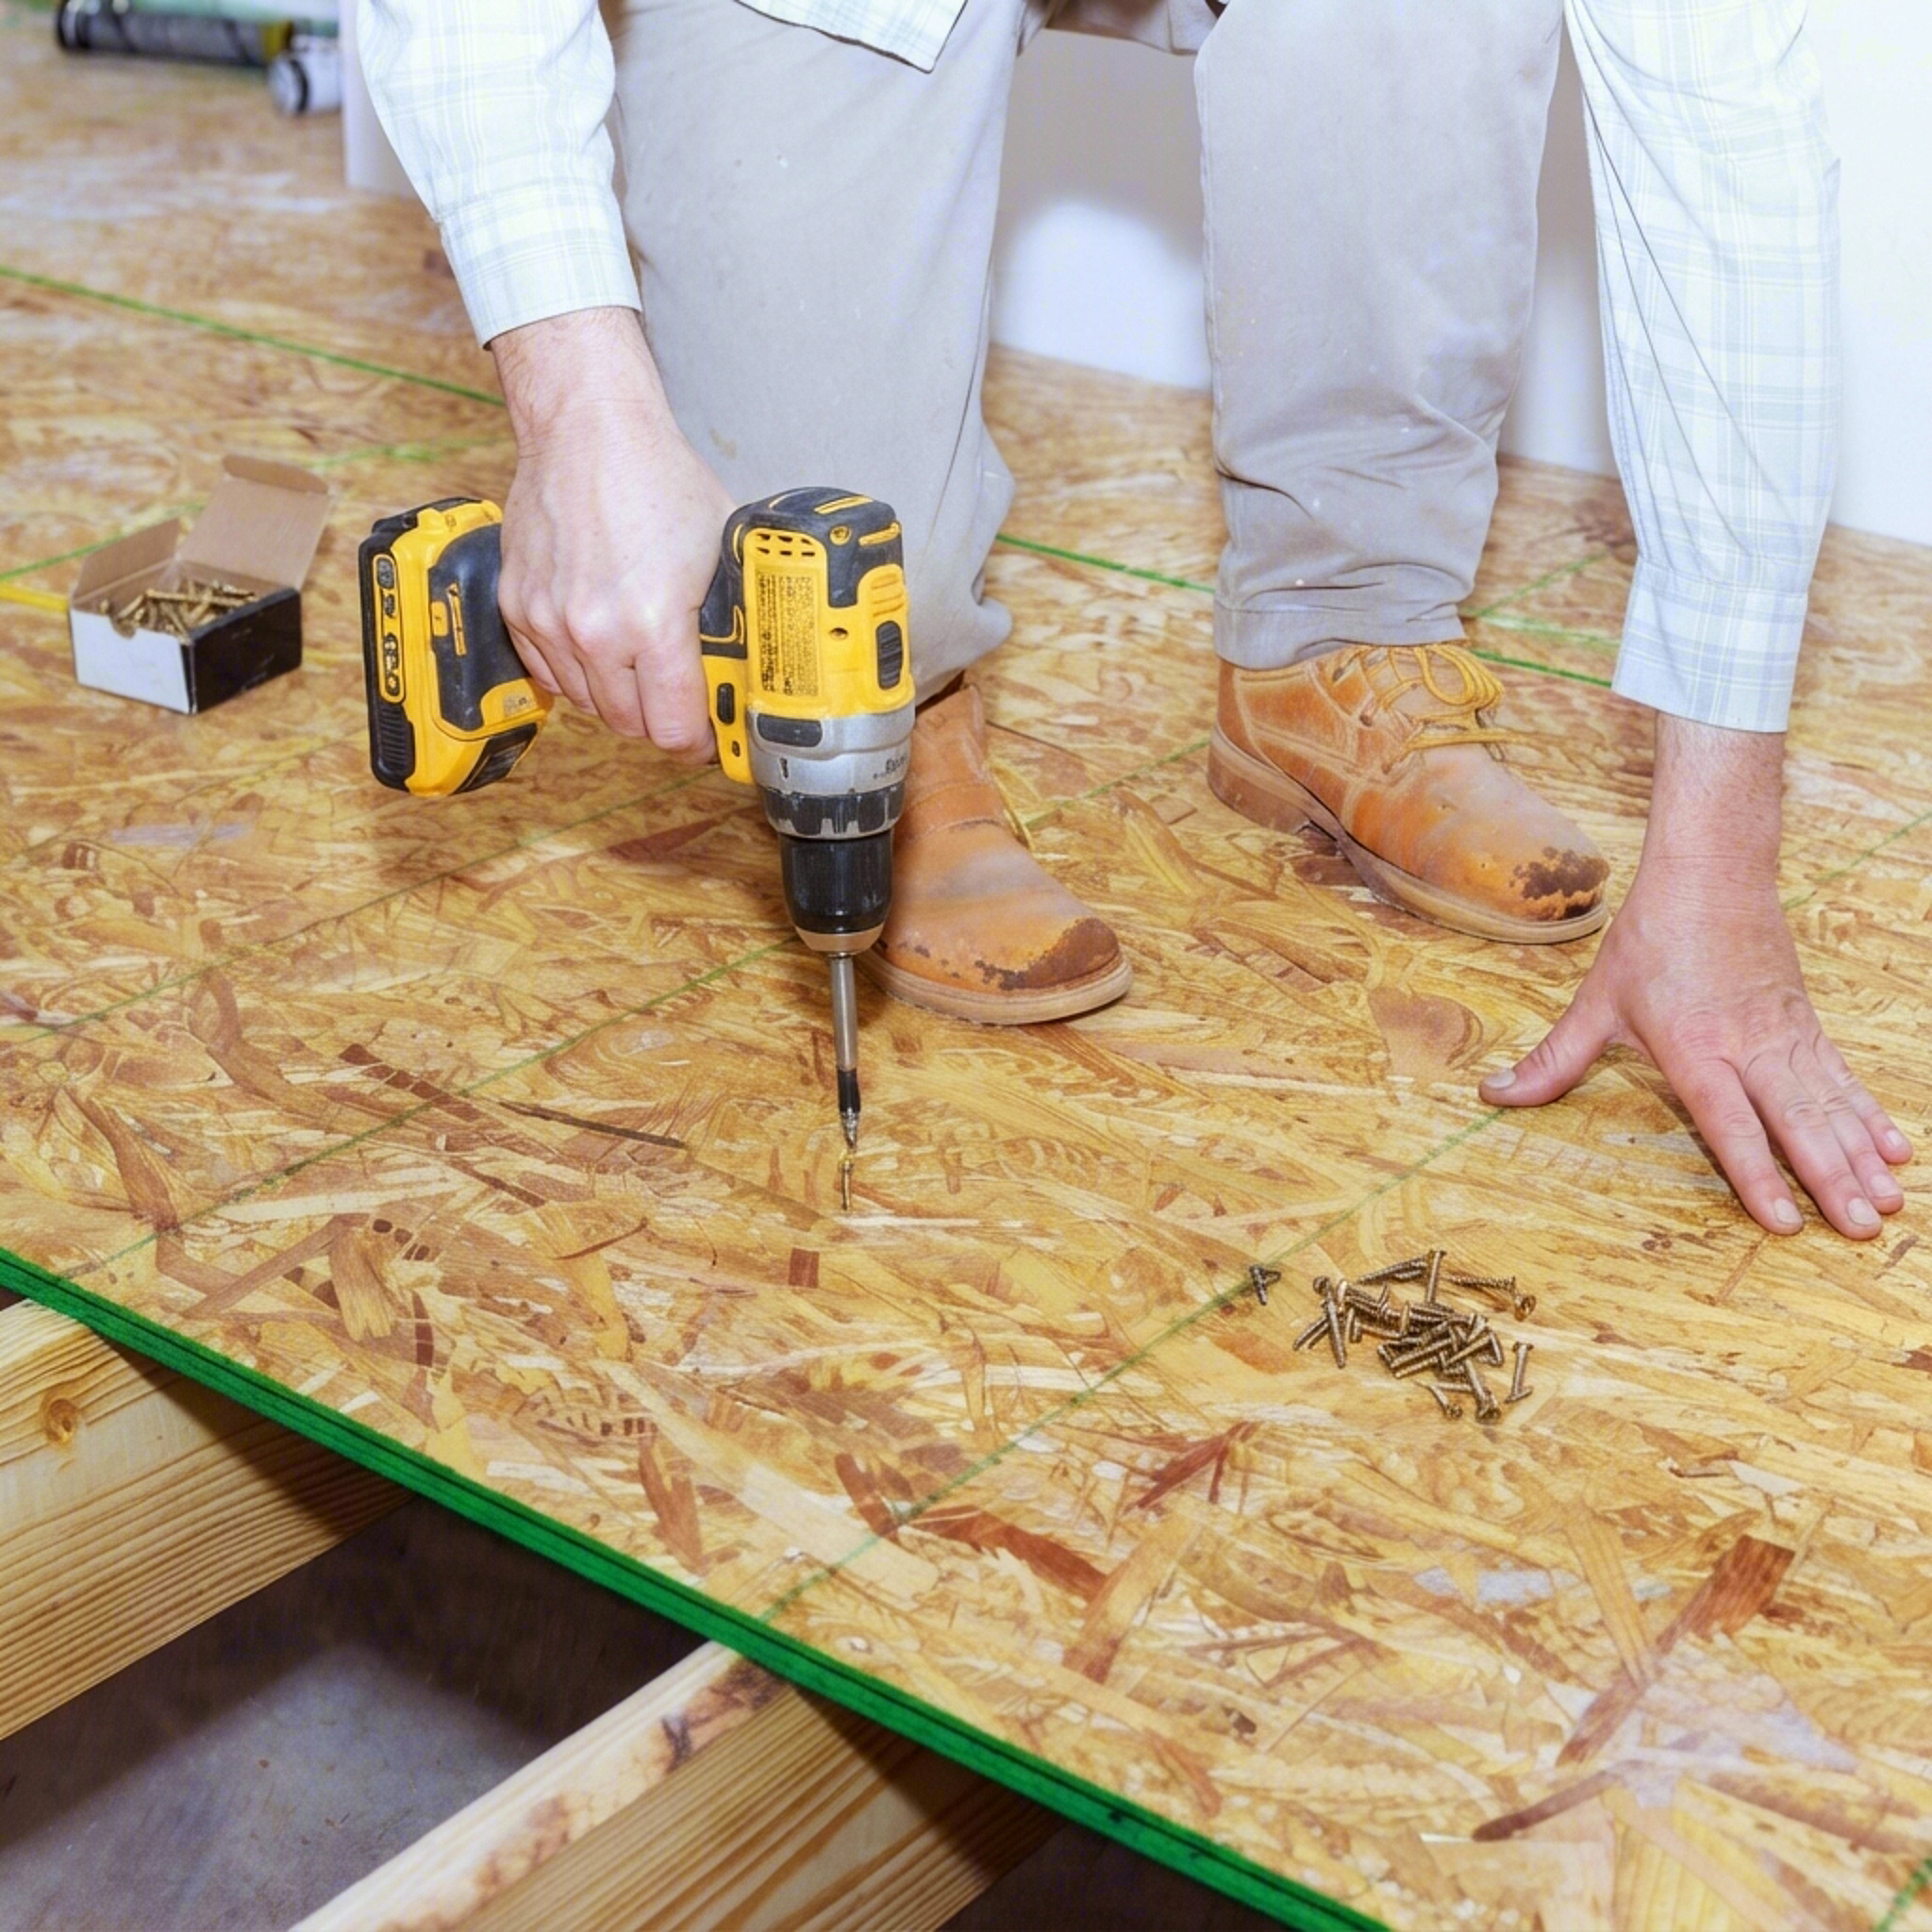
Installing a 3/4-inch subfloor (OSB or plywood) perpendicular to 16-inch on-center (OC) floor joists creates a rock-solid, code-compliant platform for new construction.
This project typically takes 1 to 2 days to complete for a small residential footprint and demands moderate-to-high physical effort. Precise layout spacing and immediate fastening are mandatory to prevent structural deflection and annoying floor squeaks later on.
On a personal and cautionary note...
I made a mistake when I installed my subfloor. I did not use adhesive to secure the sheets. I thought using tongue in groove OSB and screws was good enough, but I was wrong. The floors started to get a little squeaky in places just a few years later. I made several mistakes on my flooring and put the top layer on too soon, so I learned from that because I had to replace that floor later on because of the rain warping the sheets. I know better now.
Some tools needed
I like to use a power driver/drill for installing screws into the OSB sheets. It's just a preference because sometimes nails work loose over time even though adhesive is used. You be the judge, but for many small homes, a Pneumatic nailer might be overkill if you can make due with a good quality drill/driver.
What You'll Need
Tools:
- Pneumatic framing nailer or high-torque collated screw gun (highly practical to rent from a local hardware hub if you don't already own one)
- Heavy-duty caulking gun (sized for large construction adhesive tubes)
- Chalk line and 25-foot tape measure
- Circular saw with a framing blade (for trimming end panels)
- Sledgehammer and 2x4 sacrificial beating block (for driving tongue-and-groove seams together safely)
Materials:
- 3/4-inch Tongue-and-Groove (T&G) panels (Plywood or high-performance OSB)
- Polyurethane subfloor construction adhesive
- 8d ring-shank nails or 2-1/2 inch structural subfloor screws
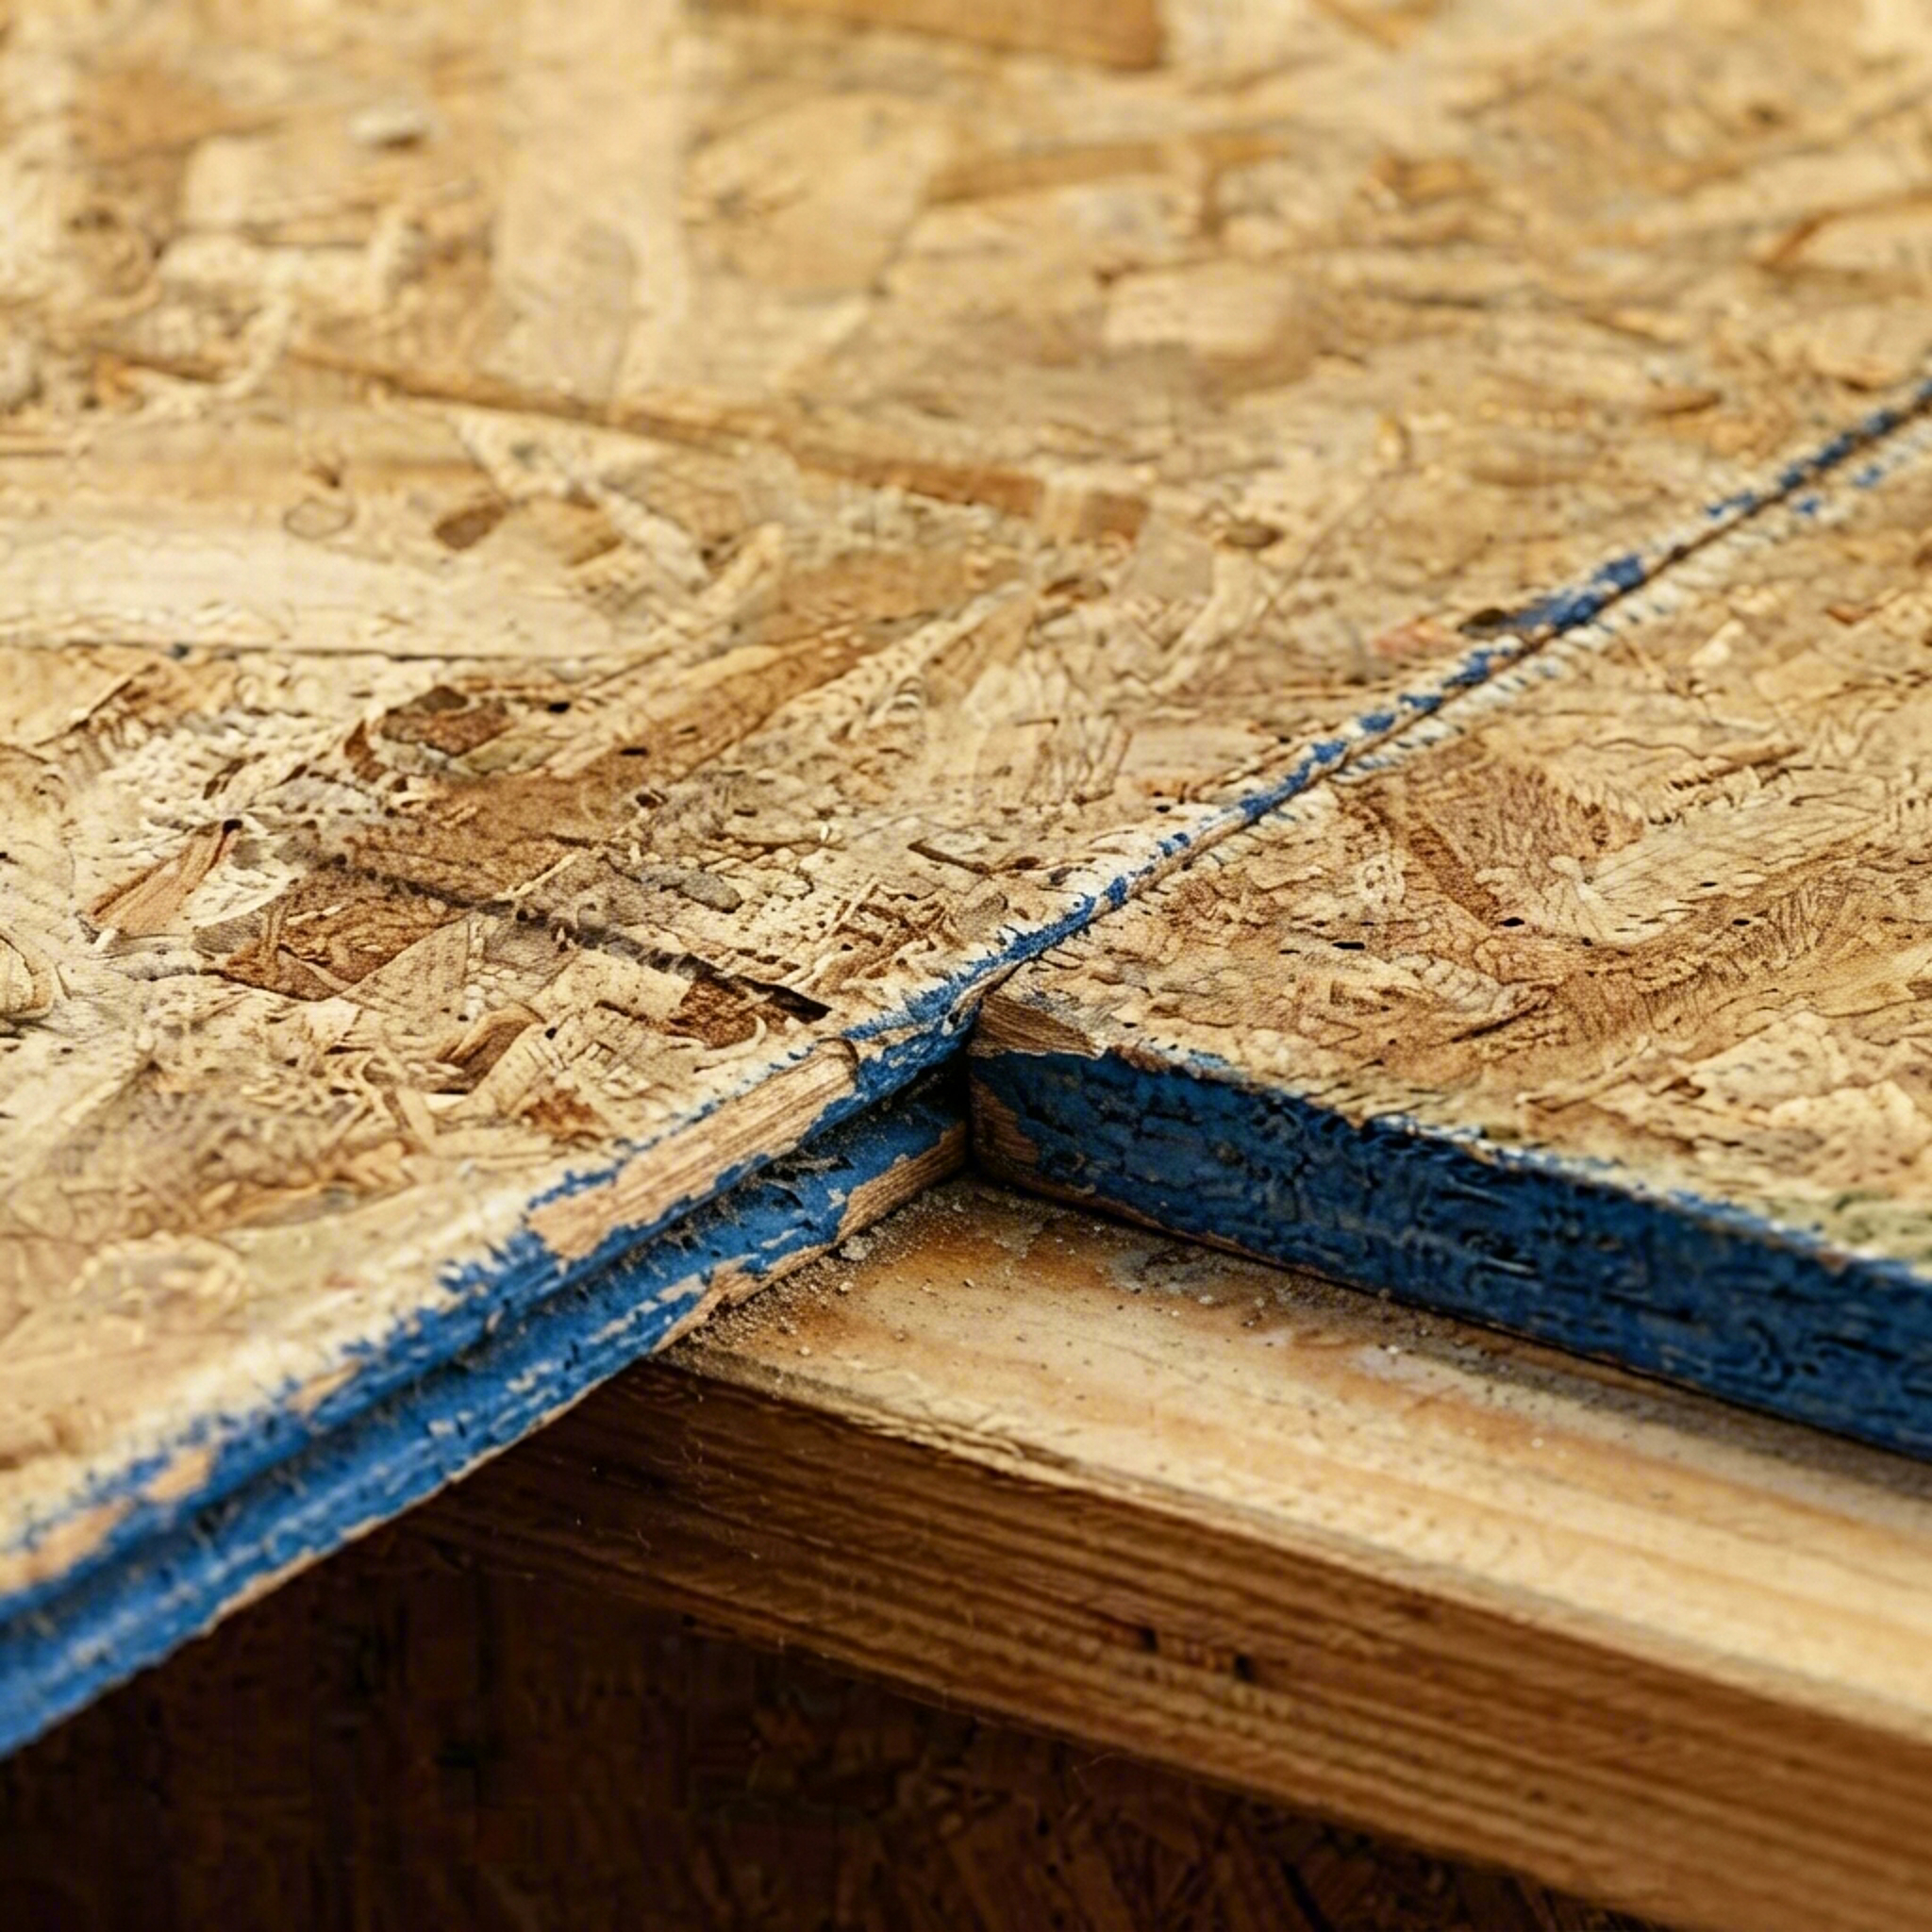
This is 3/4-inch tongue and groove Oriented Strand Board (OSB) used for subflooring. You will need a hammer and a wood block to pop the tongue of one sheet into the groove of another sheet. This is how they all fit together and make a floor without large gaps. Using adhesive also makes the floors solid and they won't ever have squeaks.
Step-by-Step: Laying the First Row Single Handed
Applying a continuous bead of high-strength adhesive provides a structural bond that eliminates the microscopic shifting responsible for squeaky floor decks.
Preparation & Adhesive Application
- Clean the top face of the floor joists completely to remove sawdust, pooled rain, and framing debris that could break the glue bond.
- Snap a reference chalk line precisely 48 inches out from the outer rim joist to establish a perfectly straight guideline for your baseline row.
- Apply a continuous 1/4-inch serpentine bead of subfloor adhesive along the top edge of the joists. Lay only enough glue for one or two sheets at a time so it doesn't skin over and lose tack.
- Lay a parallel double bead of adhesive on joists where two separate panel ends butt together.
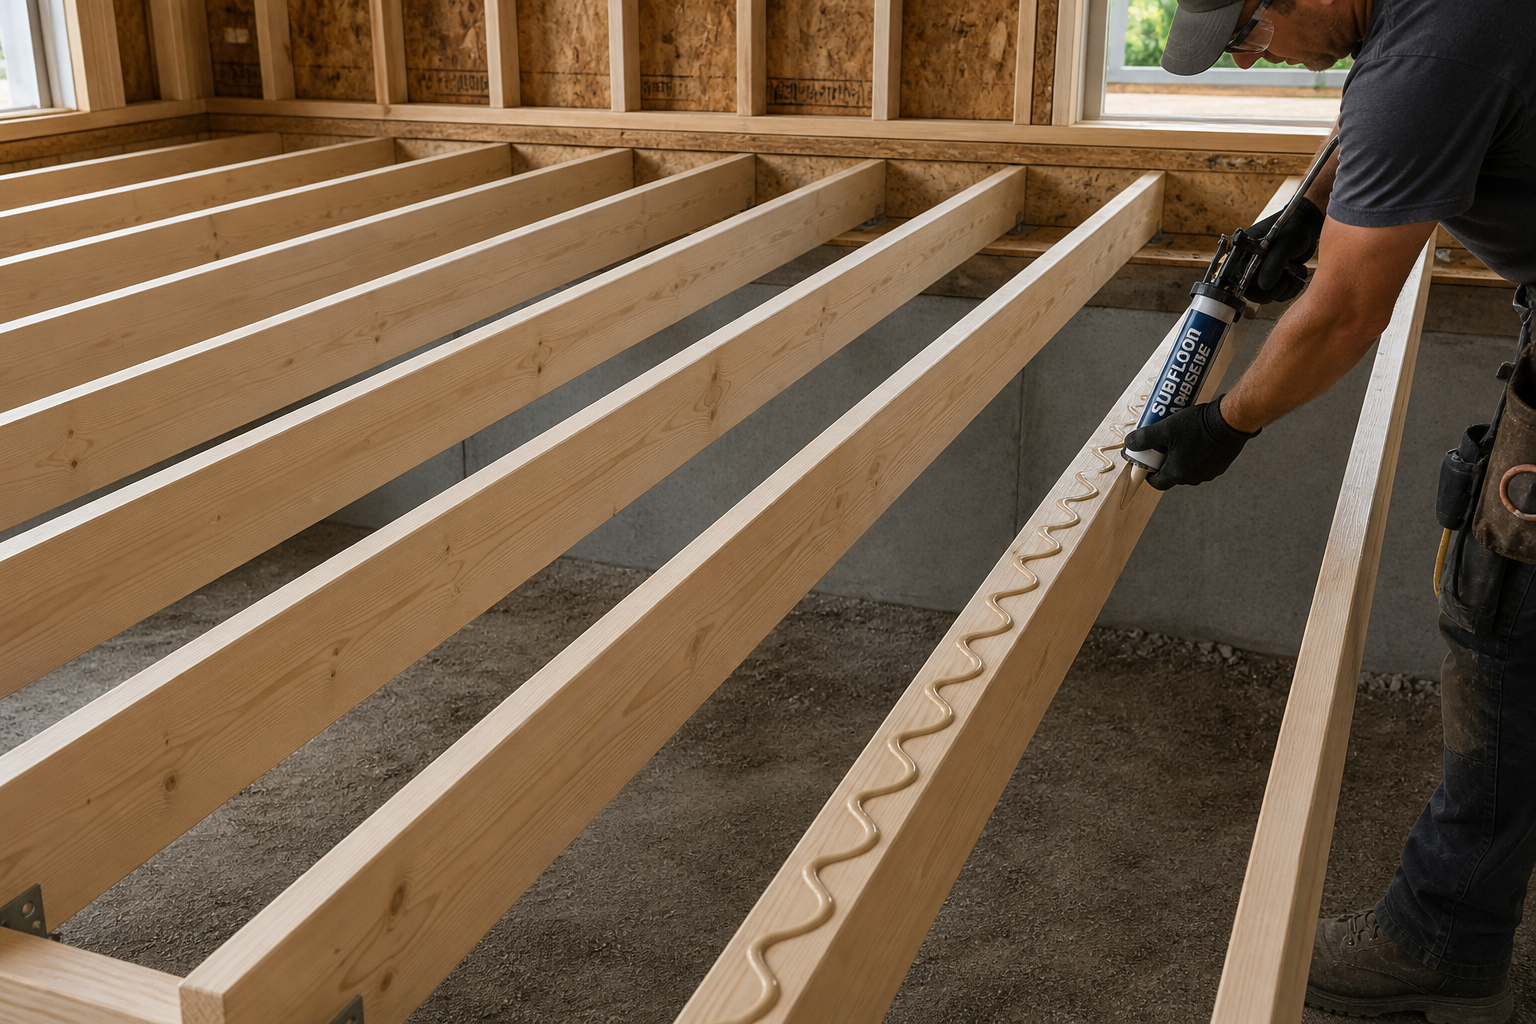
Prepare the OSB or plywood sheets so you know where they will be installed. Then apply a fair amount of adhesive where that sheet will go.
Panel Placement & Staggered Layout
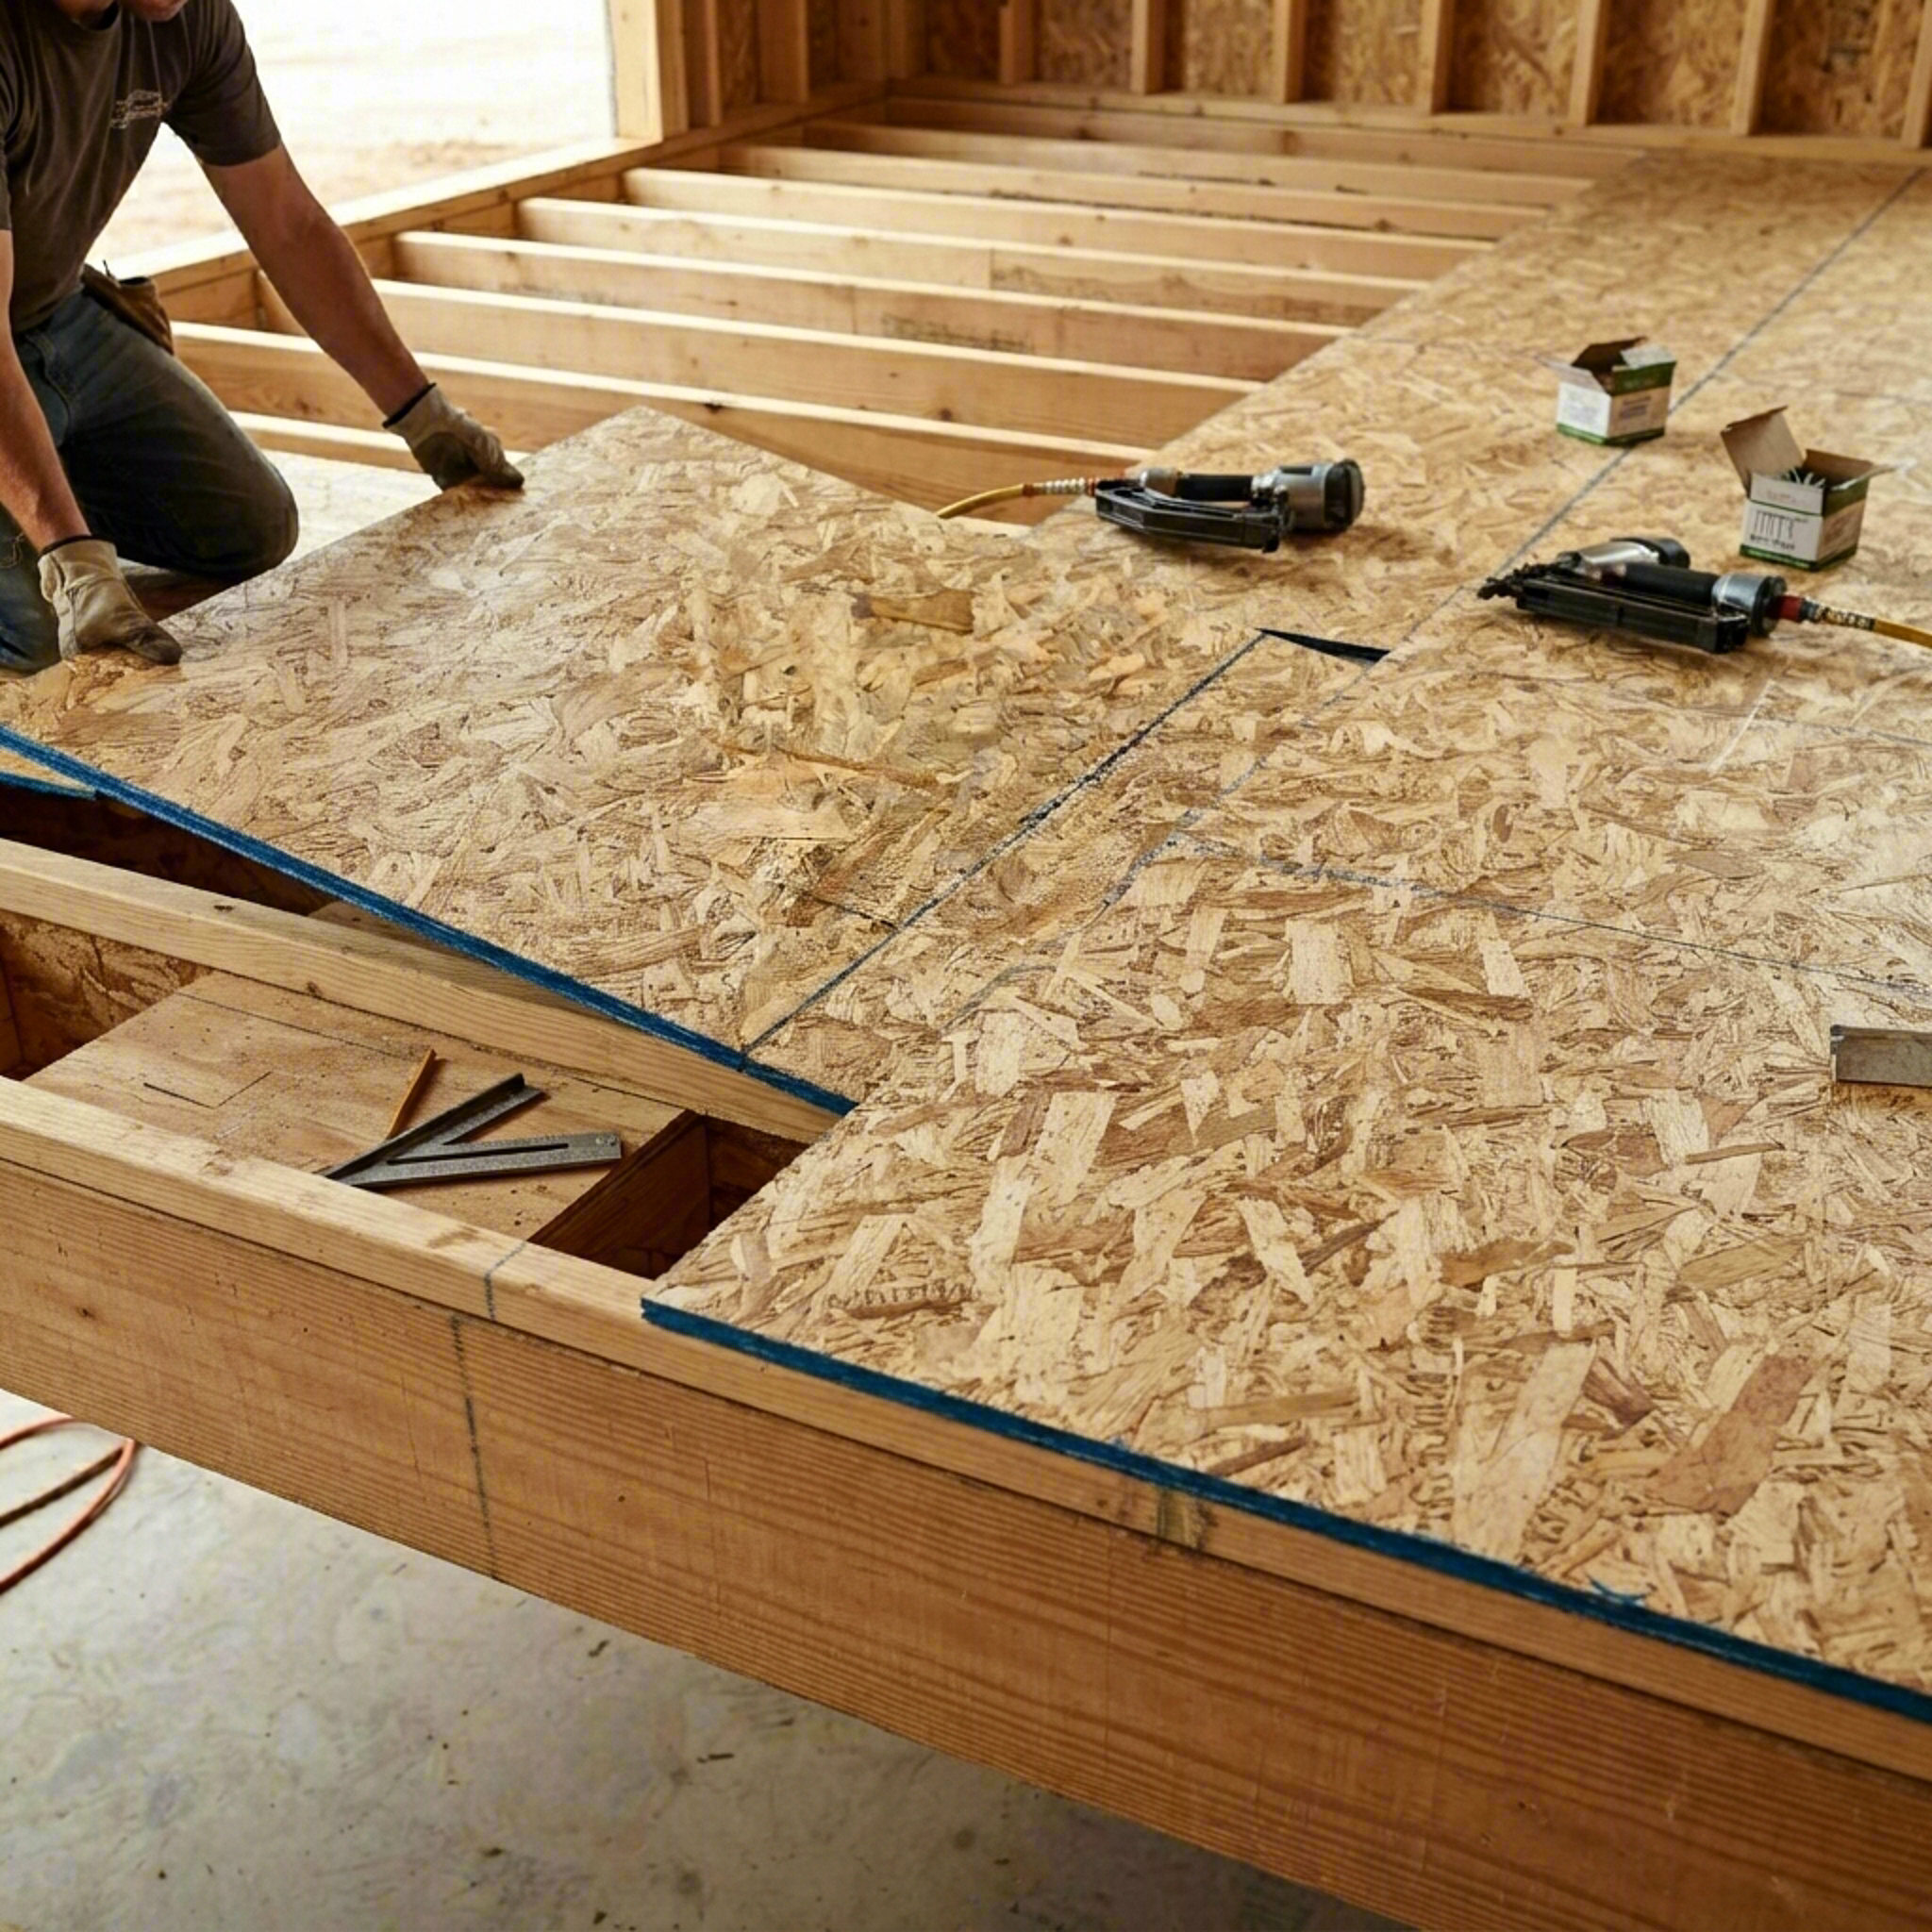
Laying sheets across the joists in a brick-pattern offset maximizes strength and evenly distributes structural weight throughout the deck footprint. Try to stagger the joints of the sheets so you don't have all the gaps aligned. Off-setting or staggering the gaps makes a stronger floor that is less prone to squeaking.
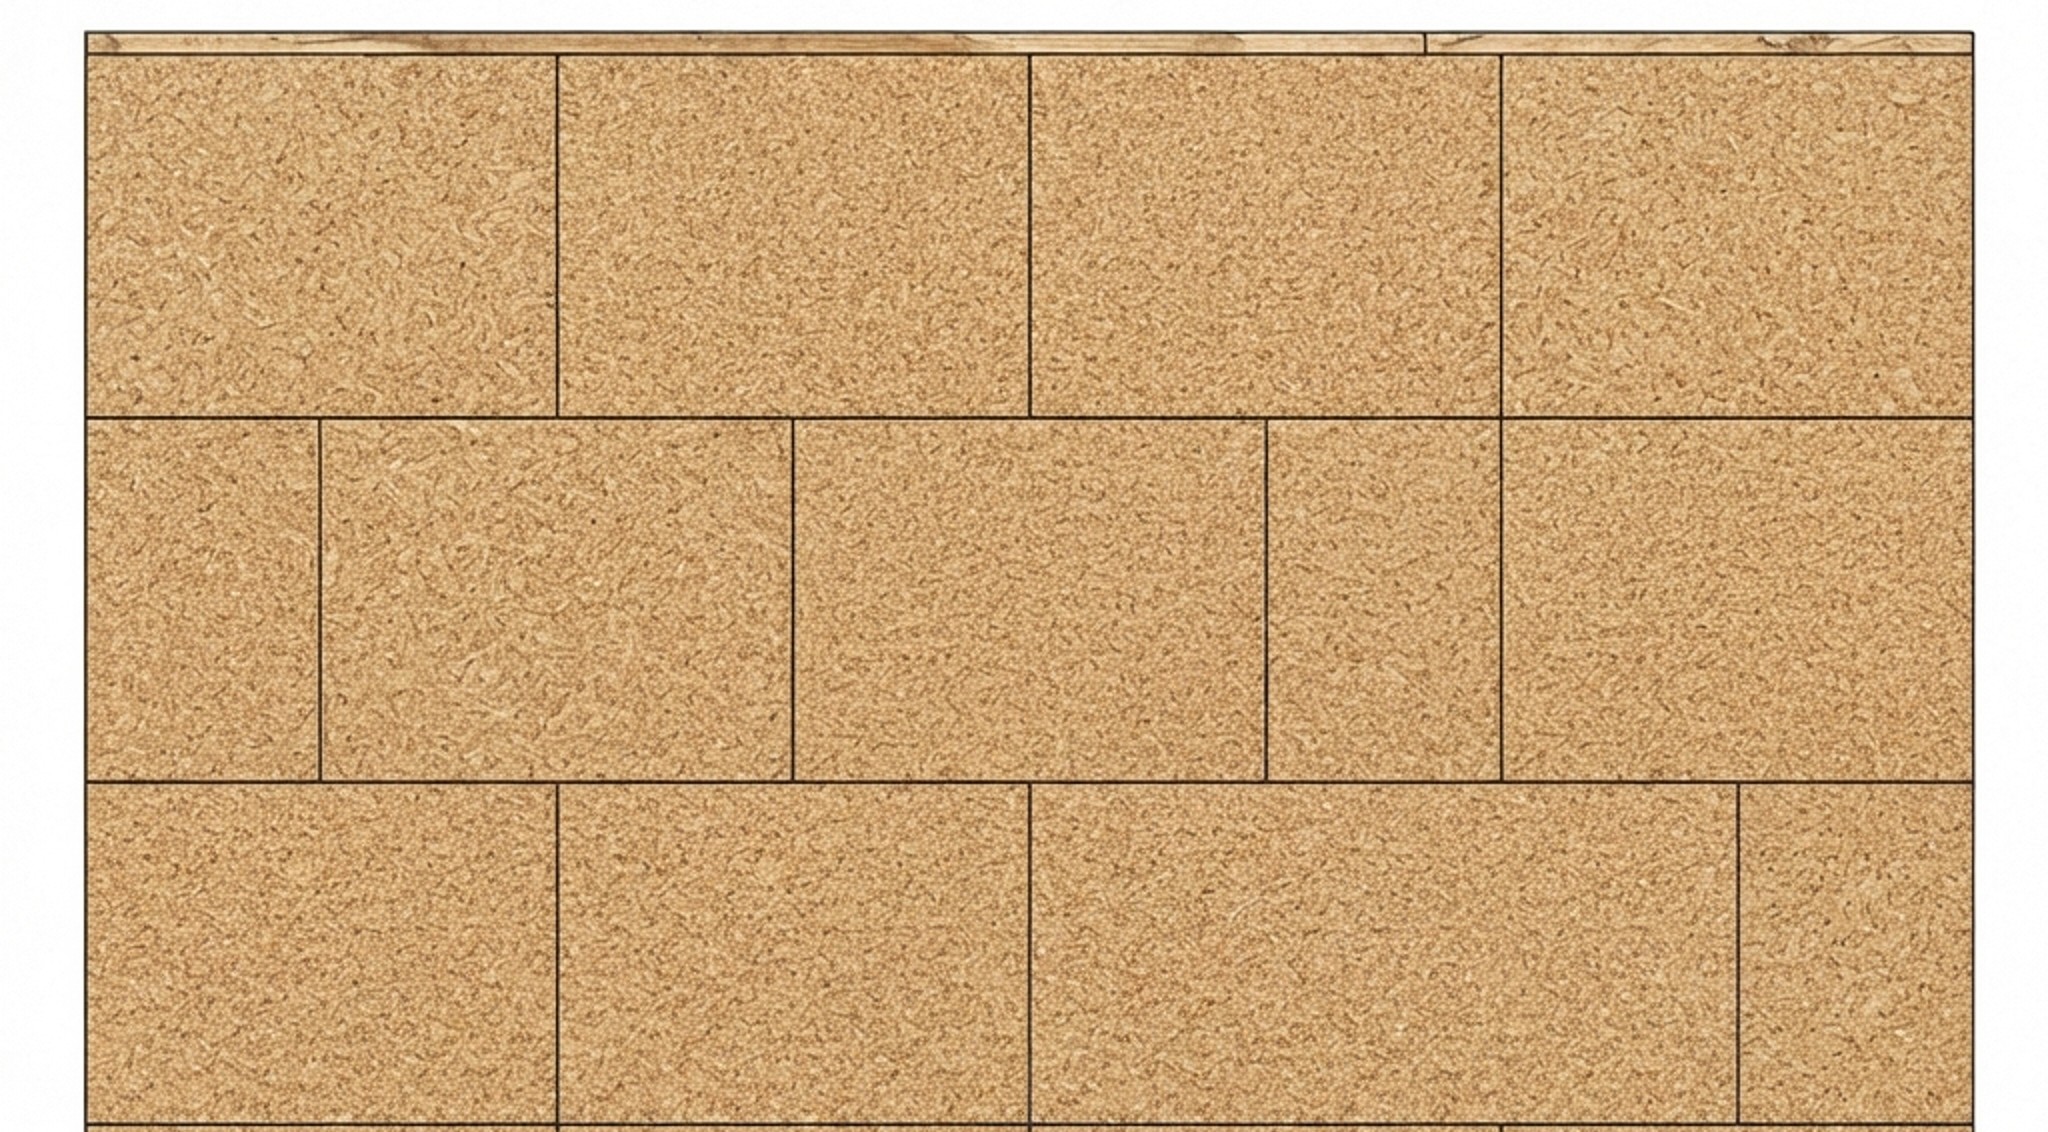
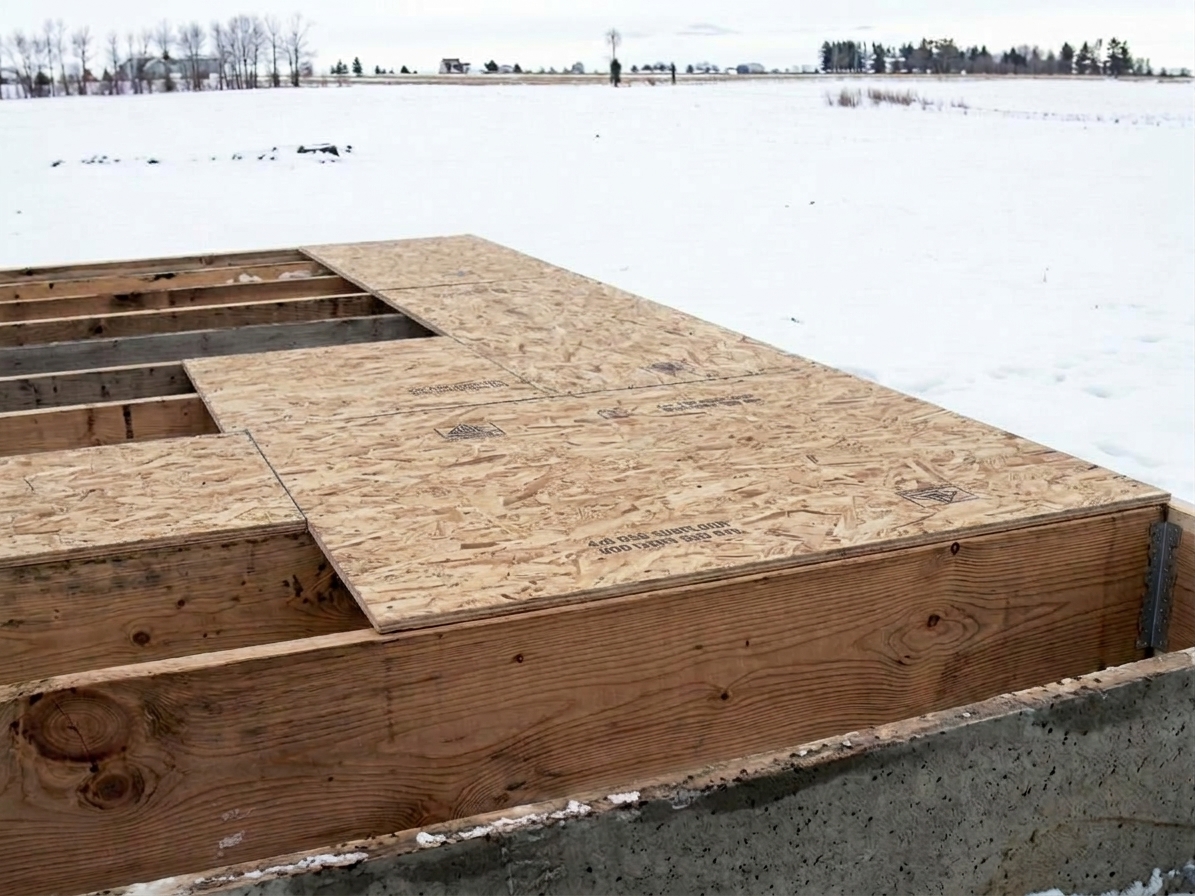
This is what I mean by staggering the sheet joints while you lay them on the floor joists crossways for extra strength. You may not be able to do this everywhere, but if you can keep the sheets fairly long and offset them, it is best.
- Place your first panel in the corner with the tongue side facing the outer rim joist and the groove facing inward, aligning it perfectly against your chalk line.
- Leave a strict 1/8-inch expansion gap at all butt joints and a 1/4-inch relief gap around the outer wall perimeters to allow natural seasonal wood movement without buckling.
- Stagger the subsequent rows by cutting the first sheet of the second row exactly in half (to 4x4 feet), ensuring that the short end joints are offset by at least a full joist bay from the first row.
- Drive the tongue-and-groove edges tightly together by striking your wood beating block with a sledgehammer, avoiding hitting the fragile panel edges directly.
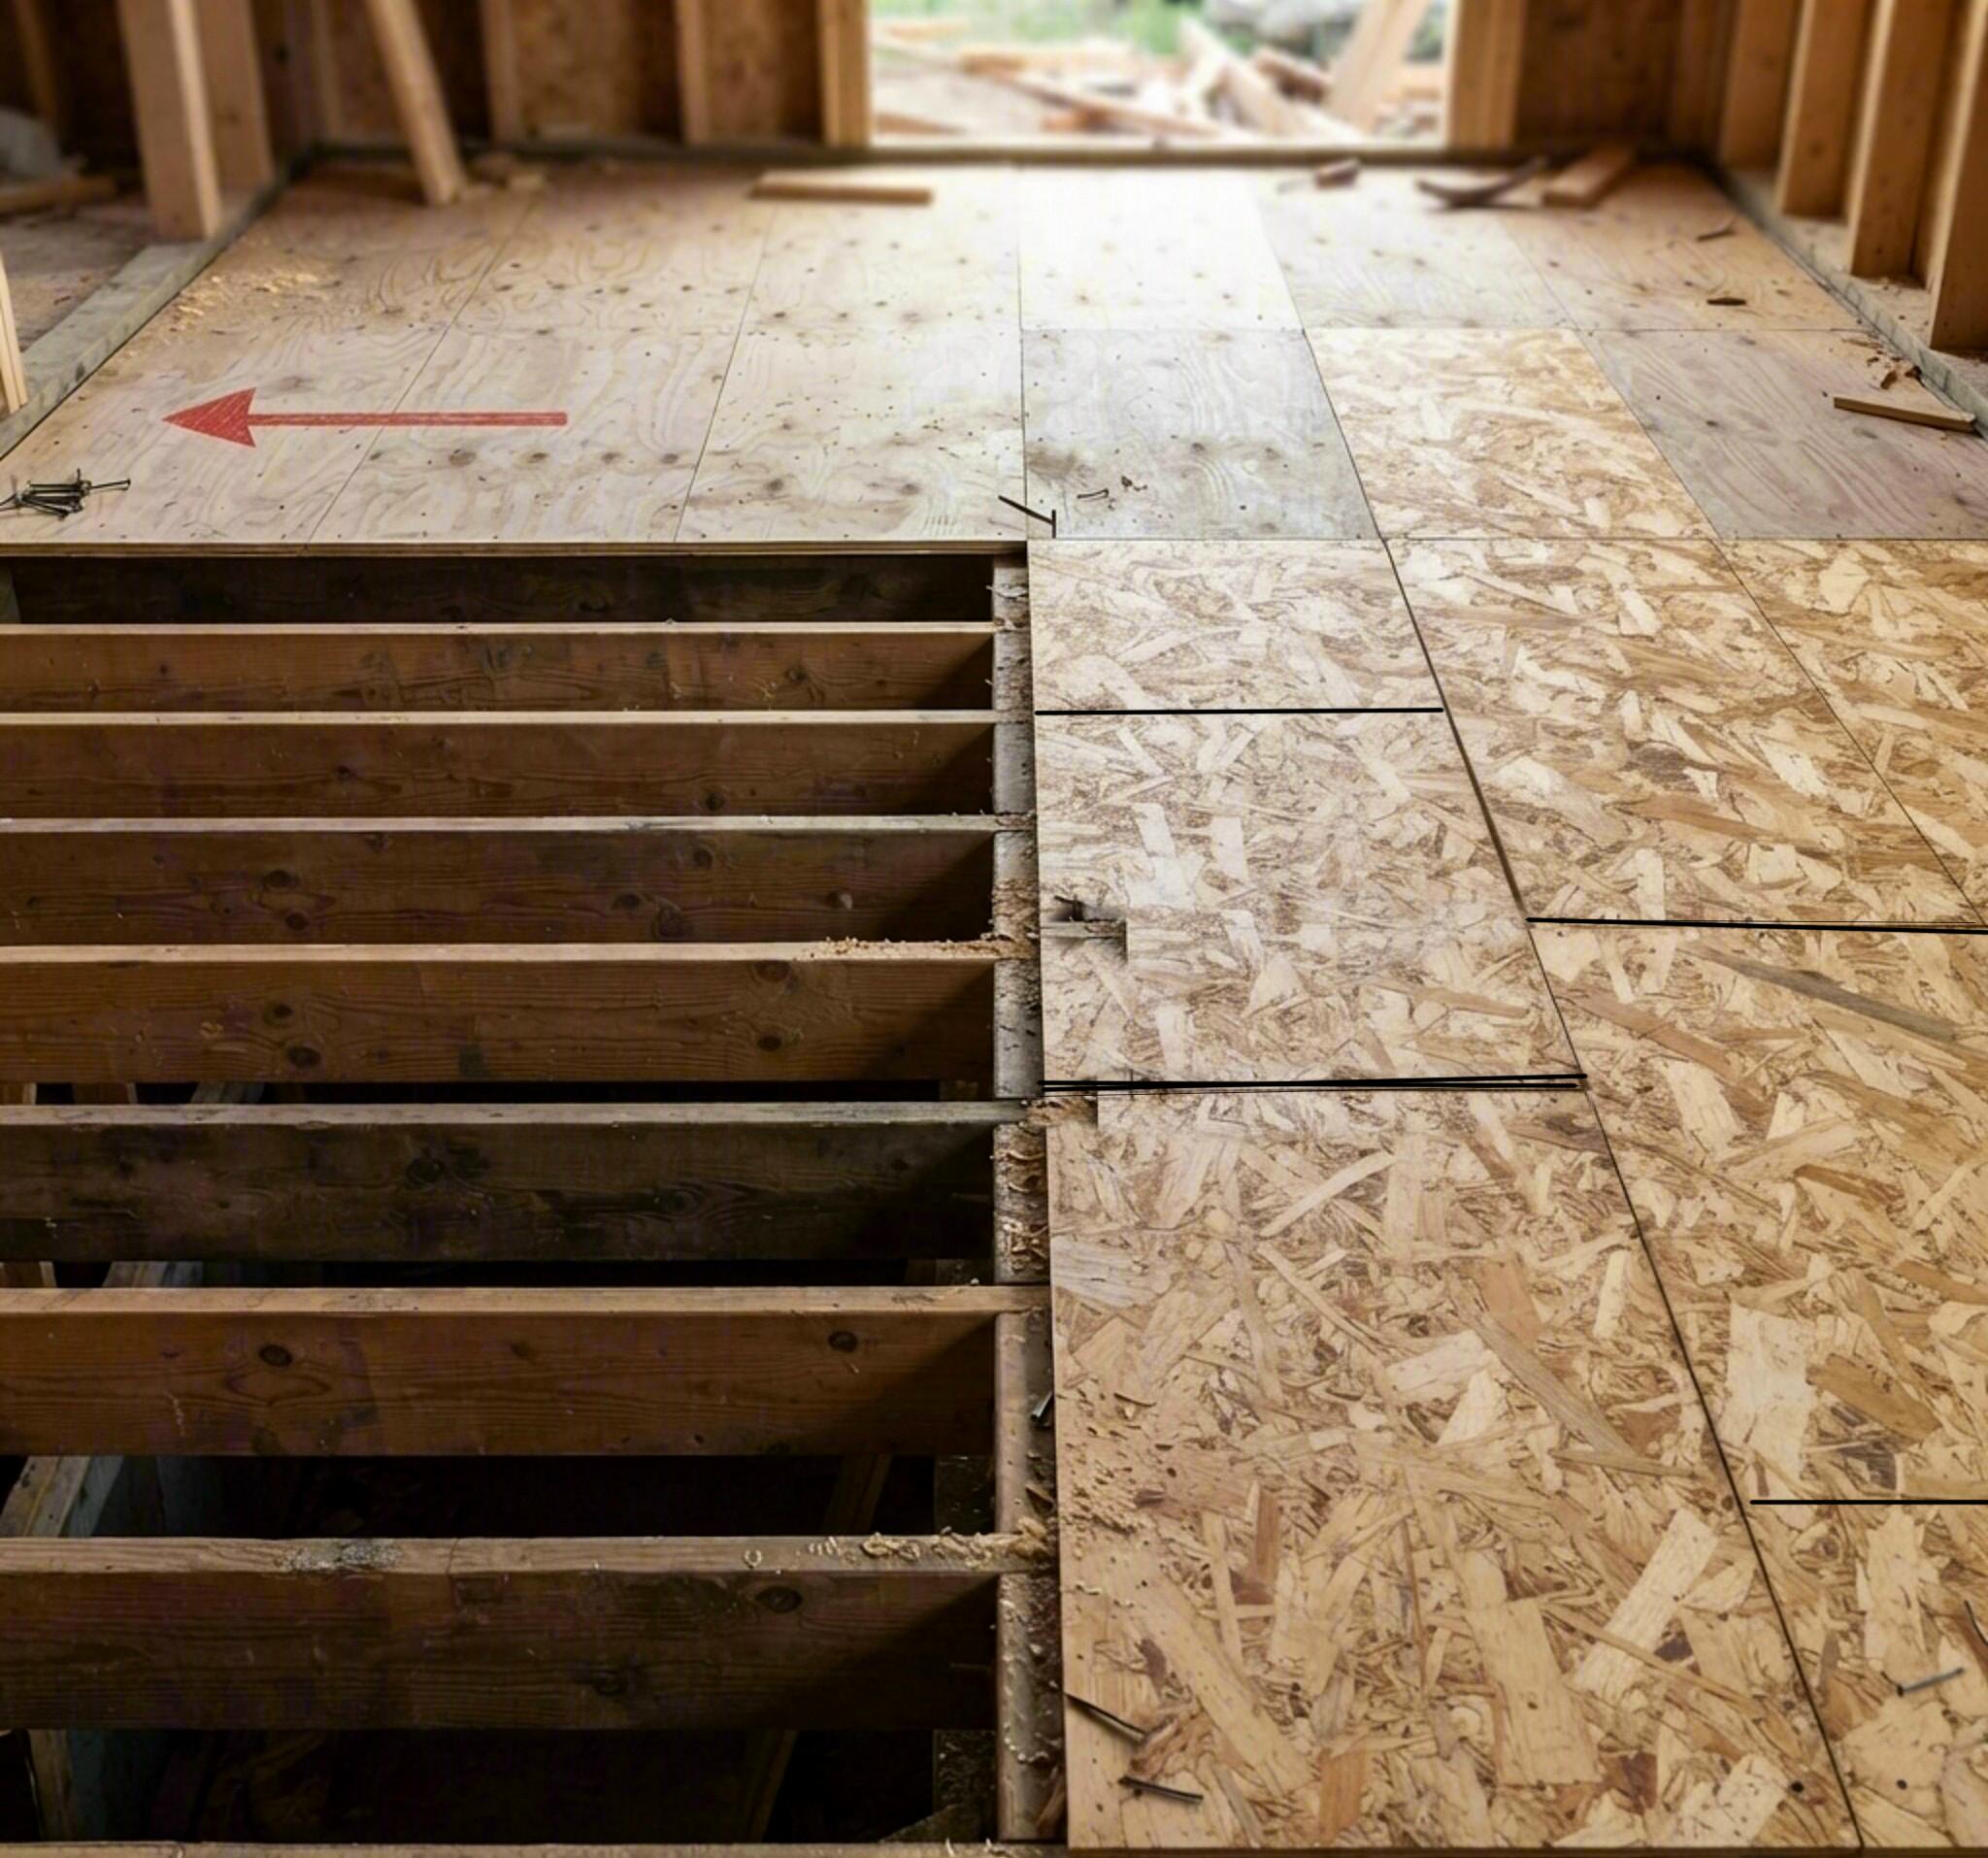
So here we see an image where the OSB sheets are being installed perpendicular to the joists.
This creates maximum strength because the long edges of the sheets cross over multiple joists rather than running along a single gap.
Fastening & Securing
- Only apply glue for one panel at a time right before laying it down. If you glue too far ahead, the adhesive will form a dry skin, preventing it from bonding to the wood fibers.
- If a sheet has been resting on the glue for more than 15–20 minutes without being completely nailed down, pull it back up, scrape off the skinned glue, and reapply a fresh bead.
Mechanical fasteners must pin the sheets down while the underlying glue bead is completely wet to ensure uniform compression.
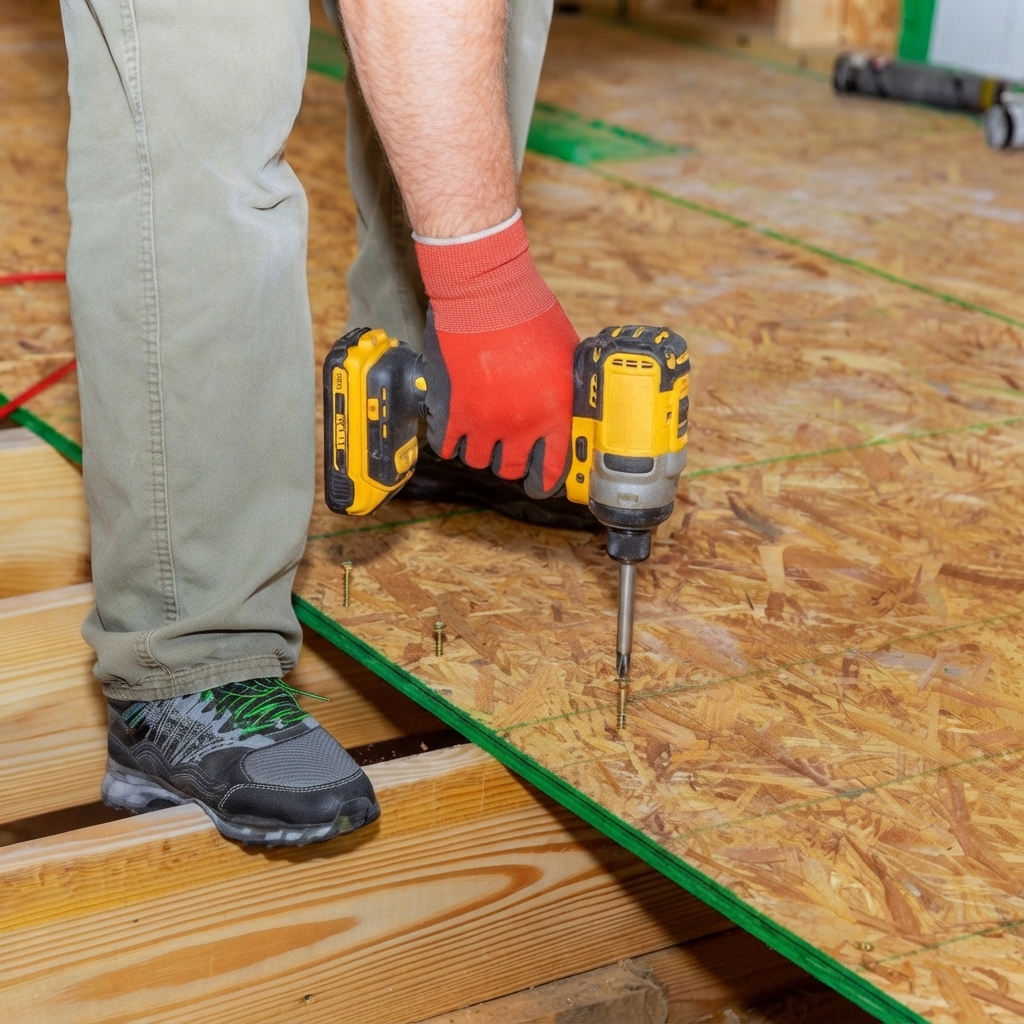
If you take away only one lesson from this, let it be this: Mechanical fasteners hold the floor down, but structural adhesive keeps the floor quiet.
When wood subfloors rub up and down against a nail shank under the pressure of footsteps, it produces a high-pitched friction squeak. Applying a heavy, continuous 1/4-inch bead of polyurethane construction adhesive along the top of the joists permanently welds the panel to the framing lumber.
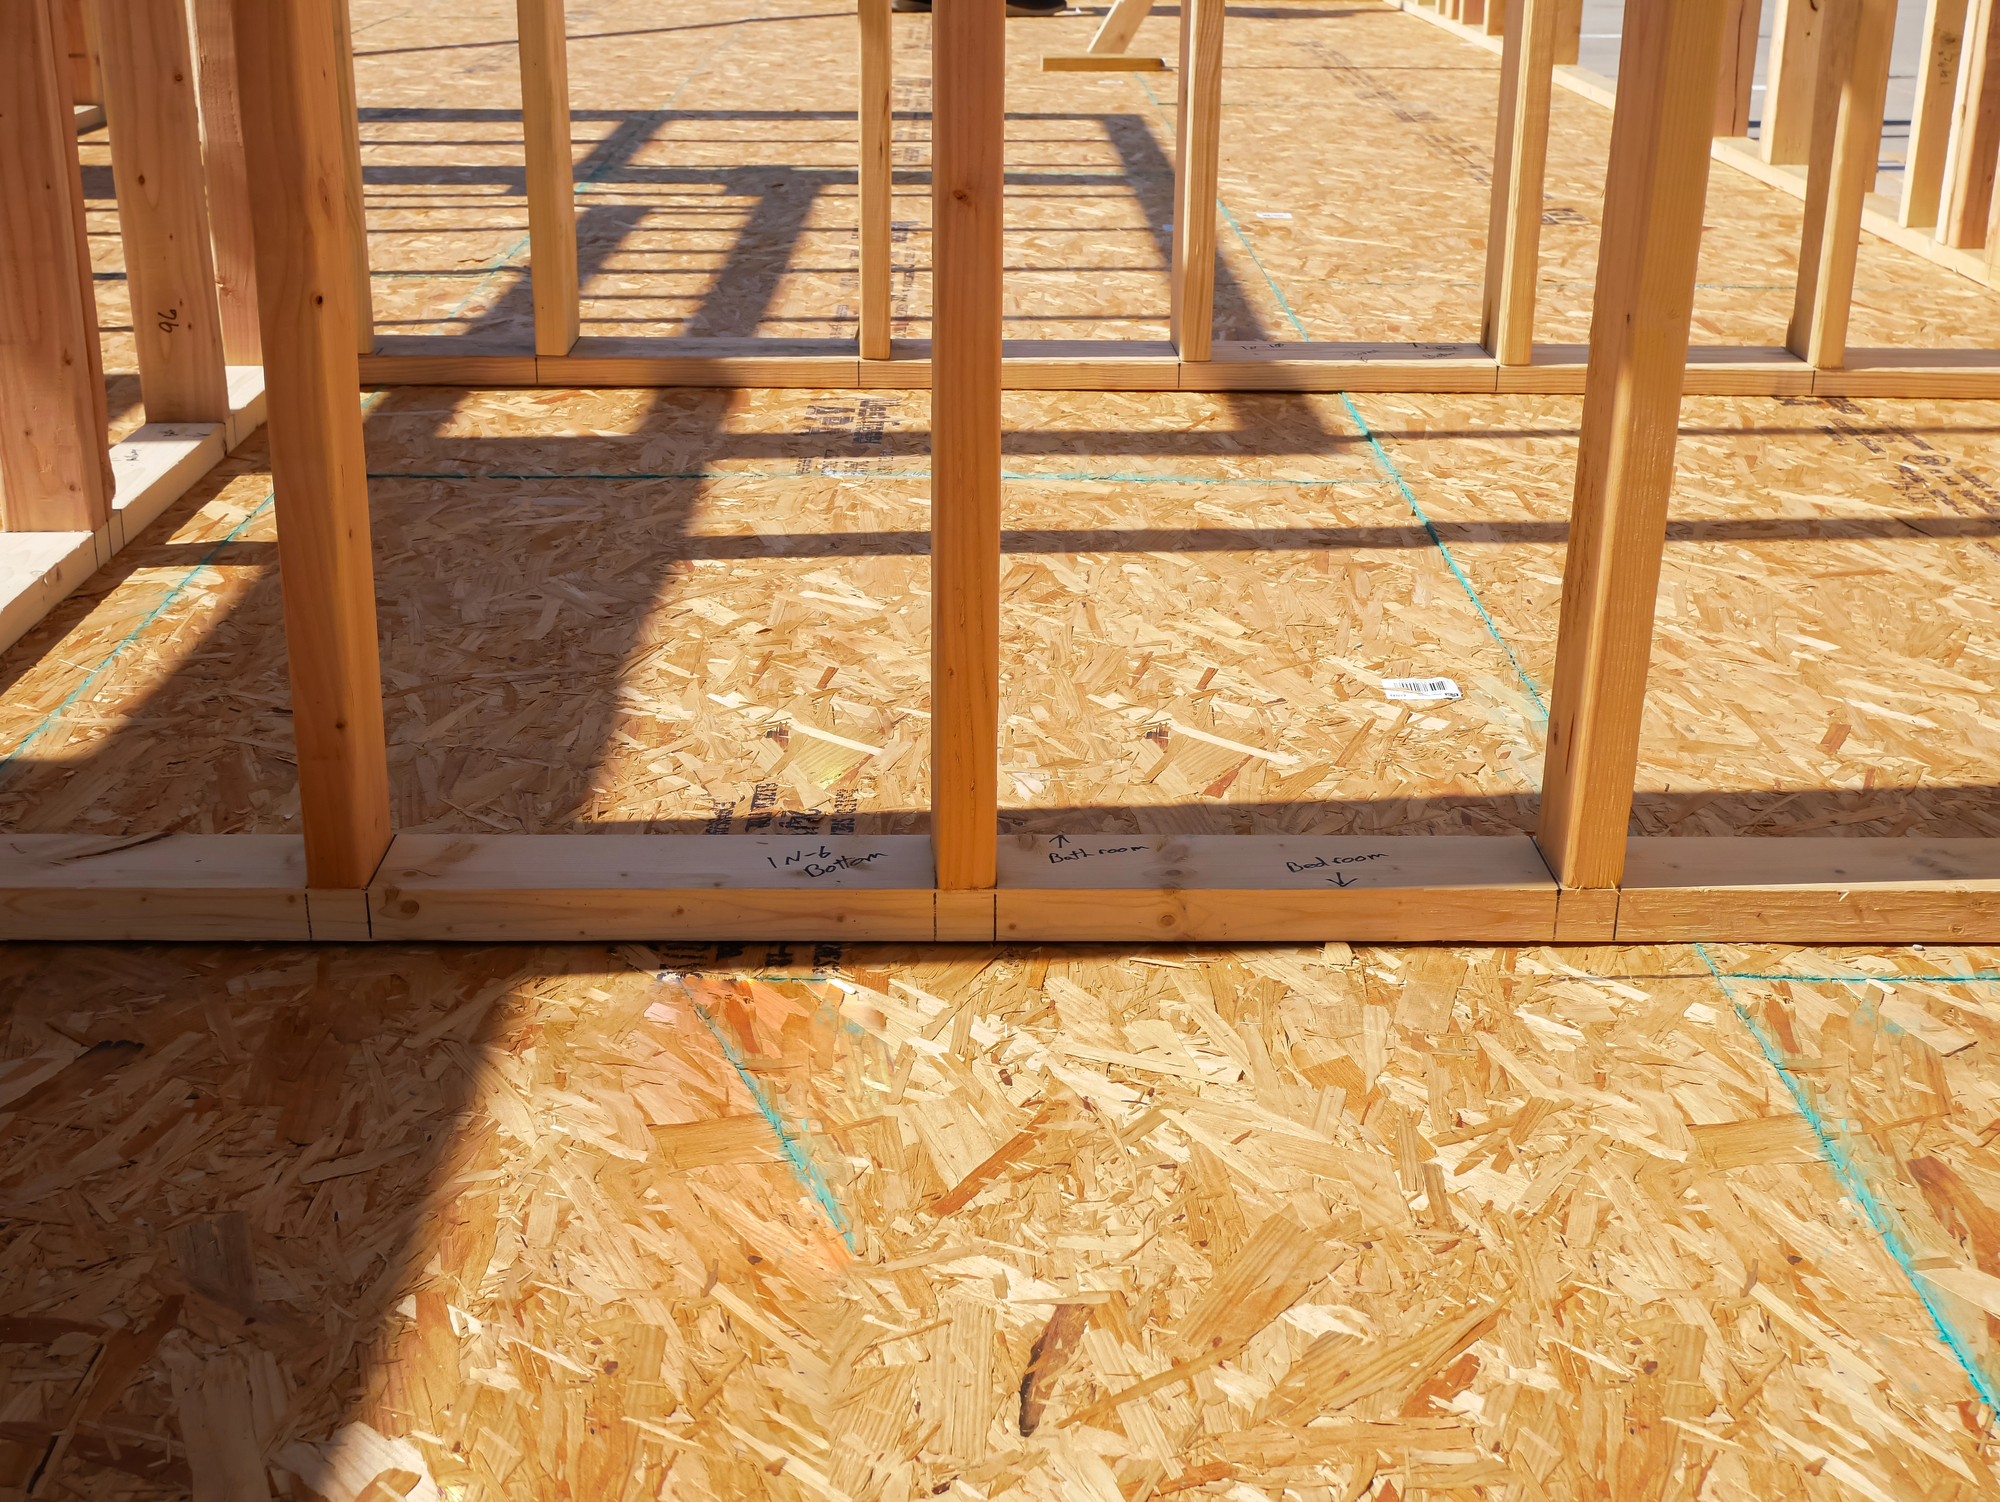
This subfloor will get a lot of abuse as the rest of the house gets built on it so it needs to be thick and strong.