Subfloor installation prep checklist for owner builders (The Ultimate Checklist)
Subfloor installation prep checklist for owner builders. Getting a perfectly flat, quiet floor starts long before you open a single tube of construction adhesive. If you fail to properly prep subfloor joists before laying plywood or OSB sheets, you risk locking in permanent crowns, structural dips, and high-friction wood shifts that cause loud, structural squeaks down the road.
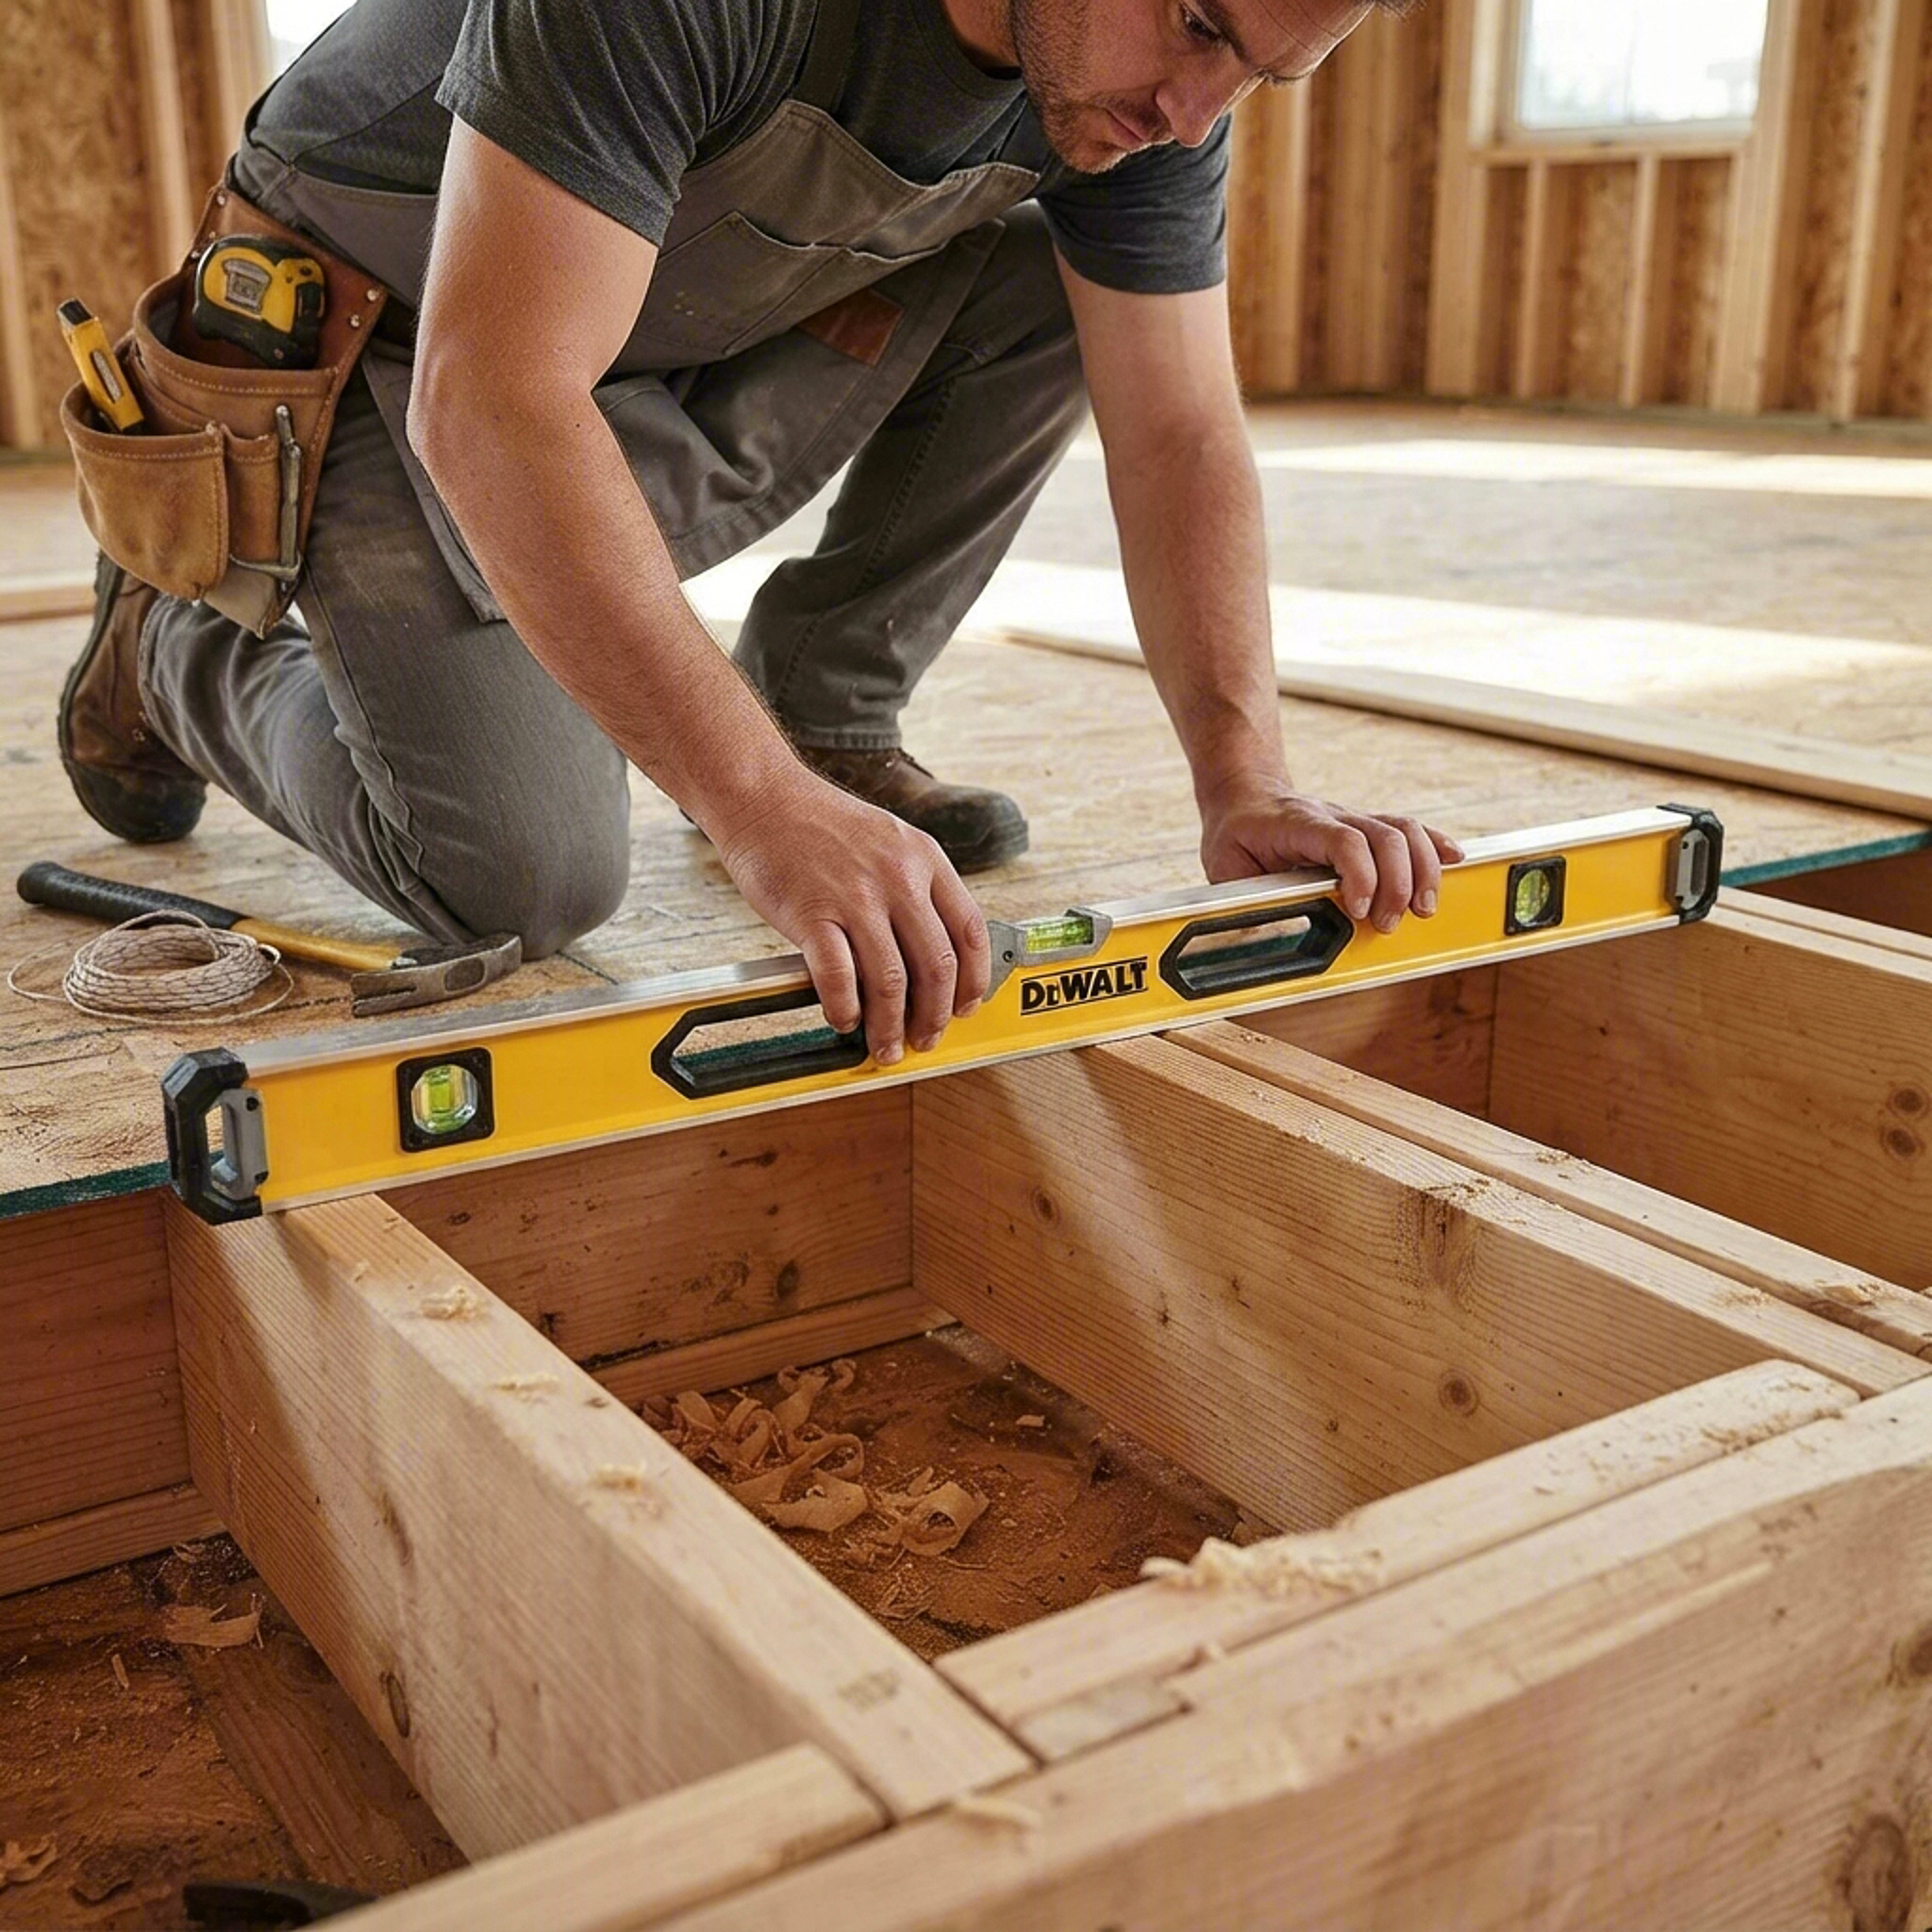
For the owner-builder managing this critical framing phase on their own, walking through a rigorous joist inspection is the ultimate insurance policy for a rock-solid floor system. This comprehensive checklist breaks down exactly how to clean, align, and true up your framing bays so your subfloor panels land perfectly flat on the first try.
Subfloor Installation: "Before You Begin" Checklist
Before mixing any adhesive or hauling sheets of plywood onto your joists, run through this staging checklist. Getting your framing square, straight, and properly prepped now prevents structural compounding errors that are incredibly difficult to correct later.
Structural & Alignment Check
- Verify Joist Spacing: Measure accurately from the inside of your rim joist to confirm your joists are resting exactly 16 inches on-center. Subfloor panel edges must land directly on the center of a joist to be supported safely.
- Check for Crowns: Look down the length of every joist. Ensure all natural wood crowns (the slight upward bow in dimensional lumber) are facing up.
- Confirm Level and Flush: Lay a 4-foot or longer level across the joists in multiple directions. The top faces must form a completely flat plane. Plane or shim any high or low spots before proceeding.
- Tighten Foundations: Ensure all sill plate anchor bolts, heavy-duty structural washers, and nuts are completely tightened down against the foundation.

- Install Joist Bracing/Bridging: Verify that mid-span blocking, bridging, or lateral joist bracing is securely fastened to prevent the joists from twisting under load.
Material Staging & Acclimation
- Check Panel Thickness: Confirm your sheets are minimum 3/4-inch Tongue-and-Groove (T&G) structural panels (rated for your specific joist span).
- Sweep the Joists: Use a stiff broom to clean all sawdust, mud, wood chips, and standing water off the top faces of the joists. Glue will not adhere to a dirty or saturated surface.
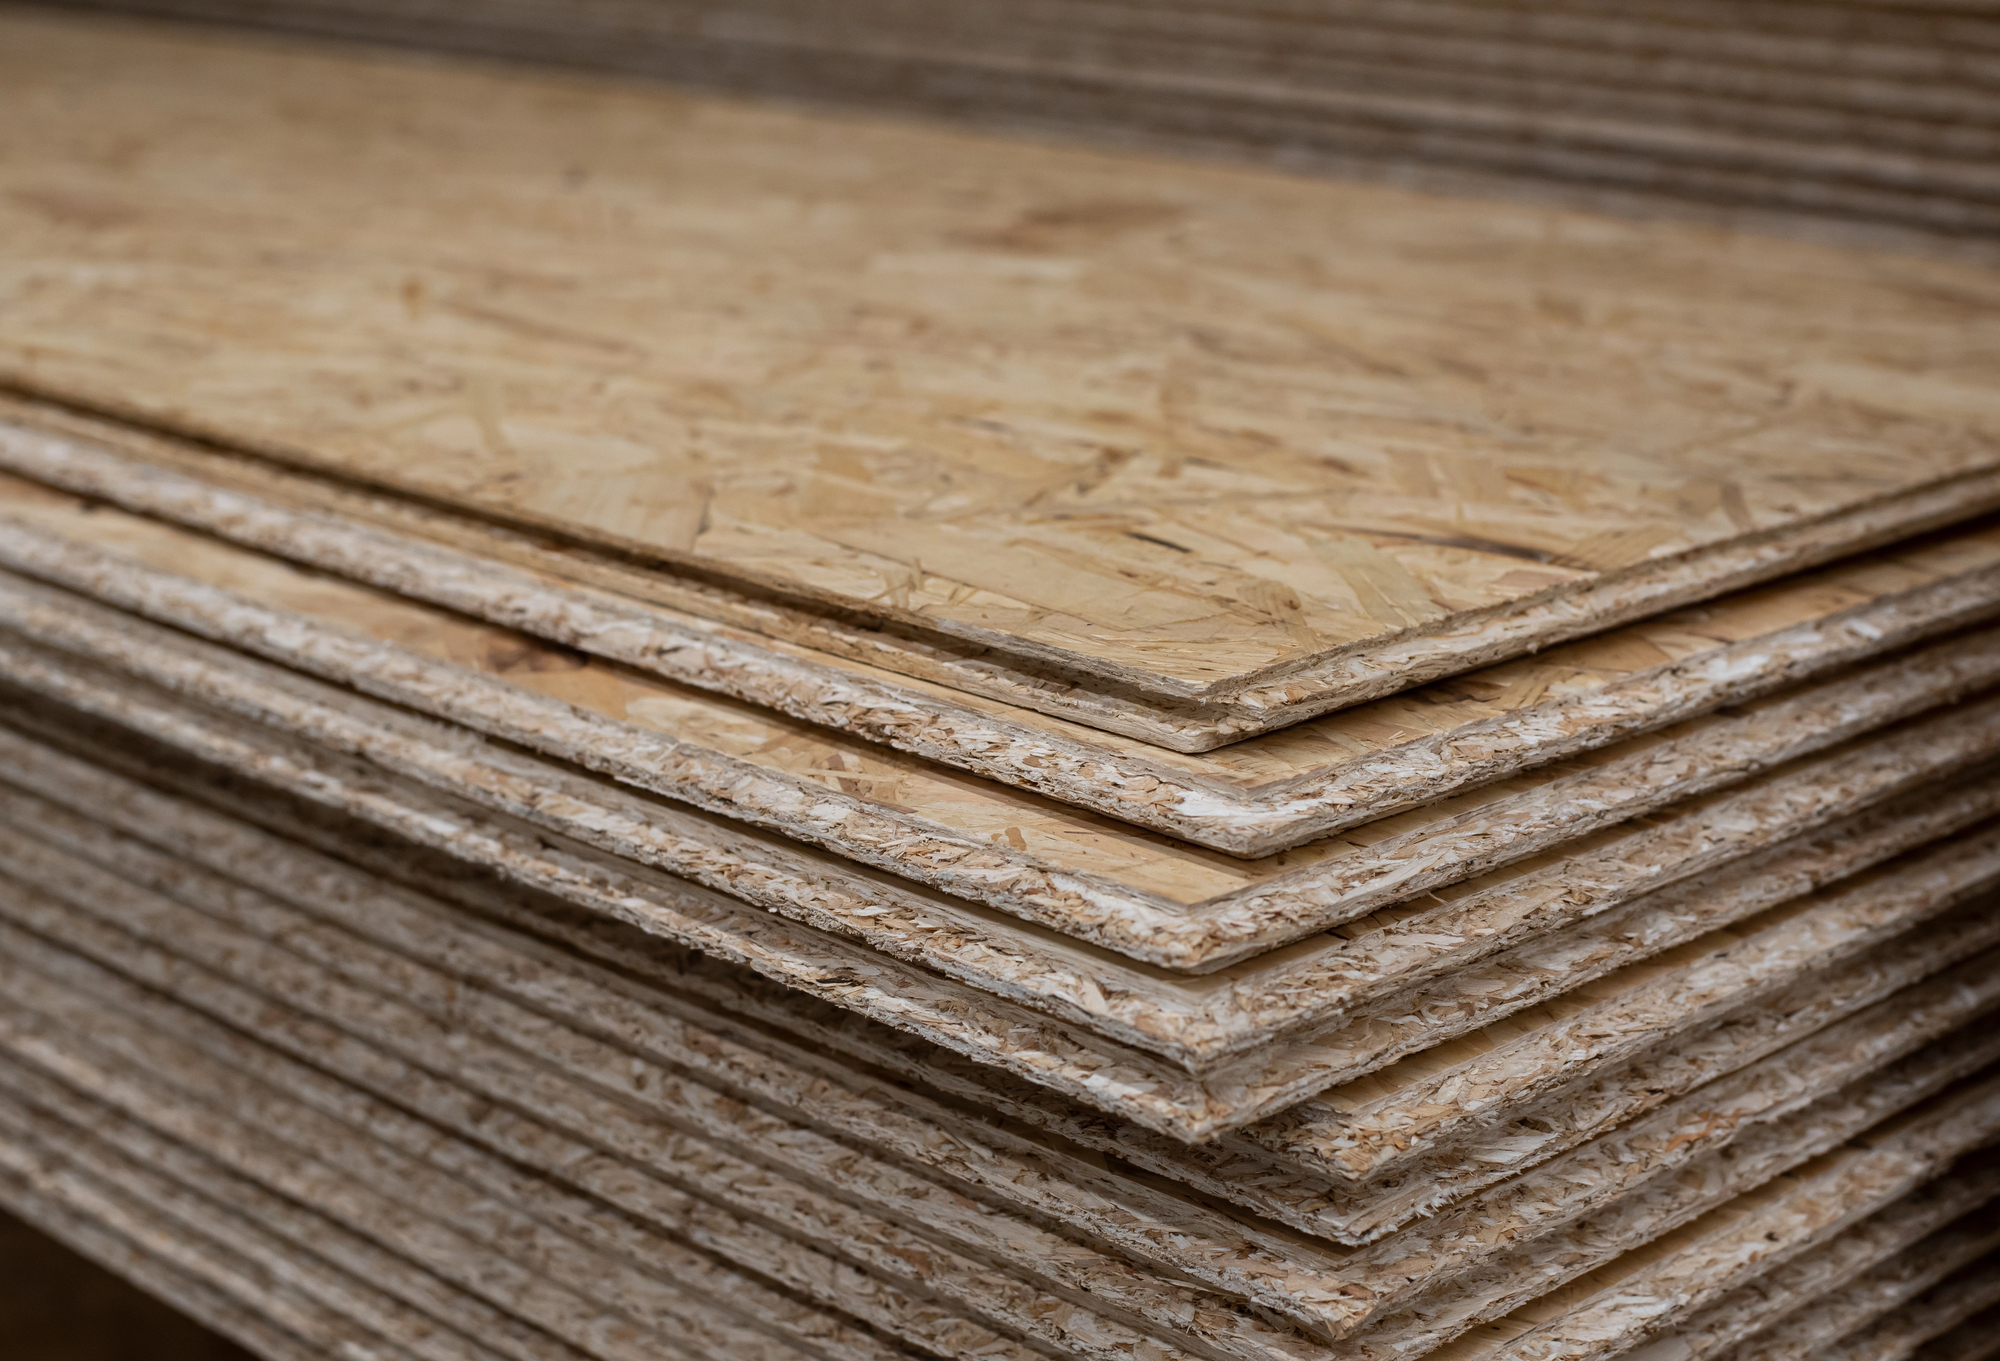
- Acclimate the Wood: Stack your subfloor panels flat on the job site for at least 24 to 48 hours before installation to allow them to adjust to local moisture levels.
Tools & Fastener Prep
- Load the Fasteners: Verify you have 8d ring-shank nails (if using a framing nailer) or 2-1/2 inch structural subfloor screws. Smooth-shank nails should never be used, as they back out over time and cause floor squeaks.
- Test the Subfloor Glue: Ensure your construction adhesive is rated for subfloors (such as polyurethane-based formulas) and matches your caulking gun size. Open a test tube to verify it flows smoothly.
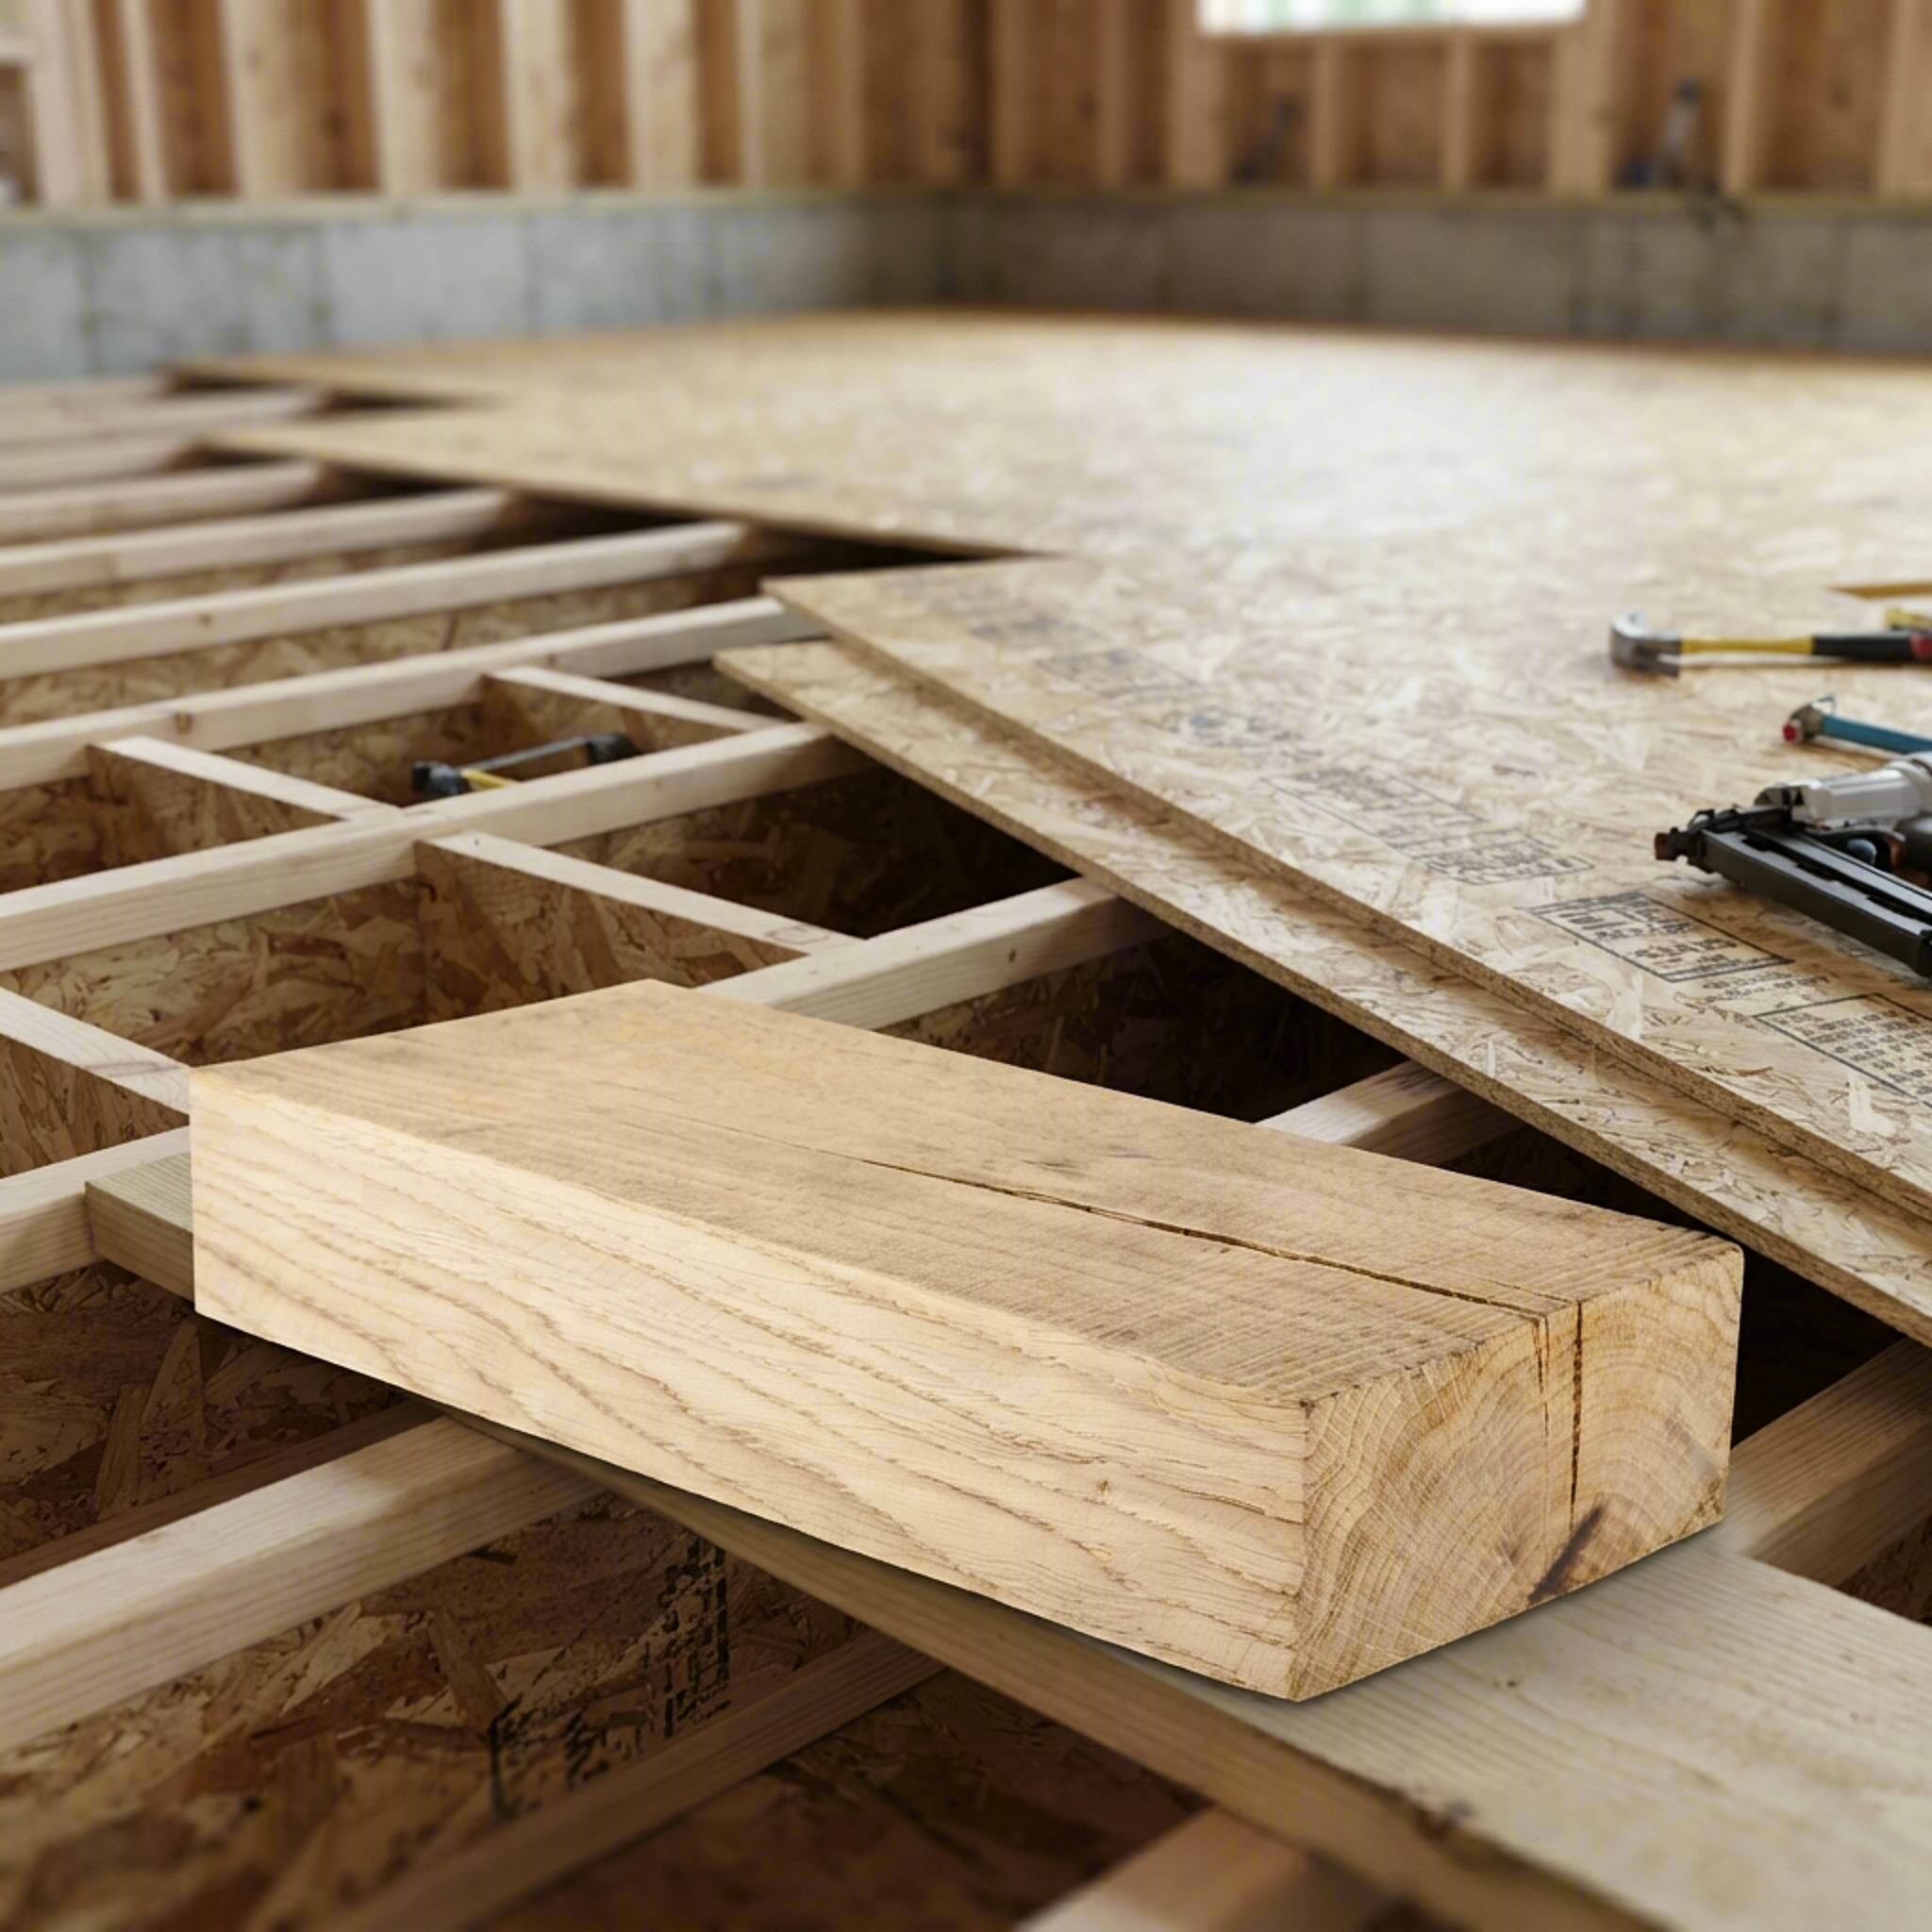
- Cut the Sacrificial Beating Block: Cut a short, clean 2x4 scrap piece (roughly 12 to 18 inches long). You will place this against the groove edges of your panels to strike them with a sledgehammer, protecting the delicate interlocking joints from flattening.
Subfloor installation prep checklist for owner builders
Final reminders
Rule 1: Perpendicular Placement and Staggered Seams
Subfloor panels must always be installed perpendicular (at a 90-degree angle) to the direction of your floor joists. The strength of plywood and OSB panels relies heavily on the long orientation of their internal wood grain fibers. Laying them parallel to the joists drastically compromises the structural strength of your floor.
Additionally, you must layout your panels in a staggered "brick-bond" pattern. Never allow four corners of separate sheets to meet at a single cross-intersection.
- Row 1: Start in a corner with a full 4'x8' sheet.
- Row 2: Cut your first panel exactly in half to 4'x4'. Start the second row with this half-sheet.
This simple offset breaks up the continuous seams across your floor deck, distributing weights evenly and tying the entire floor frame into a rigid, unified diaphragm.
Rule 2: Respect the 1/8-inch Expansion Gap
Wood is a living material that swells when exposed to humidity and shrinks when the air dries out. If you butt your subfloor panels tightly up against one another with zero tolerance, they will inevitably expand, jam into each other, and buckle upward, creating permanent humps in your flooring.
When laying panels, always leave a precise 1/8-inch gap at all panel edge joints. Many modern high-performance subfloor panels feature small spacer tabs built directly into the tongue-and-groove profile to set this distance automatically. Along the outer perimeter rim joist where the floor meets the open air, leave a larger 1/4-inch relief gap.
Rule 3: Glue It Down Like Your Sanity Depends On It
If you take away only one lesson from this, let it be this: Mechanical fasteners hold the floor down, but structural adhesive keeps the floor quiet.
When wood subfloors rub up and down against a nail shank under the pressure of footsteps, it produces a high-pitched friction squeak. Applying a heavy, continuous 1/4-inch bead of polyurethane construction adhesive along the top of the joists permanently welds the panel to the framing lumber.
- Only apply glue for one panel at a time right before laying it down. If you glue too far ahead, the adhesive will form a dry skin, preventing it from bonding to the wood fibers.
- If a sheet has been resting on the glue for more than 15–20 minutes without being completely nailed down, pull it back up, scrape off the skinned glue, and reapply a fresh bead.
Once your joist framing inspection is complete, your crowns face up, and your lines are snapped, you are officially ready to start securing sheets. Head over to the step-by-step guide on how to install tongue and groove subfloor single handed to learn the brick-pattern layout and fastening schedules. Subfloor installation prep checklist for owner builders can be crossed off the list.