How to snap a perfectly straight chalk line on subfloor
Learning how to snap a perfectly straight chalk line on subfloor so you can line up the wall framing and prevent crooked framework helps keep your floor plan exact.
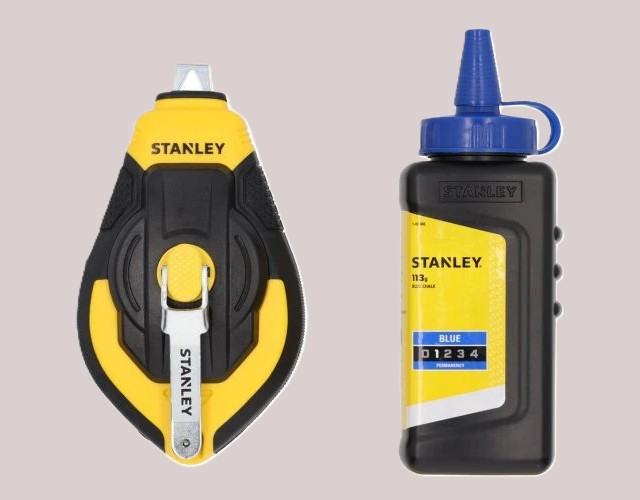
A chalk line tool (also called a chalk reel) is a handheld tool used to layout perfectly straight, long lines across flat surfaces like floors, walls, and plywood. It consists of an internal spool of braided string enclosed in a housing filled with colored chalk powder.
Laying out your exterior walls starts with a flawless snap line. Learn how to use a high-capacity 100-foot chalk line to establish clean, highly visible layout marks on your sill plates and concrete slabs, ensuring your entire house skeleton remains perfectly aligned from day one.
Before you nail down a single pressure-treated sill plate, you have to draw your lines in the sand—or in this case, on rough, uneven concrete. Learning how to snap a perfectly straight chalk line on concrete foundation is the critical bridge between your architectural blue prints and your actual physical structure. A faint, blurry, or curved line will cause your entire wall assembly to drift out of alignment. This guide covers how to choose high-visibility chalk, avoid the dreaded "ghost lines," and snap crisp, flawless layout marks even when working completely alone.
1. Fill and Prep the Chalk Box
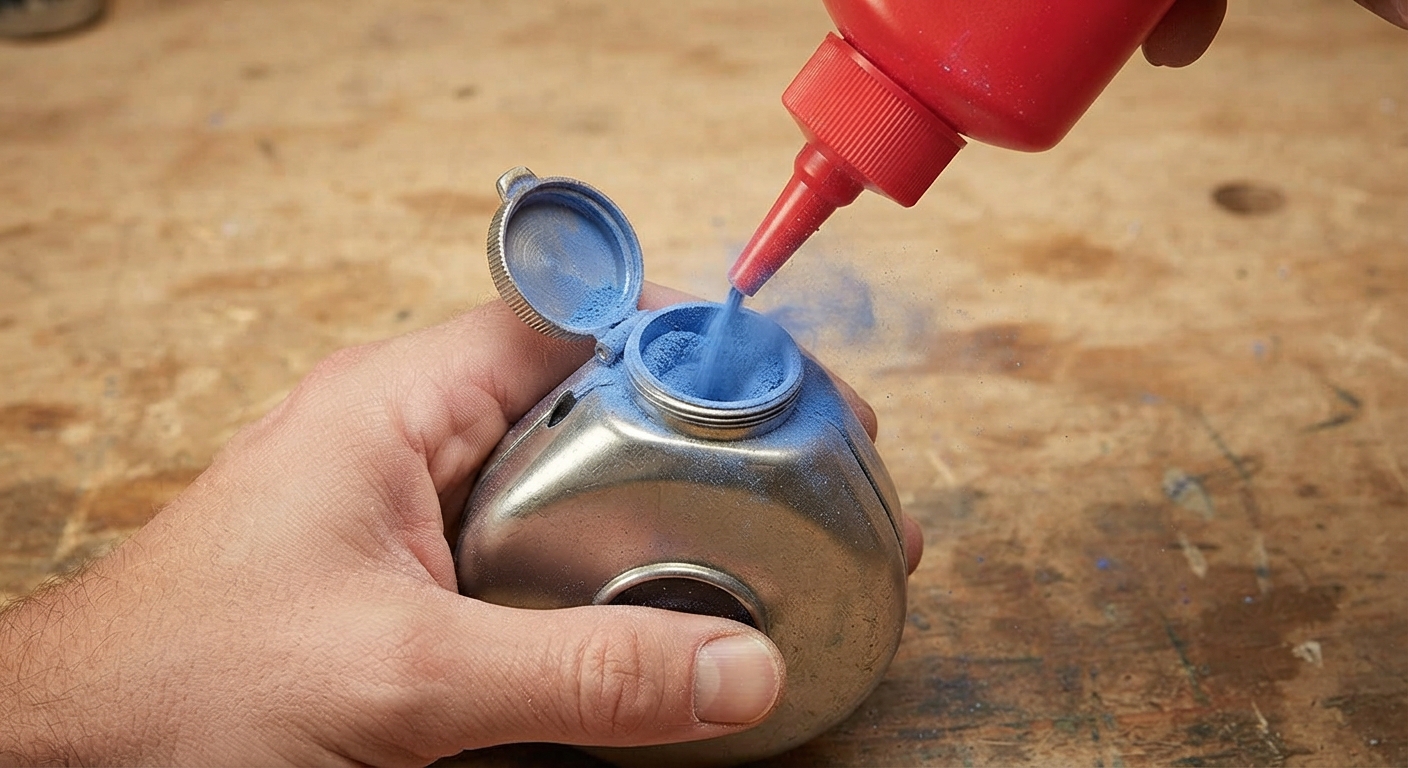
Fill the reservoir: Open the filler cap on the side of your chalk box. Fill the case about halfway with powdered chalk. Do not overfill it, or the string will jam.
Coat the string: Shake the tool thoroughly to distribute the chalk. Pull out a few feet of string and wind it back in while shaking or tapping the box to ensure the line is fully coated.
Select the right color: Use blue chalk for general, temporary indoor lines. Use red or black chalk for permanent, outdoor construction framing.
2. Mark Your Target Points
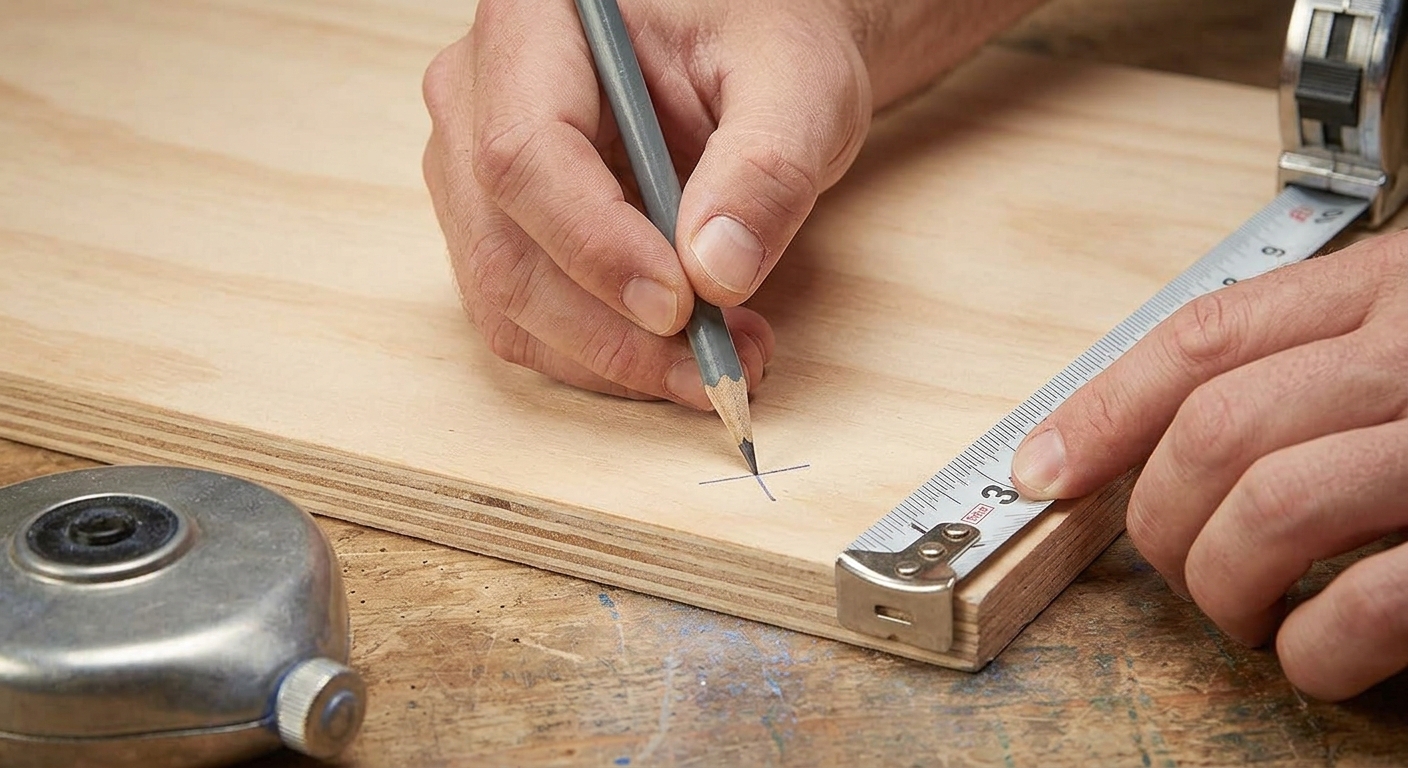
Use a measuring tape and pencil to place accurate marks at the starting point (Point A) and ending point (Point B) of your intended line.
3. Anchor the Hook
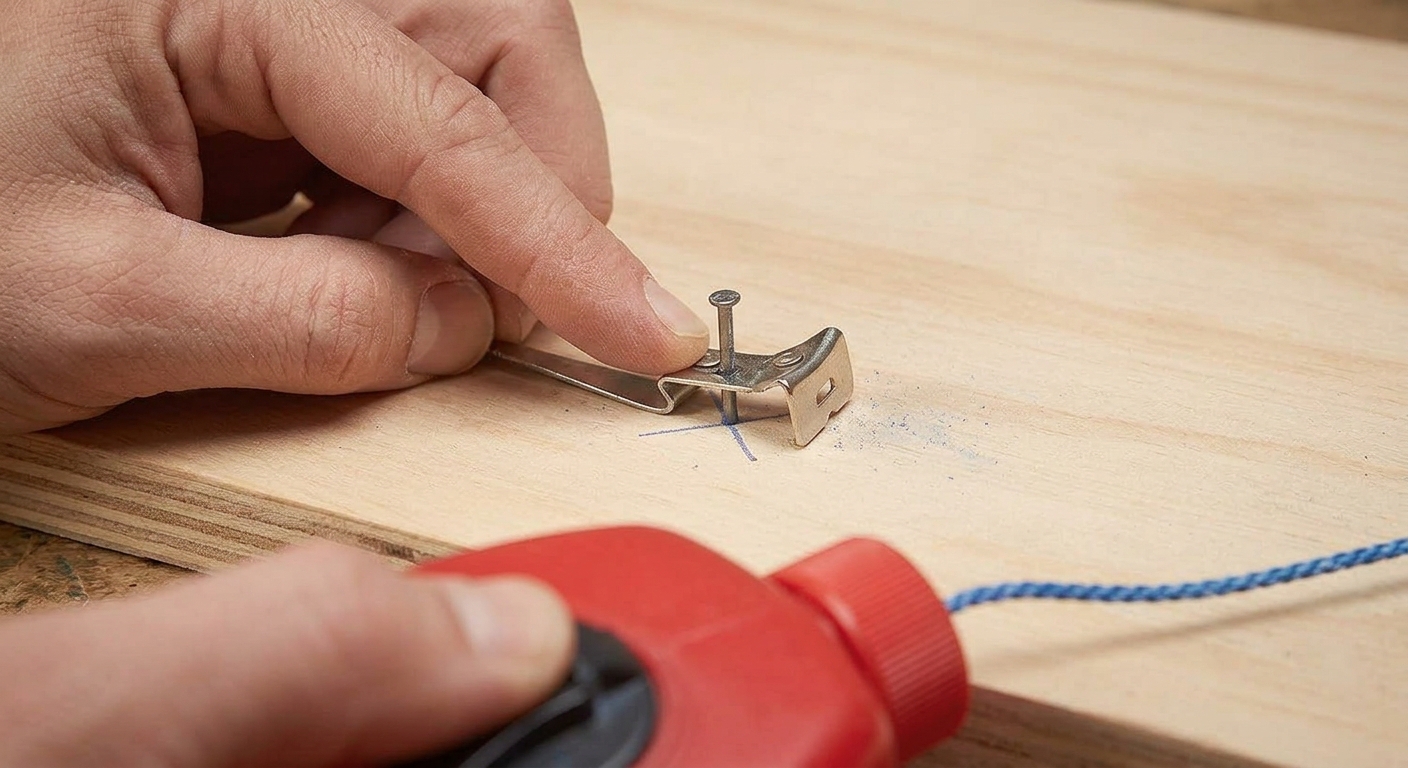
With a helper: Have one person hold the hook end directly over Point A while the "box man" walks toward Point B.
Working alone: Secure the metal hook to the edge of your surface. If you are working on a flat surface like a subfloor or framing wall, drive an 8-penny nail or screw slightly behind Point A, loop the hook around it, and pull.
4. Pull and Tension the Line
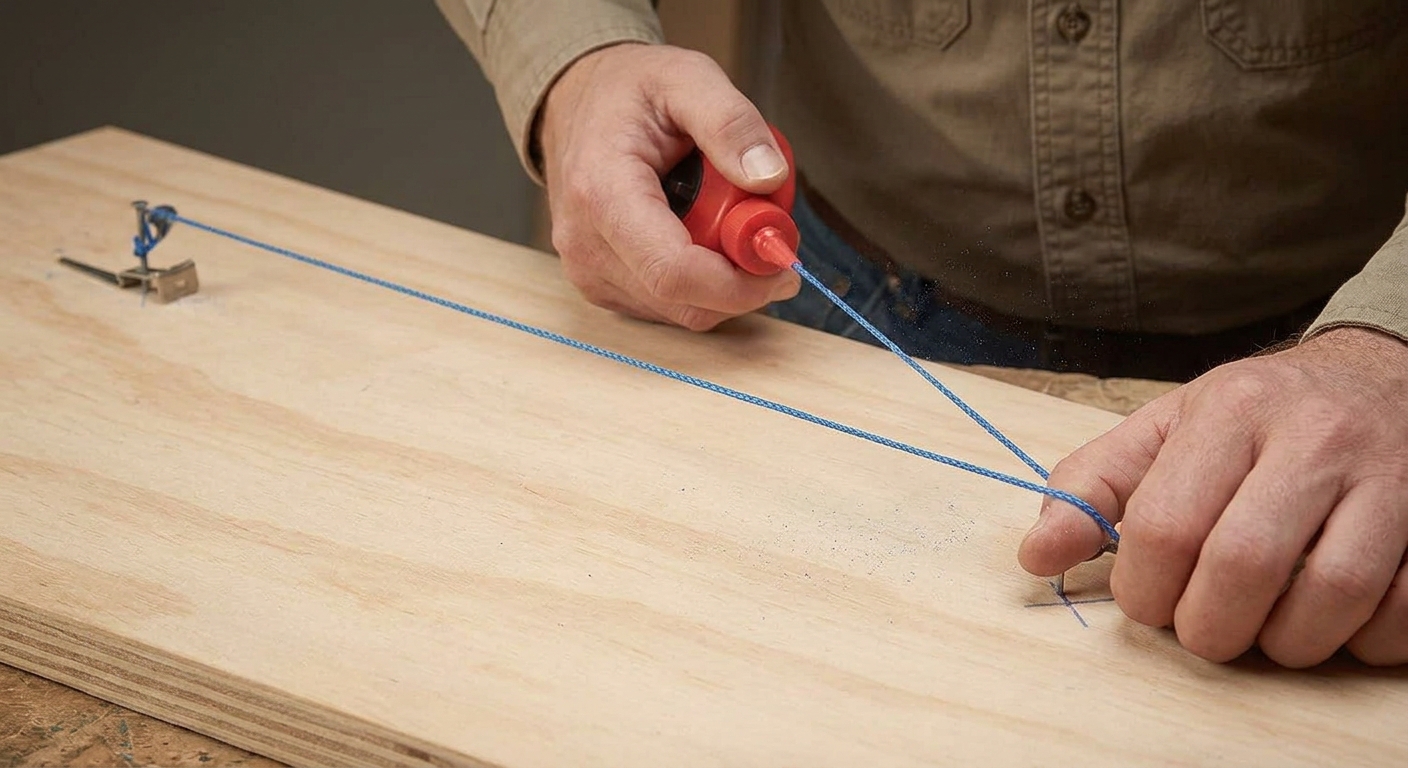
Walk to Point B while letting the string reel out.
Give the line a quick "flick" away from the surface before placing it to knock off excess chalk clumps.
Pull the string perfectly taut directly over your second pencil mark. Lock the reel handle or hold the string firmly against the surface with your thumb.
5. Snap the Line
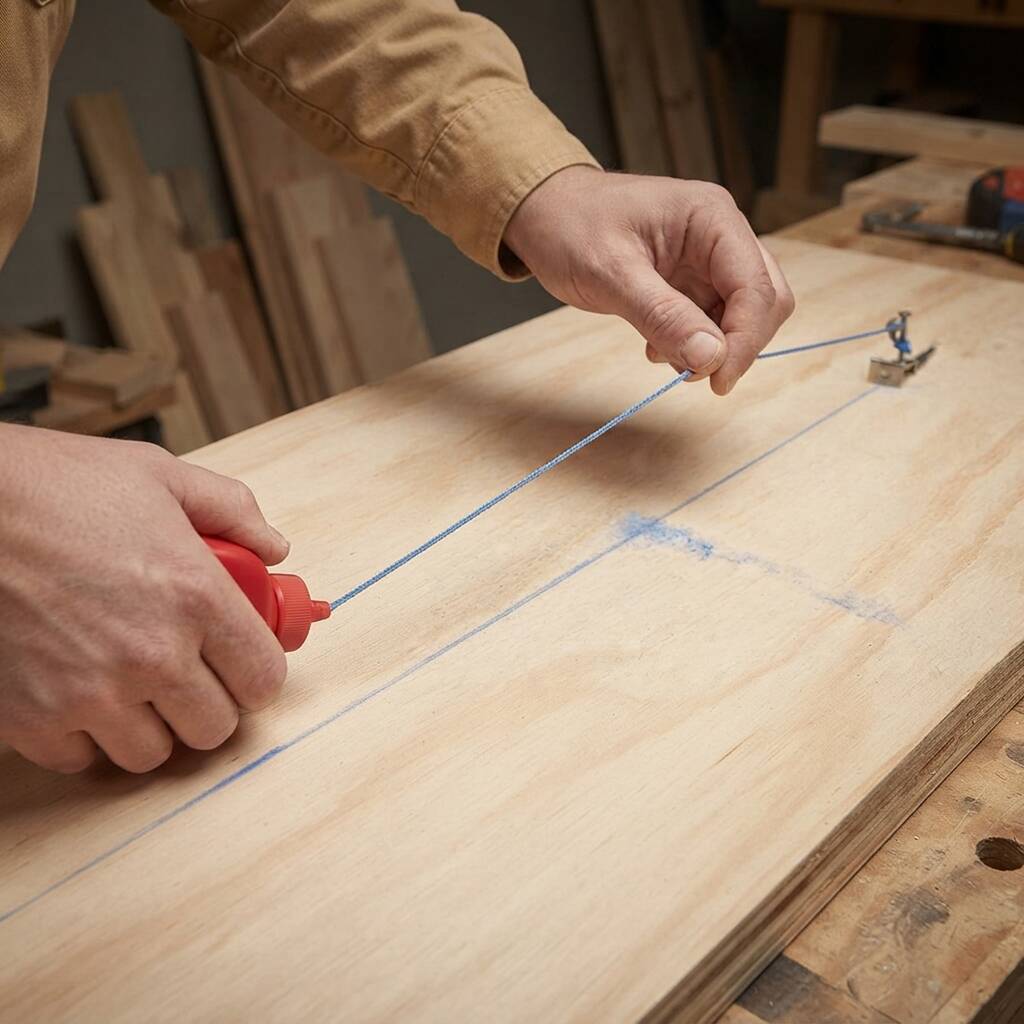
Reach toward the middle third of the extended line.
Grip the string with your thumb and forefinger, lift it straight up about 4 inches (perpendicular to the surface), and cleanly let go.
Snap only once. Snapping it multiple times will blur the chalk and create a messy, inaccurate double line.
Lift the tool away and reel the string back in, shaking the box as you do so to prime it for the next use.
100-Foot Chalk Line
- Gear Ratio Speed: Framing requires fast reset times. Look for planetary gear systems with a minimum retraction ratio of 3:1 or 6:1 over standard single-turn spools.
- Line Braiding & Retention: The string must be tightly braided cotton/polyester to hold a heavy payload of chalk without turning into a fuzzy, frayed mess.
- Clutch Release System: The reel must feature an automatic line release (clutch) so the line spins out freely without spinning the crank handle and busting fingers