How to square framing on a crooked foundation
How to square framing on a crooked foundation or adjusting the sill plate to fix foundation out of square problems is more common than you may think. No foundation is going to be completely in square on the micron level so don't fret too much about something that usually can be easily remedied.
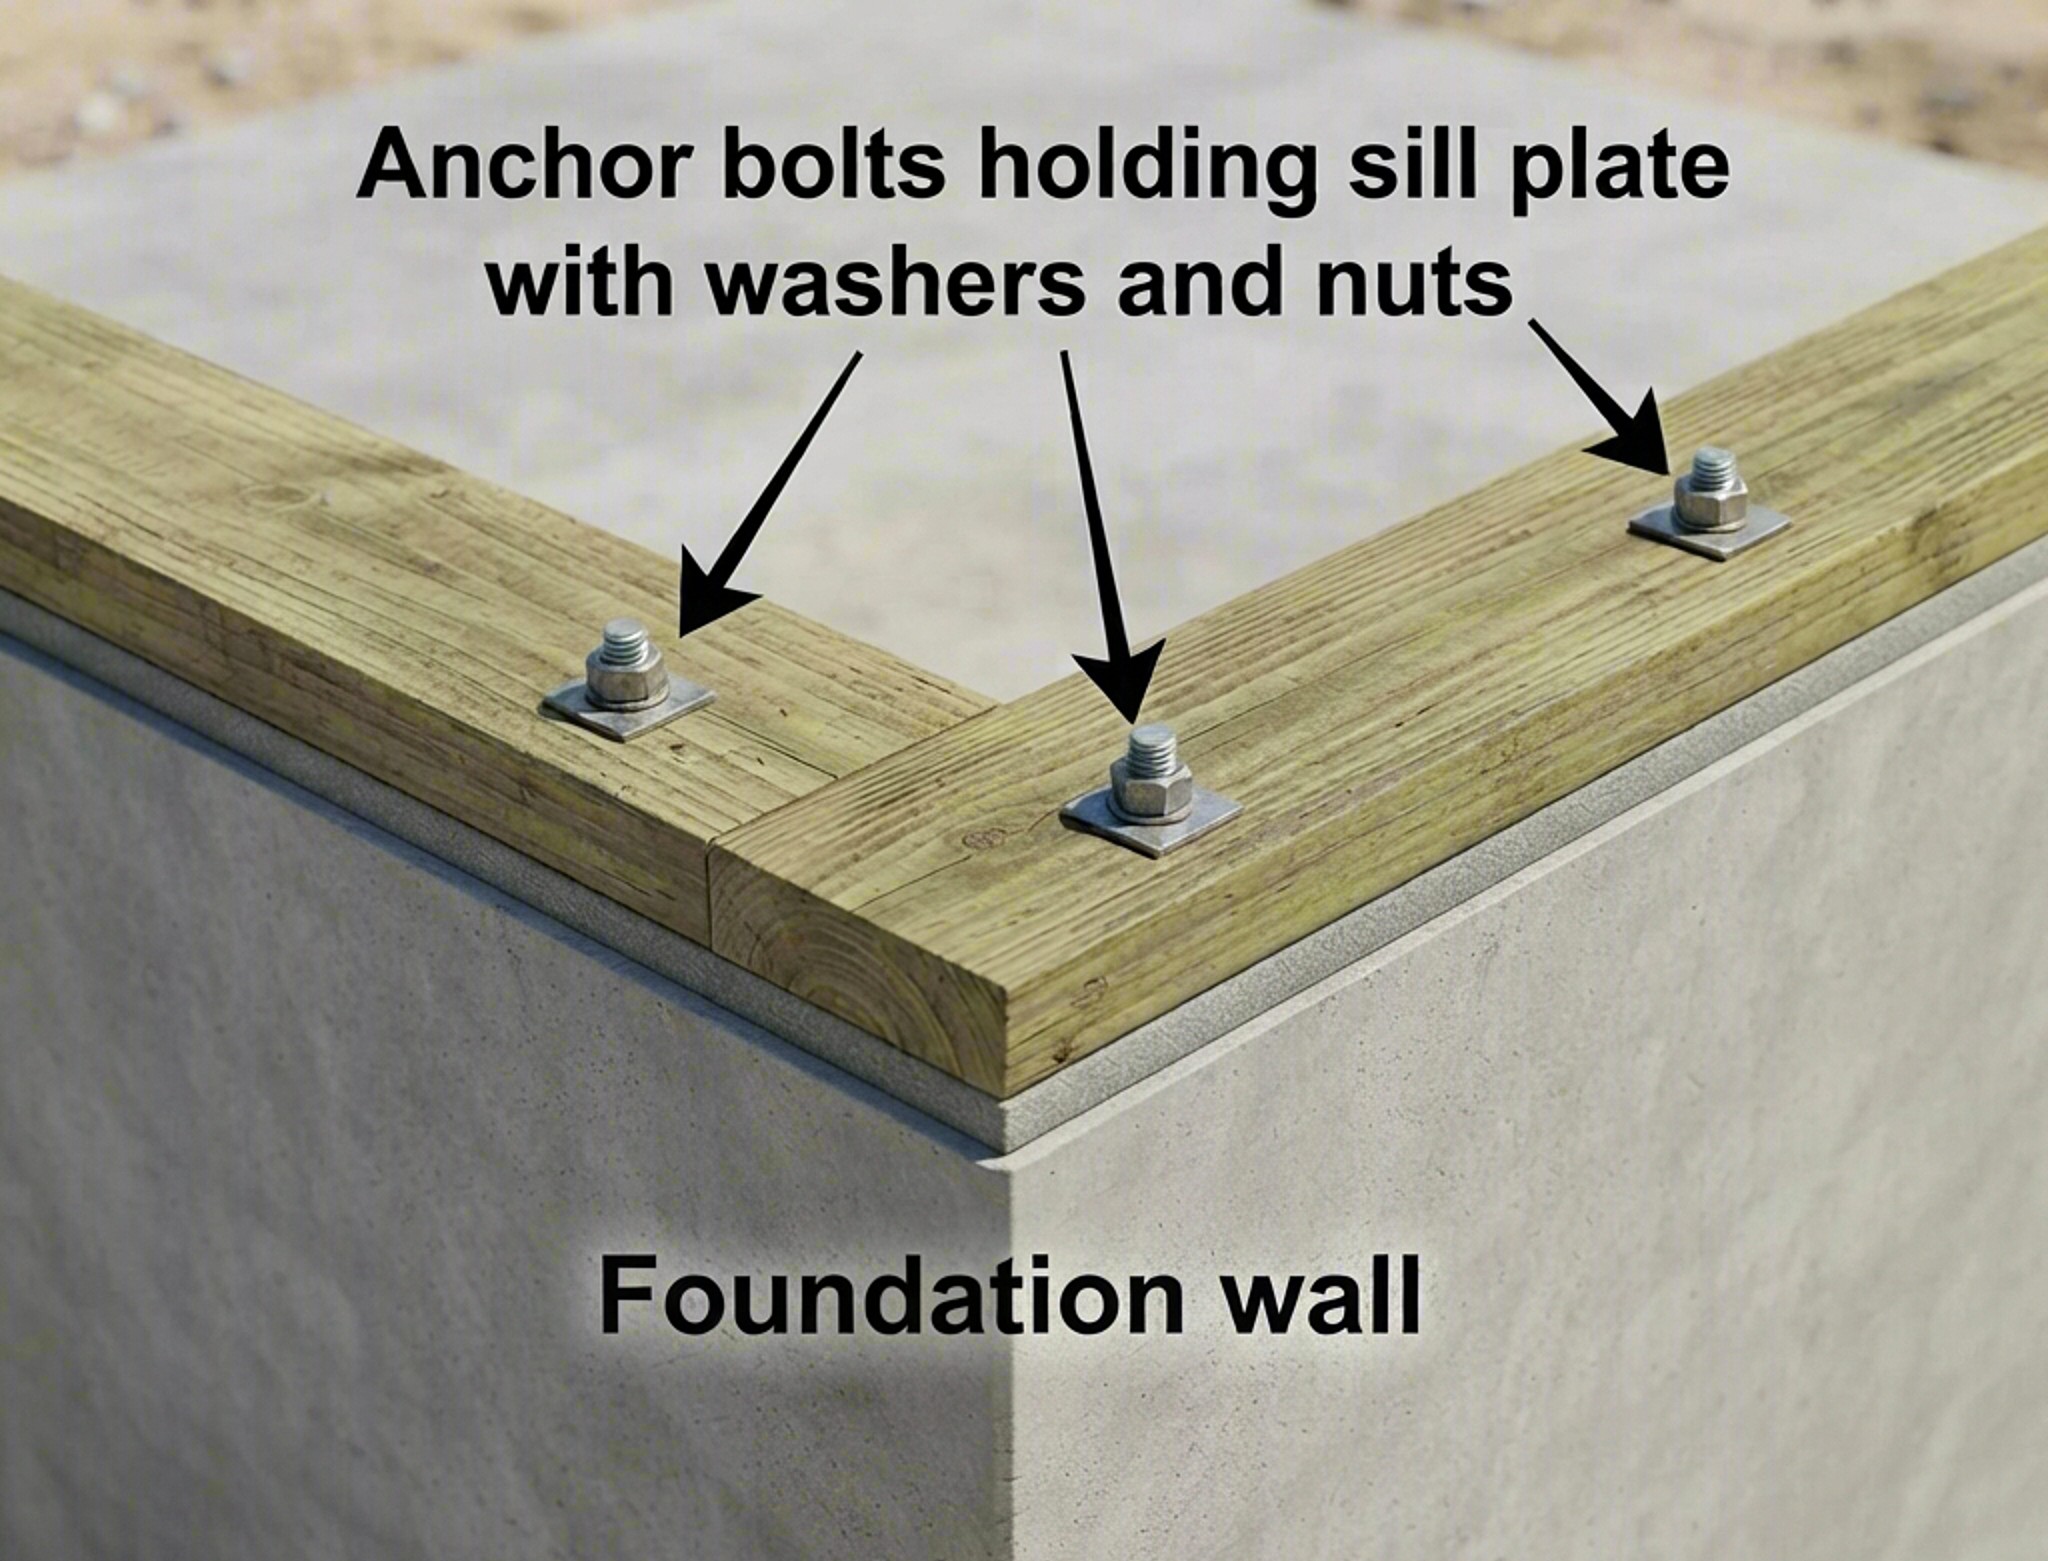
When a foundation is poured out of square, a framer cannot proceed without fixing it. It needs to be brought into square, but it is an easy fix as long as the foundation isn't drastically out of square. Adjusting, cantilevering, or offsetting the mudsill (sill plate) is the industry-standard method to achieve a perfectly square framing layout on an out-of-square foundation.
How to Square Framing on a Crooked Foundation by Adjusting the Sill Plate
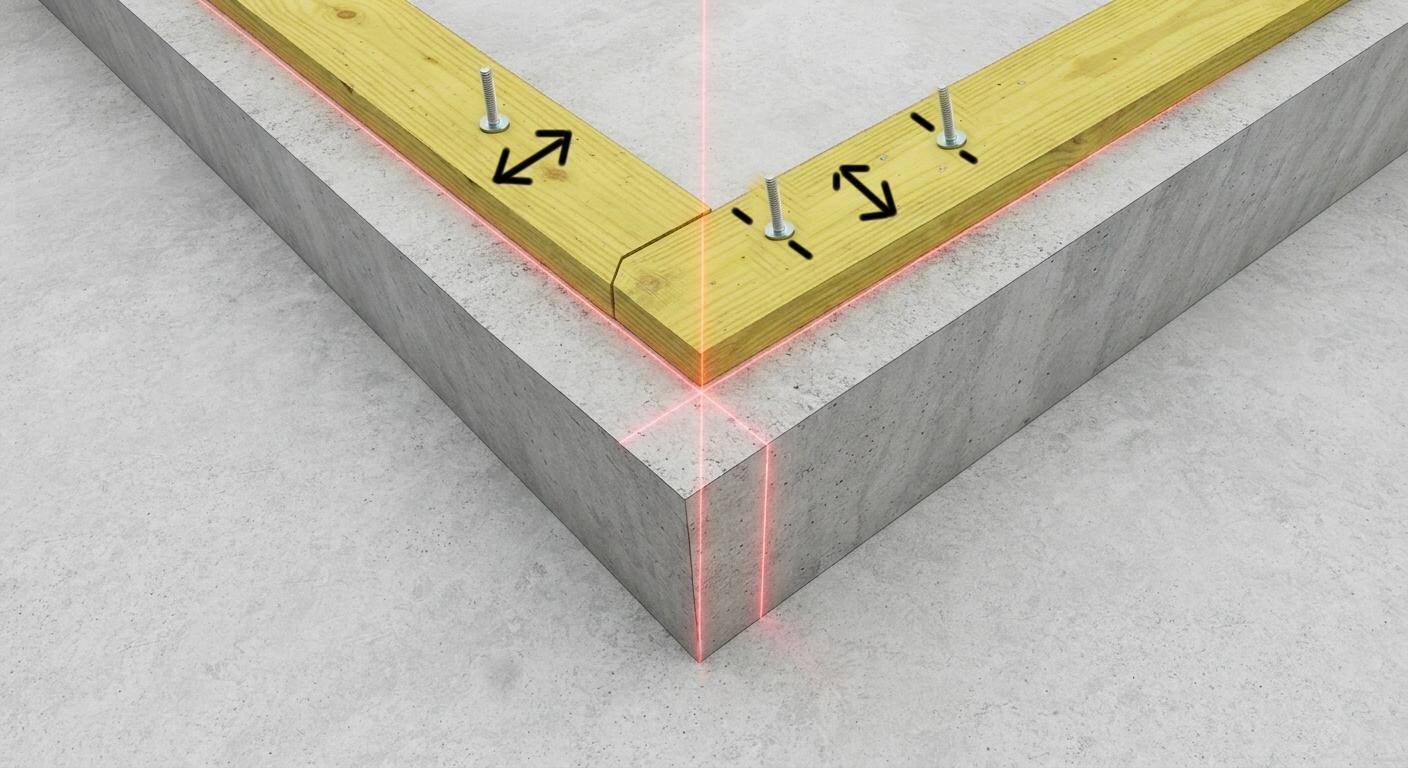
It is a nightmare scenario for any owner-builder: you stretch your tape measures to run the 3-4-5 diagonal check on your completed concrete foundation, and the numbers don’t match. Your foundation is out of square.
Don't panic, and do not pour more concrete. Because wood framing is forgiving, you can correct an out-of-square foundation directly on top of the concrete using your sill plate layout.
🛠️ Troubleshooting: What to Do If Your Foundation is Out of Square
If your concrete corners form a parallelogram instead of a perfect rectangle, you can fix the geometry by shifting your wooden sill plate layout into a perfect rectangle on top of the concrete.
- The Adjustment Rule: You can slide your wooden sill plates so they slightly overhang the concrete edge on one corner, or sit slightly inward (underhang) on the opposite corner.
- The Safe Limit: Most local structural building codes allow your wood sill plate to overhang the outside edge of a concrete foundation wall by a maximum of 5/8 inch (or 1/3 of the sill plate's width).
Step-by-Step Squaring Adjustment
- Snap New Master Lines: Do not follow the raw concrete edge. Instead, use a chalk line to snap a perfectly square template rectangle directly onto the concrete based on your ideal blueprint dimensions. Use the 3-4-5 rule until your chalk lines have perfectly identical diagonal measurements.
- Verify the Tolerances: Look at where your square chalk lines sit relative to the concrete edge. Ensure no corner exceeds a 5/8-inch overhang. If the foundation is so crooked that a corner overhangs by more than this limit, stop and consult your local building inspector or structural engineer.
- Adjust the Anchor Bolt Holes: Because you are shifting the boards relative to the pre-set concrete anchor bolts, your drilled holes will need to be slightly offset. Drill your sill plate slot holes 1/16 to 1/8 inch larger than the bolt diameter to allow the board to slide right onto your square chalk line.
- Seal and Fasten: Lay down extra-thick closed-cell foam sill sealer to completely block the air and moisture gaps created in the areas where the lumber pulls inward from the uneven concrete edge. Tighten your heavy-duty structural washers and nuts down firmly.
Back to Sill plate basics page
Your second block of text...